
Why?
Apparently, screen backlights are very bad for the eyes and cause, in many individuals, symptoms ranging from sore and dry eyes to headaches. This project was inspired by numerous posts on the r/eink subreddit and it documents my attempt of making an easy and affordable backlight-less screen from a normal LCD monitor, that uses natural sunlight to illuminate the pixels. Such monitors exist, and are on sale only on the Chinese market. Some testify that this type of technology is quite beneficial for eye health, but, unfortunately it is not yet explored in other countries/continents. I wish to analyze and share the feasibility, pros and cons of such a device.
References
Here are the posts from the r/eink subreddit that helped inspire this project:
How?
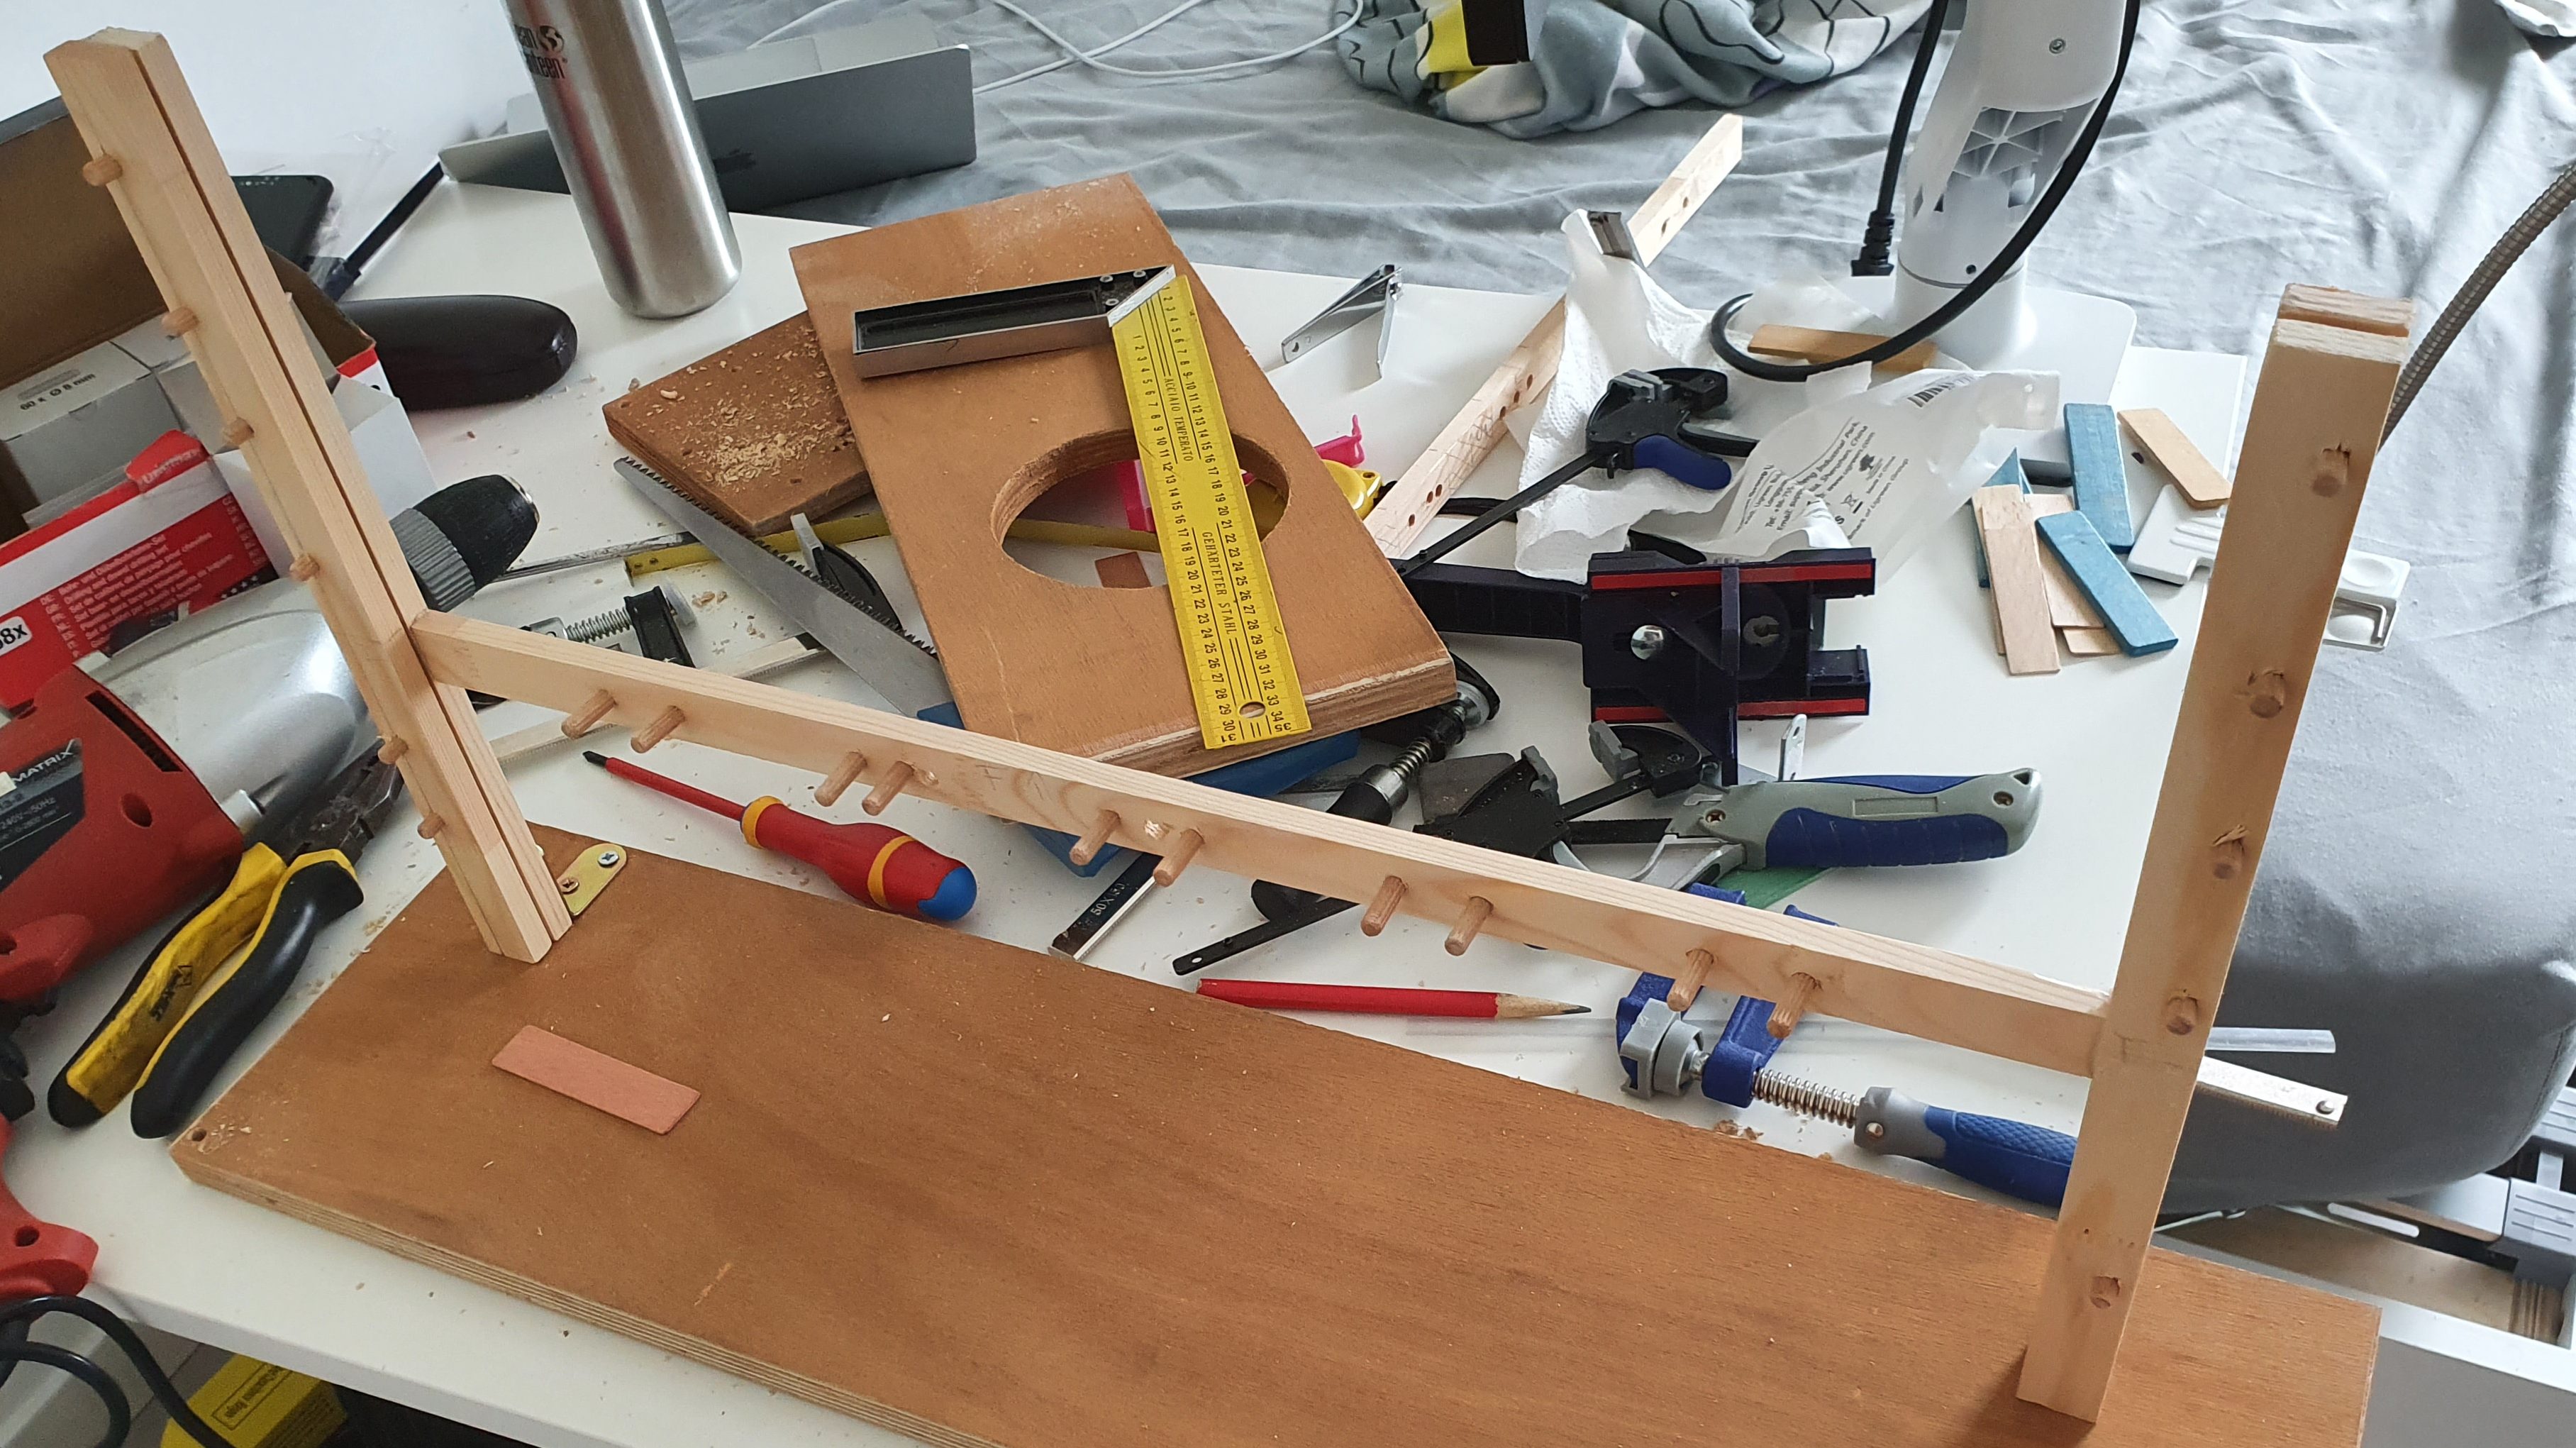
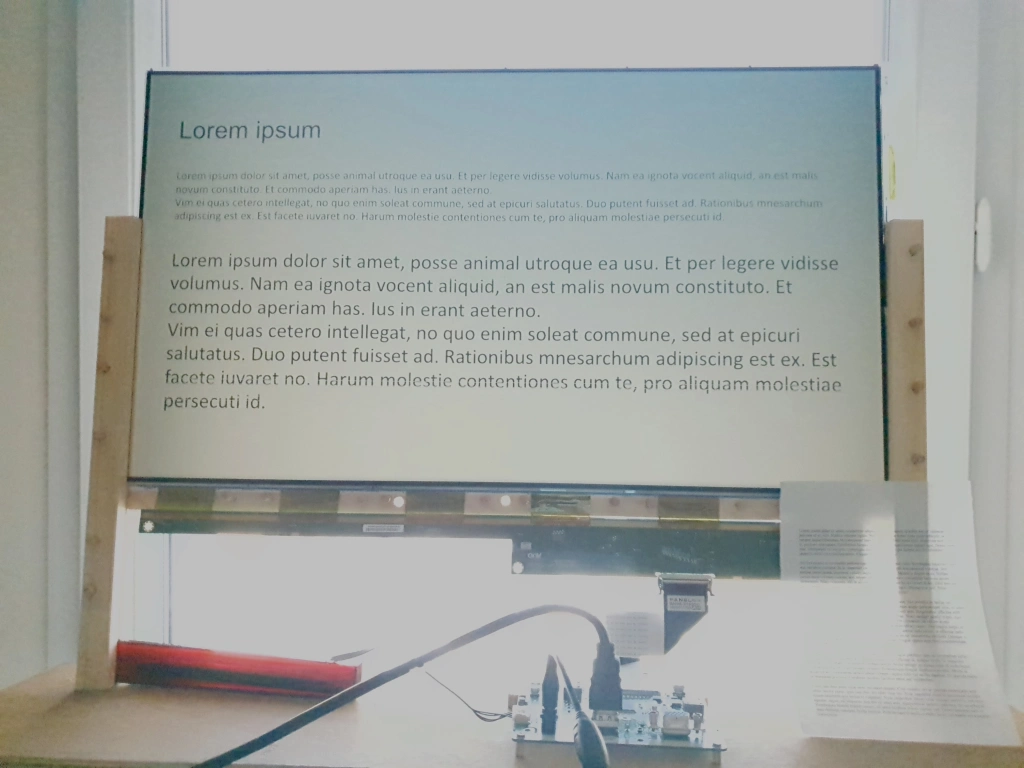
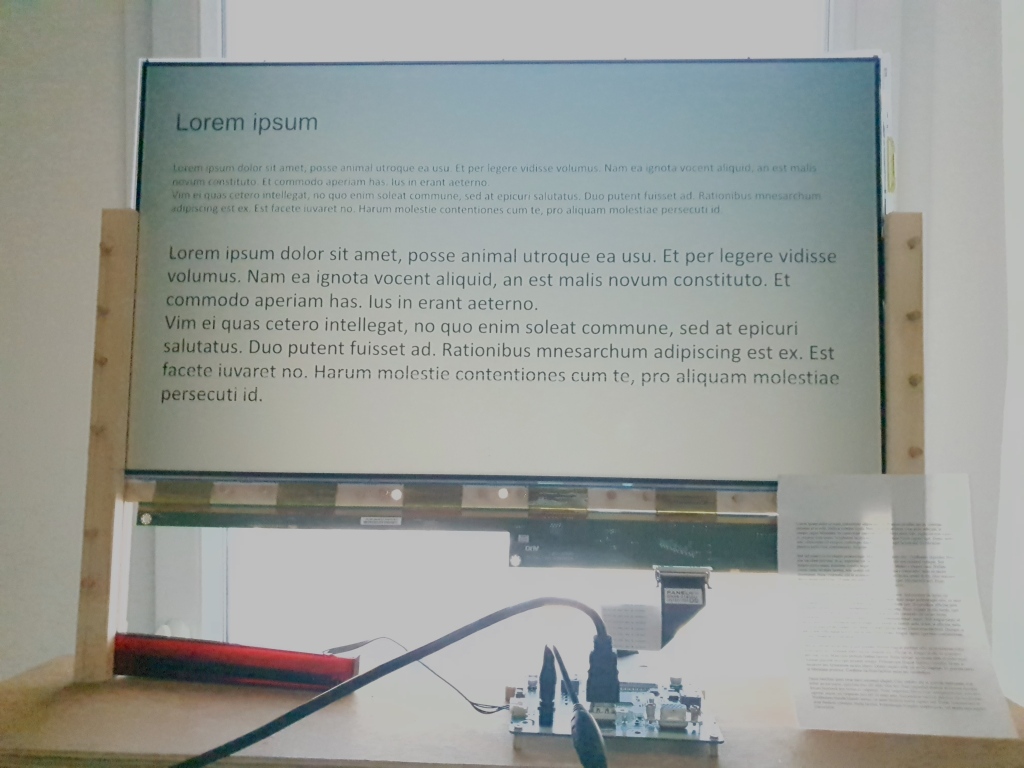
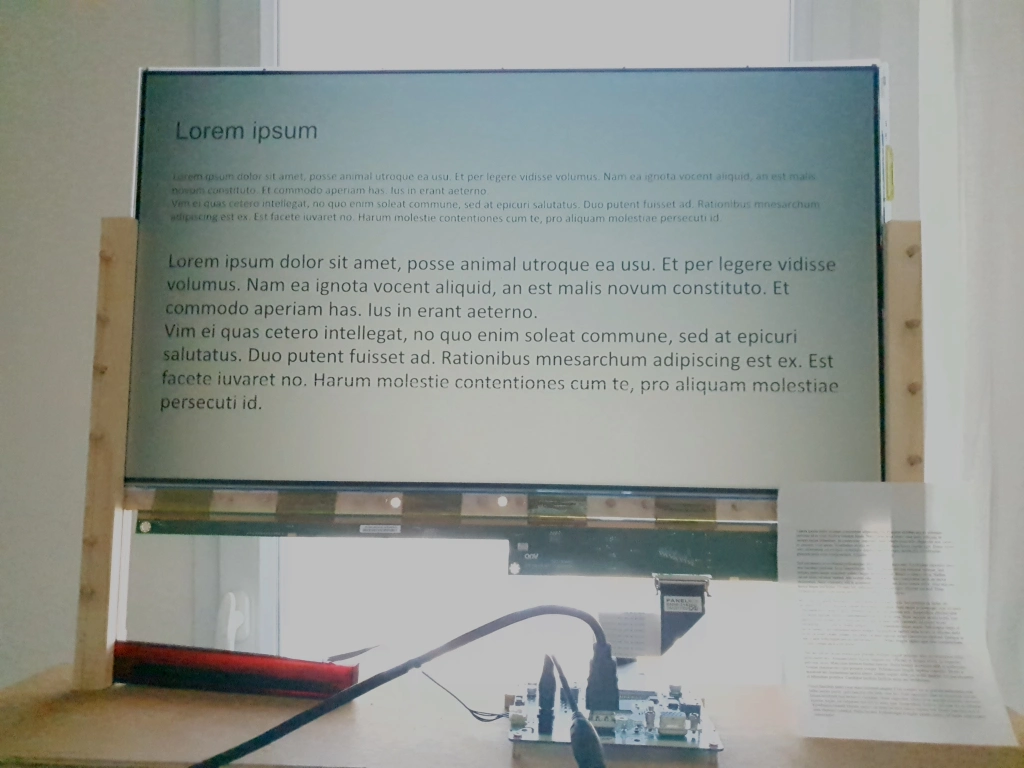
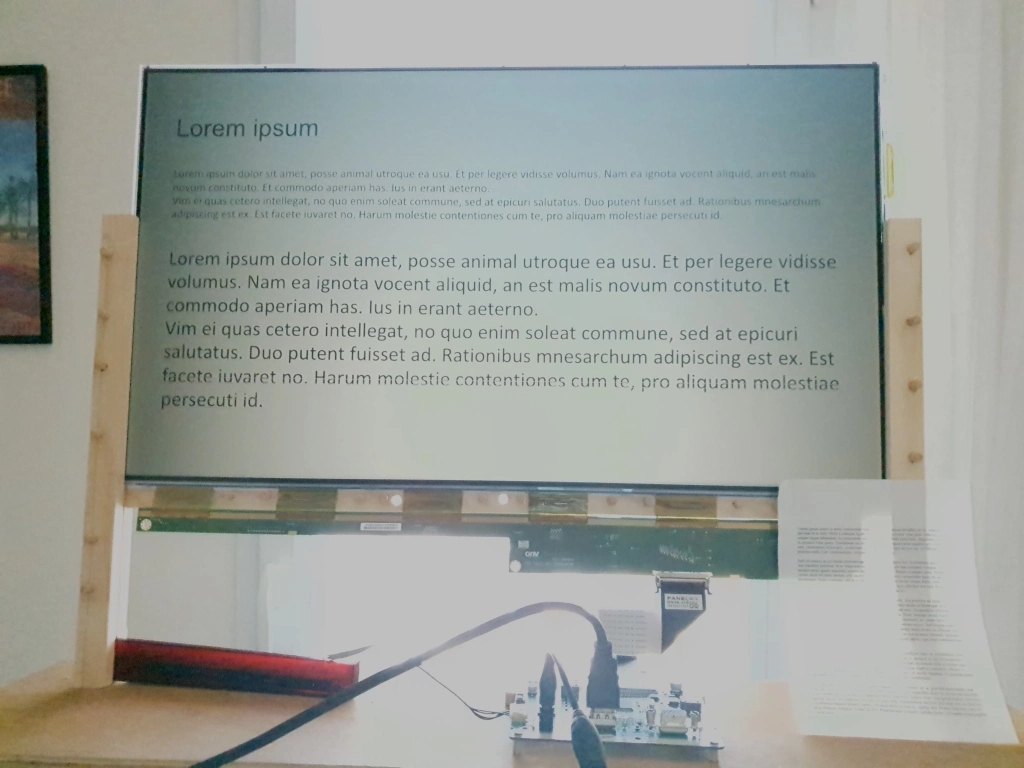
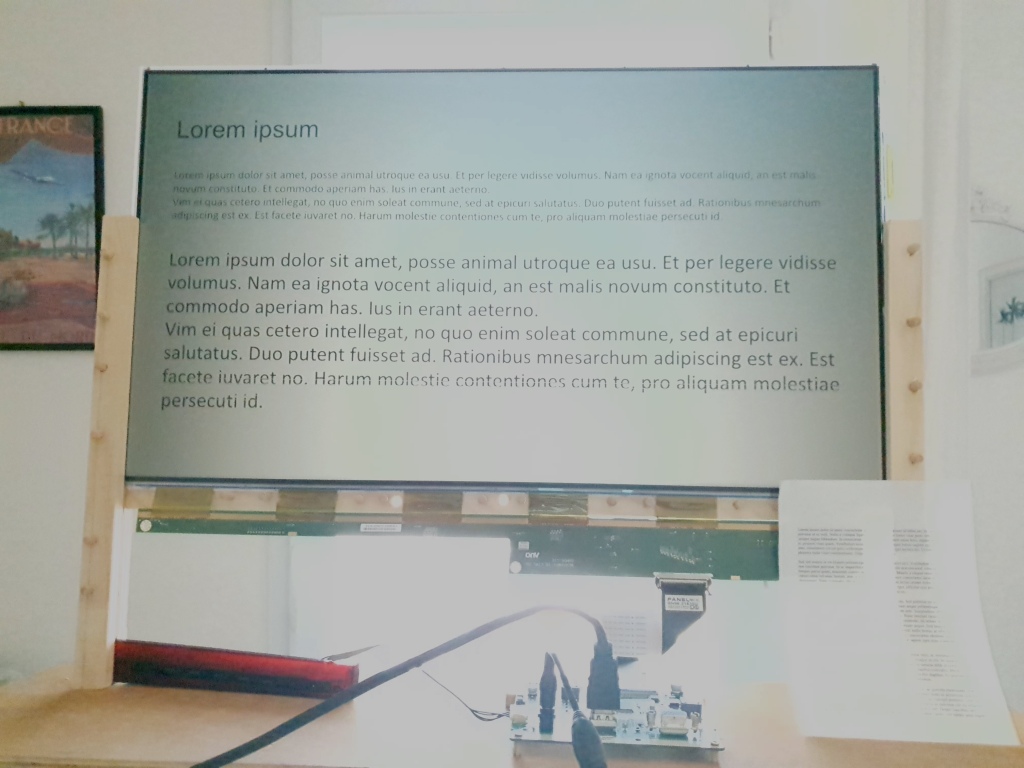
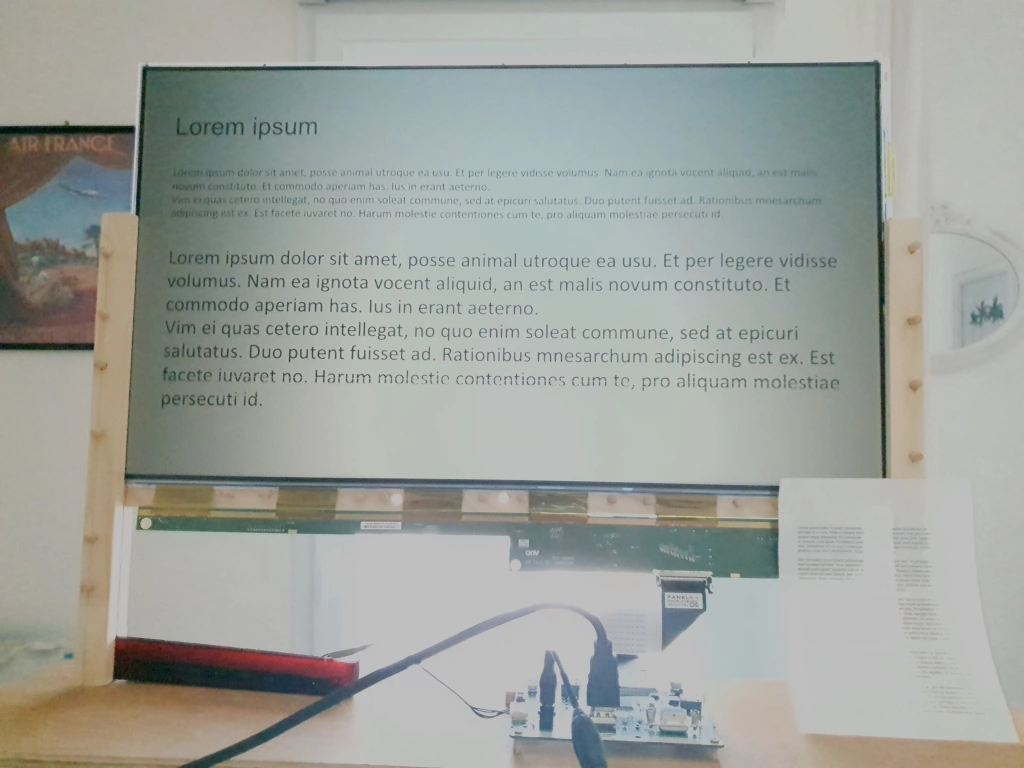
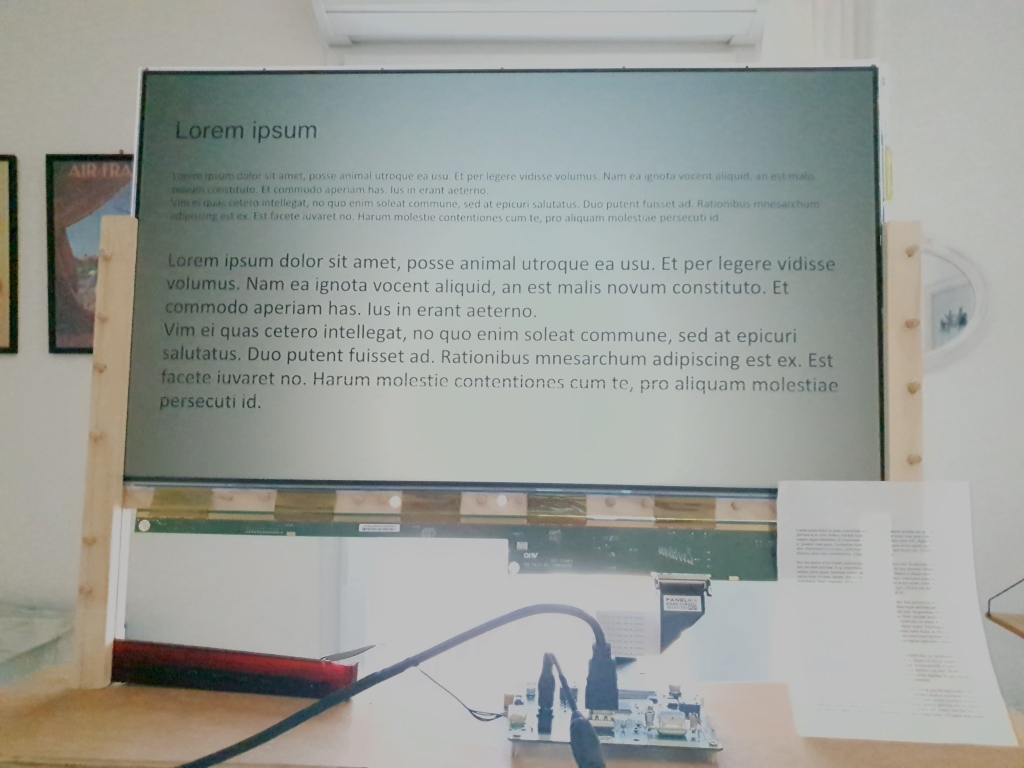
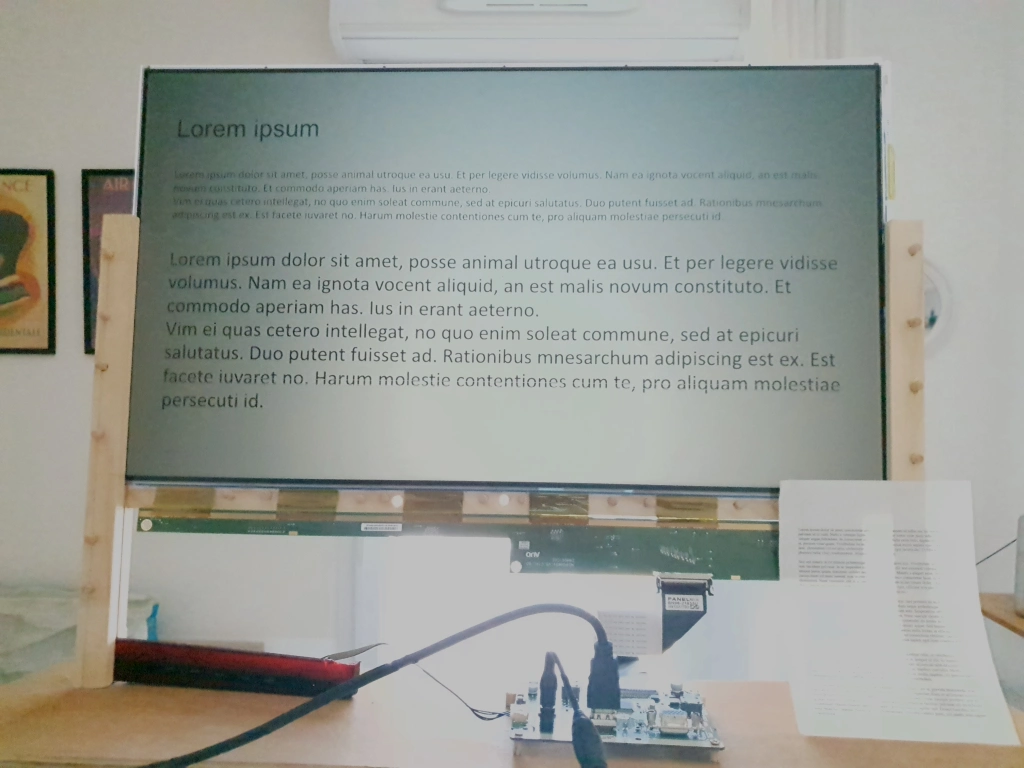
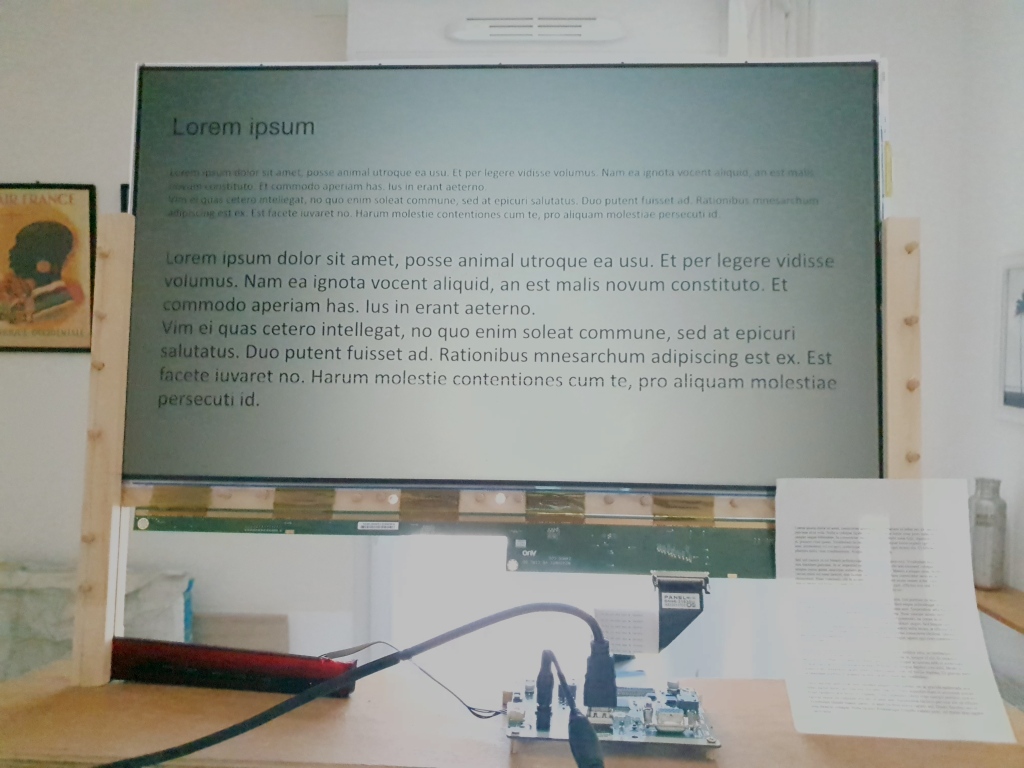
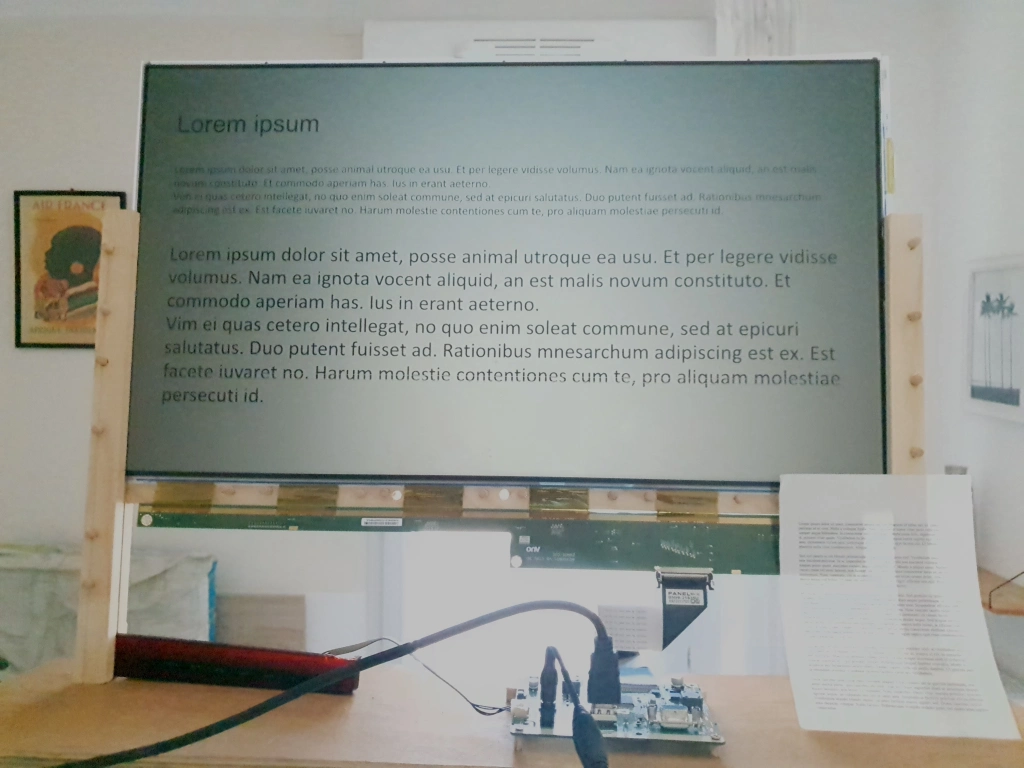
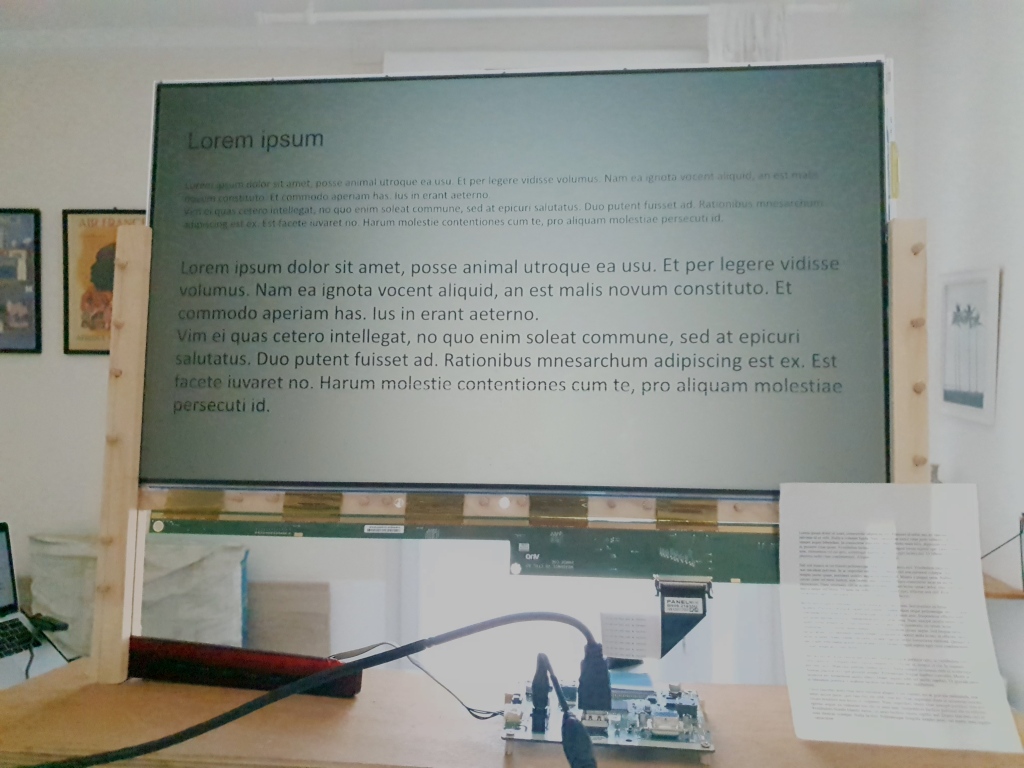
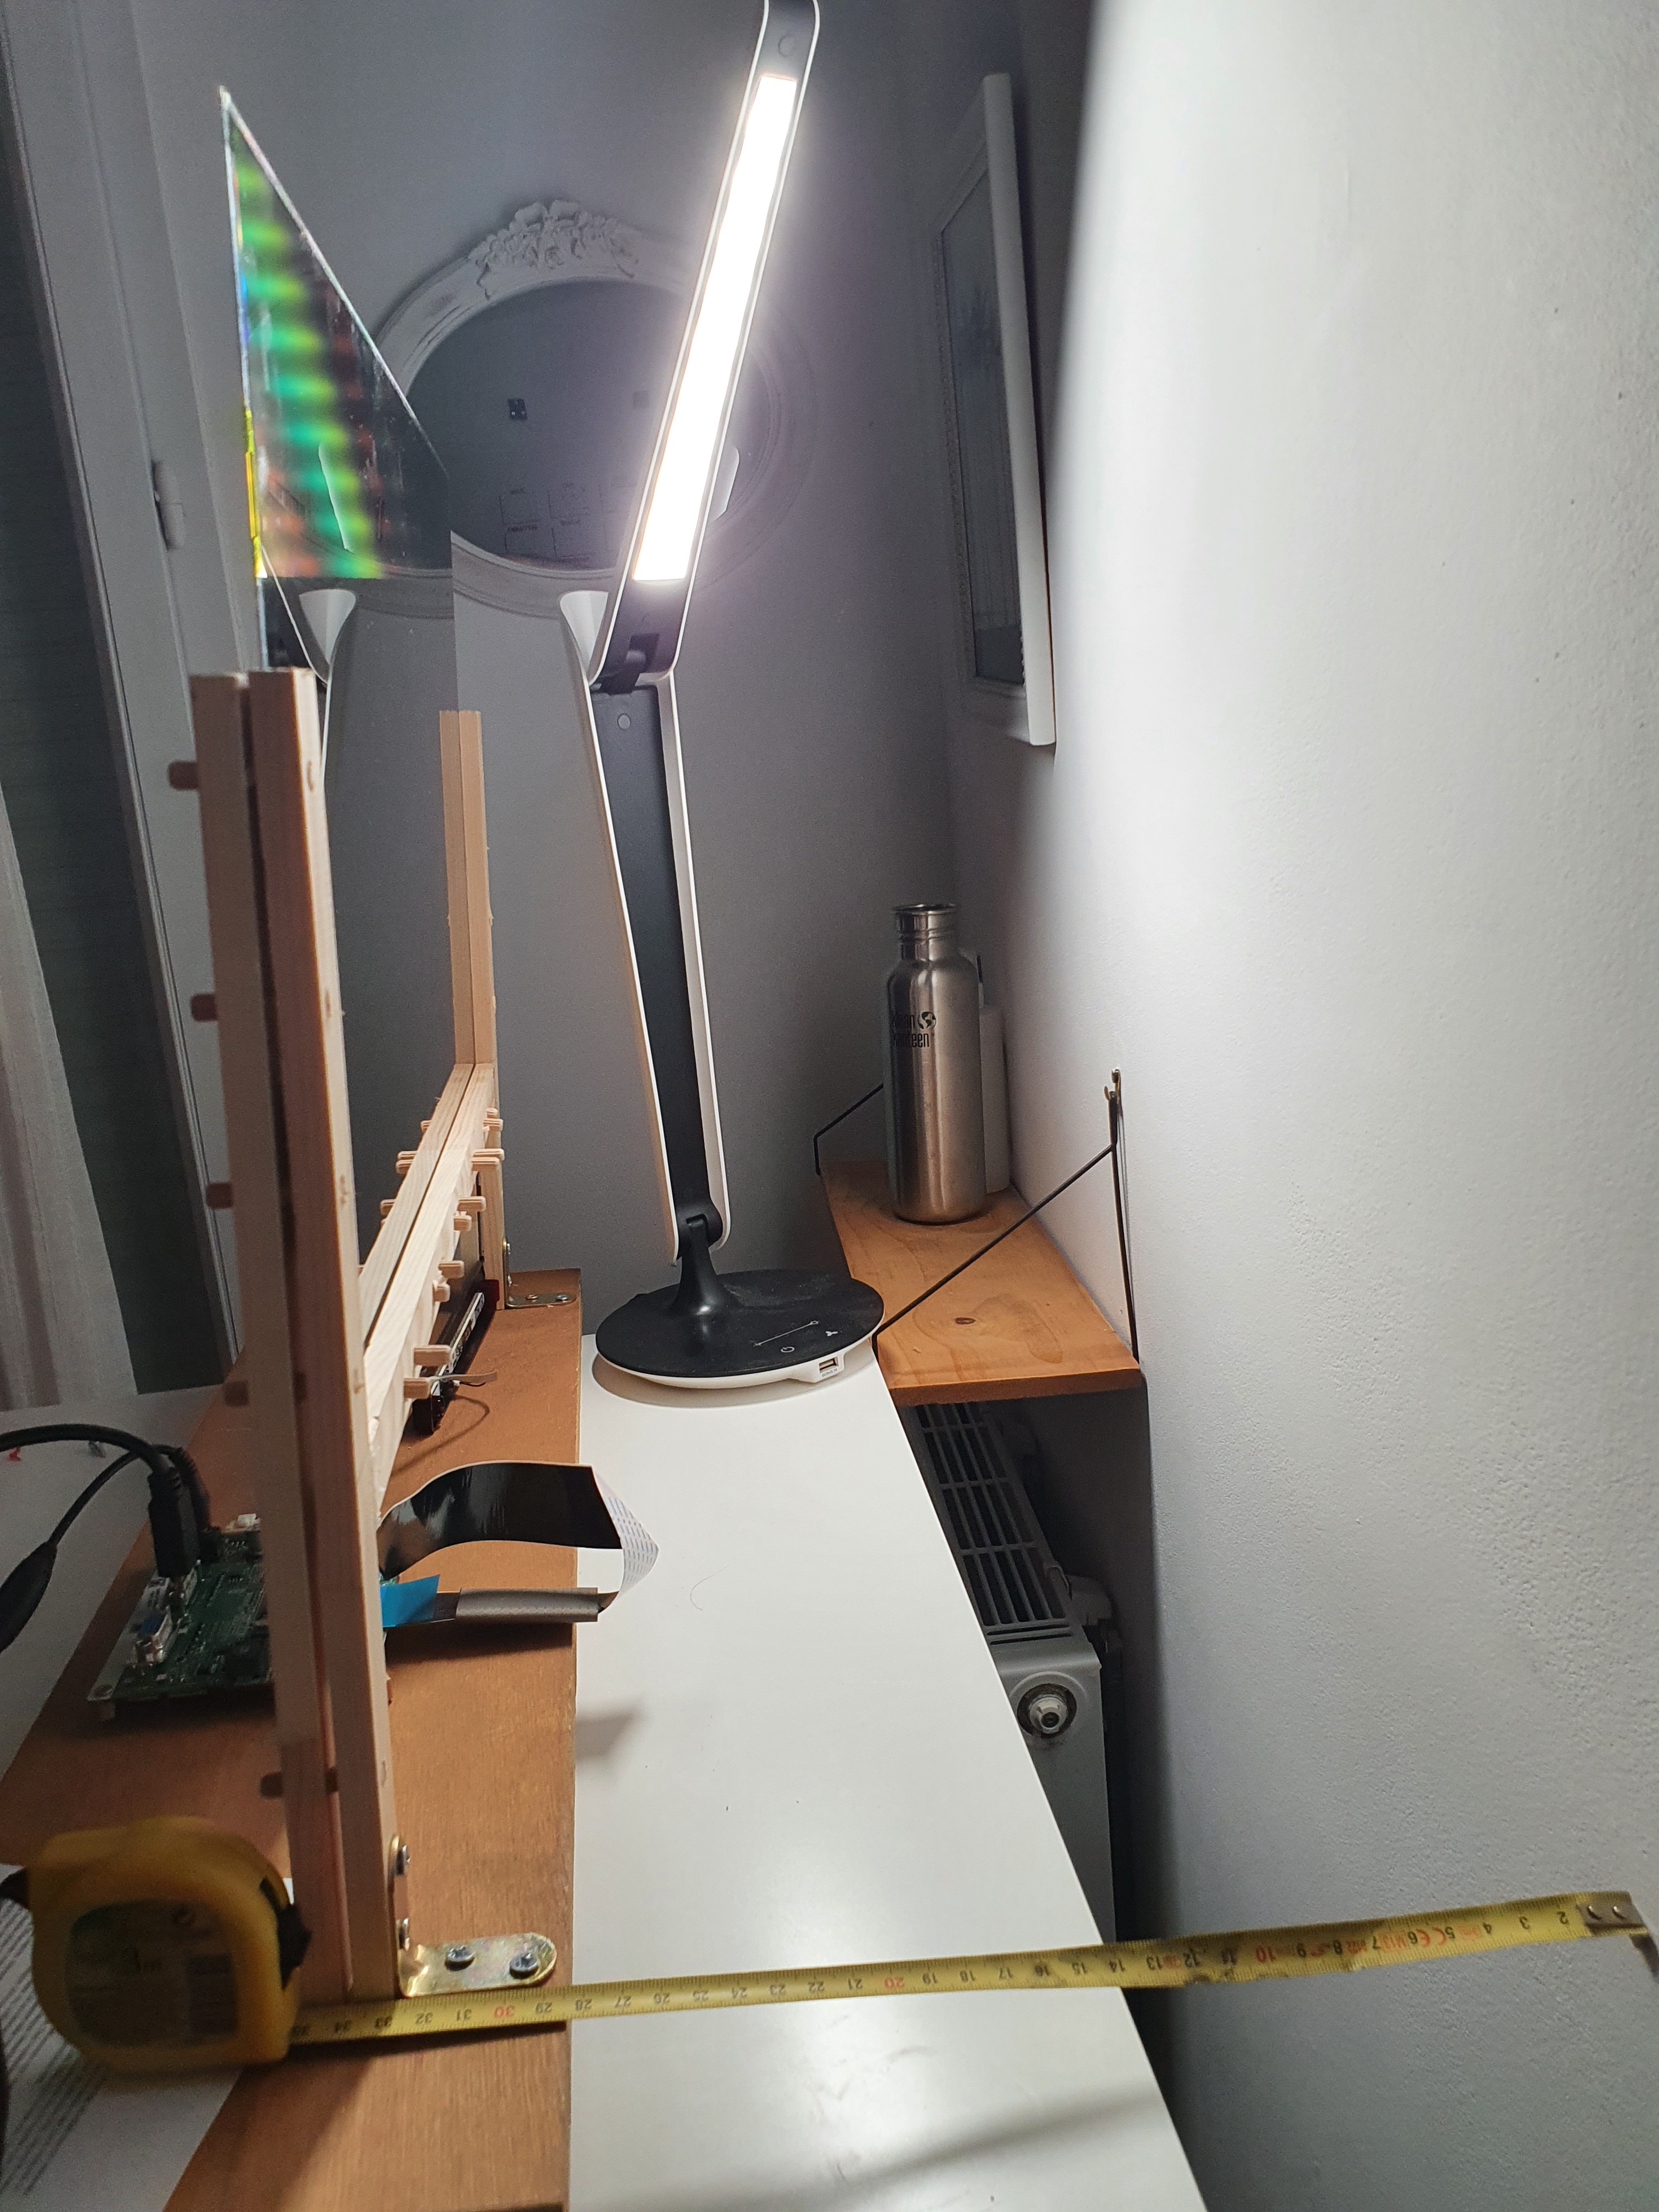
I’ve dismantled an old LCD screen that was lying around in the apartment and propped it on a wooden frame. I’ve drilled holes along wood pieces and assembled them with wood plugs. The idea is to leave a gap between the wood pieces so that the screen can slide in between. The wood plugs allow for easy calibration.
I’ve used hot glue to attach the supporting wood piece to the two “pillars” and added wood plugs in order to support the base of the screen. Afterwards I’ve screwed this structure on a wooden plank using brackets.
I’ve used the next links as inspiration for dismantling the screen and for the structure.
Spoiler : They don’t say it explicitly in the youtube video, but they are using a very powerful lamp behind the screen in order to make it look so transparent. This lamp is definitely not easier on the eyes than a backlight., so it would defeat the purpose of this project.
I’ve followed roughly the same steps and took inspiration for building the wooden structure. I did not use damp cloths to remove any filter from the screen, as suggested in the video. There were 3 loose sheets of filters between the LCD screen and the backlight.
There is another tutorial, from the founder of the Pixel QI, that showcases how to remove a backlight from a Samsung laptop and use it as an exterior laptop in very strong sun. If positioned correctly the laptop screen is much more visible than a backlit screen that needs to fight with the light of the sun. As opposed to the previous video, the author does not recommend removing any “glued” filters from the screen.
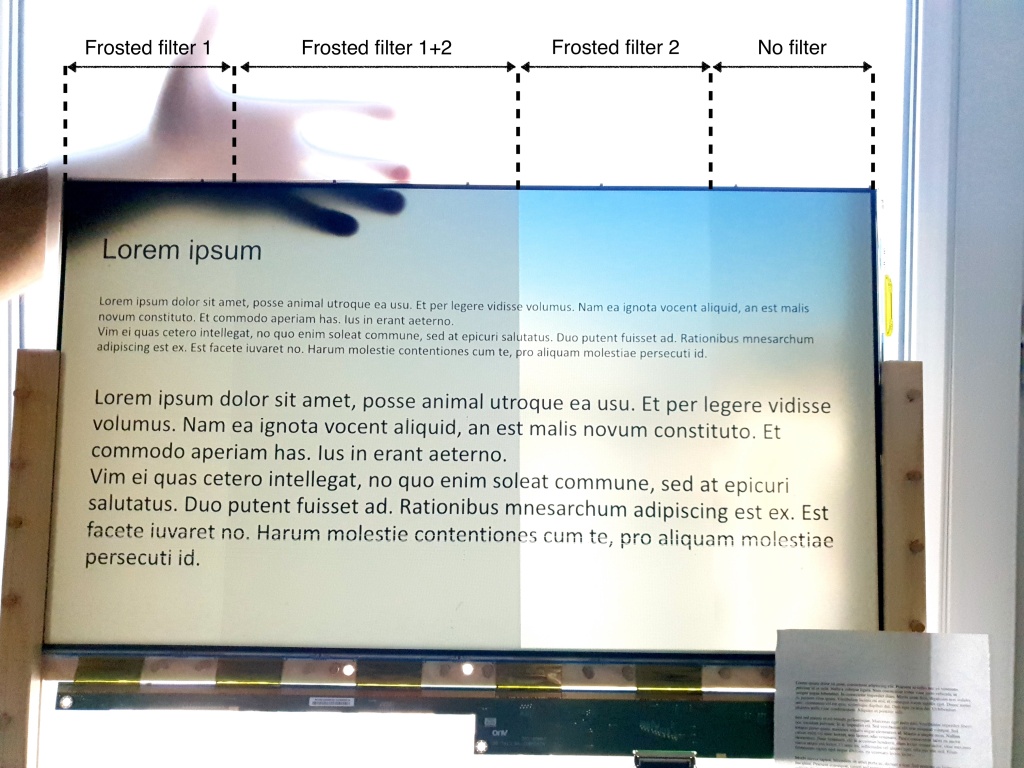
Screen Filters
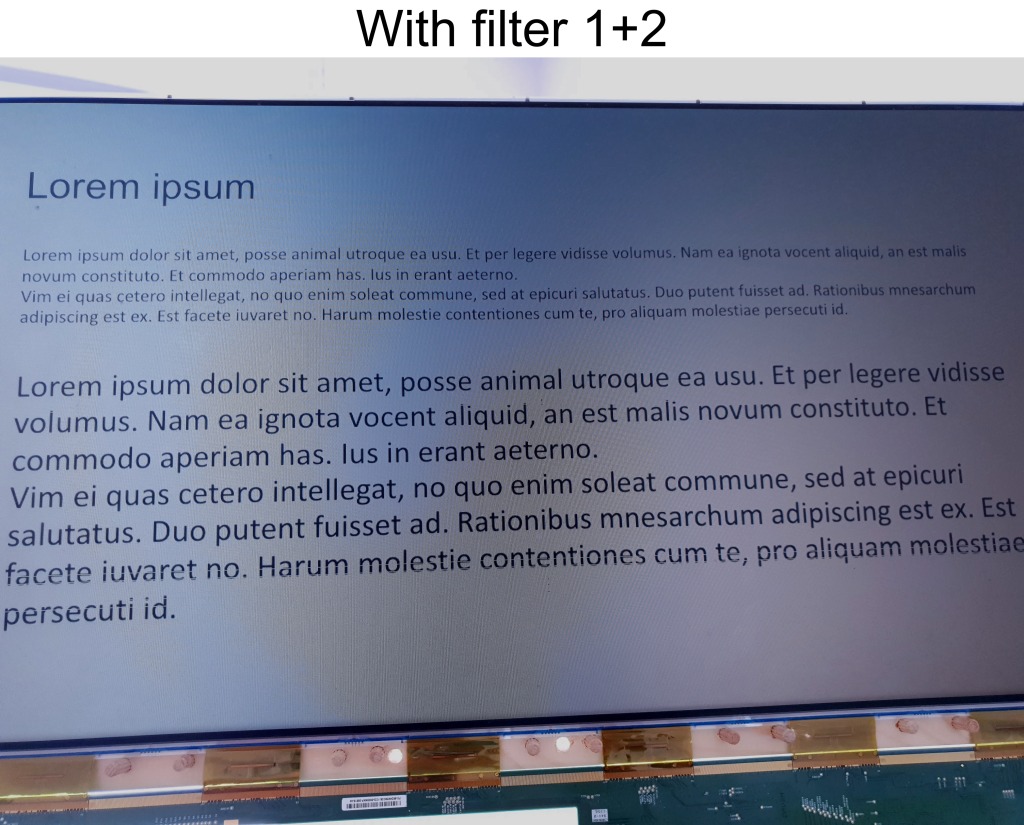
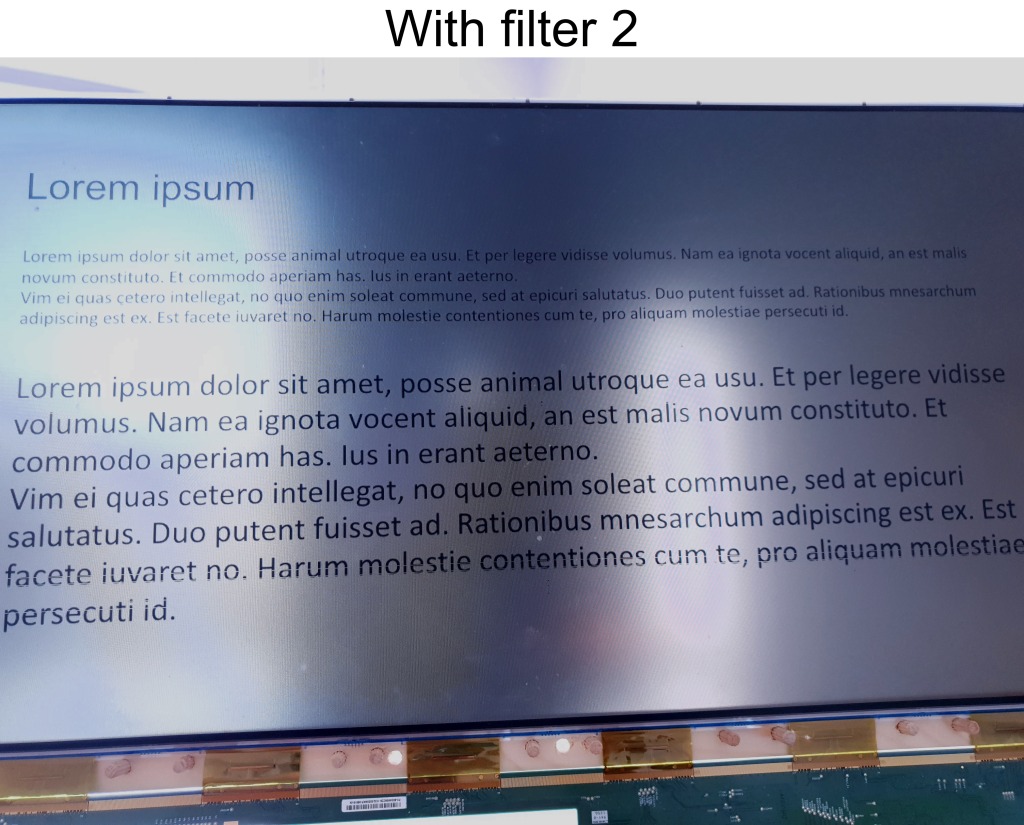
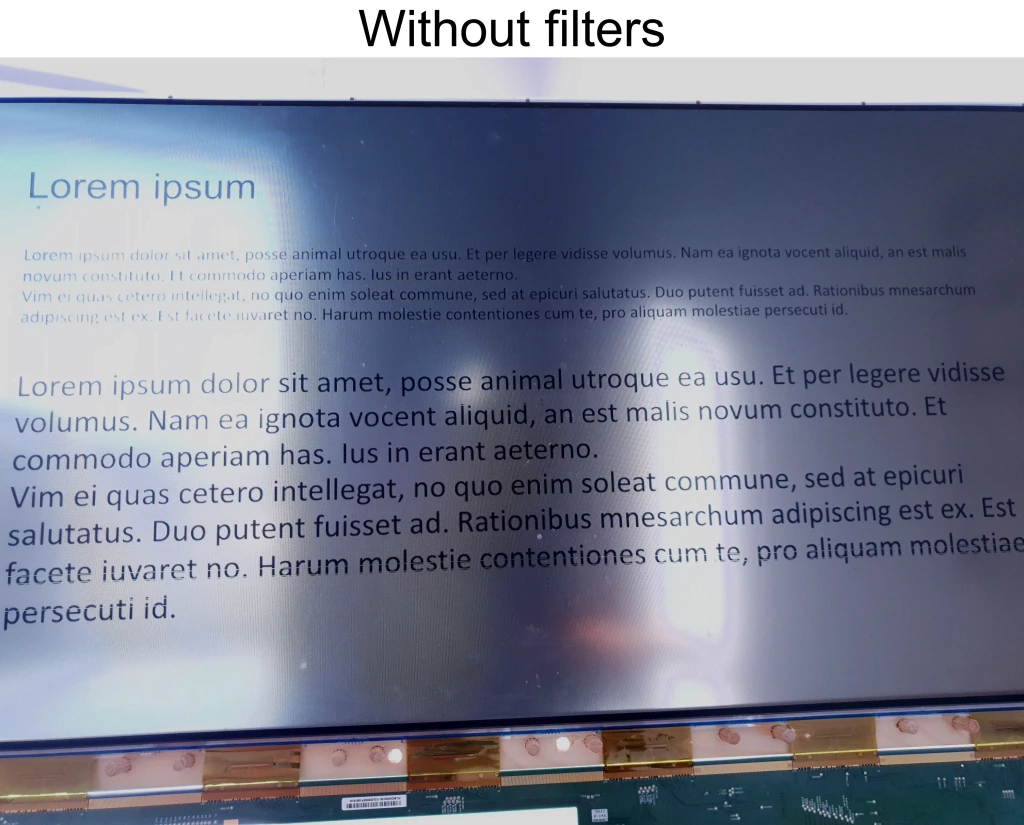
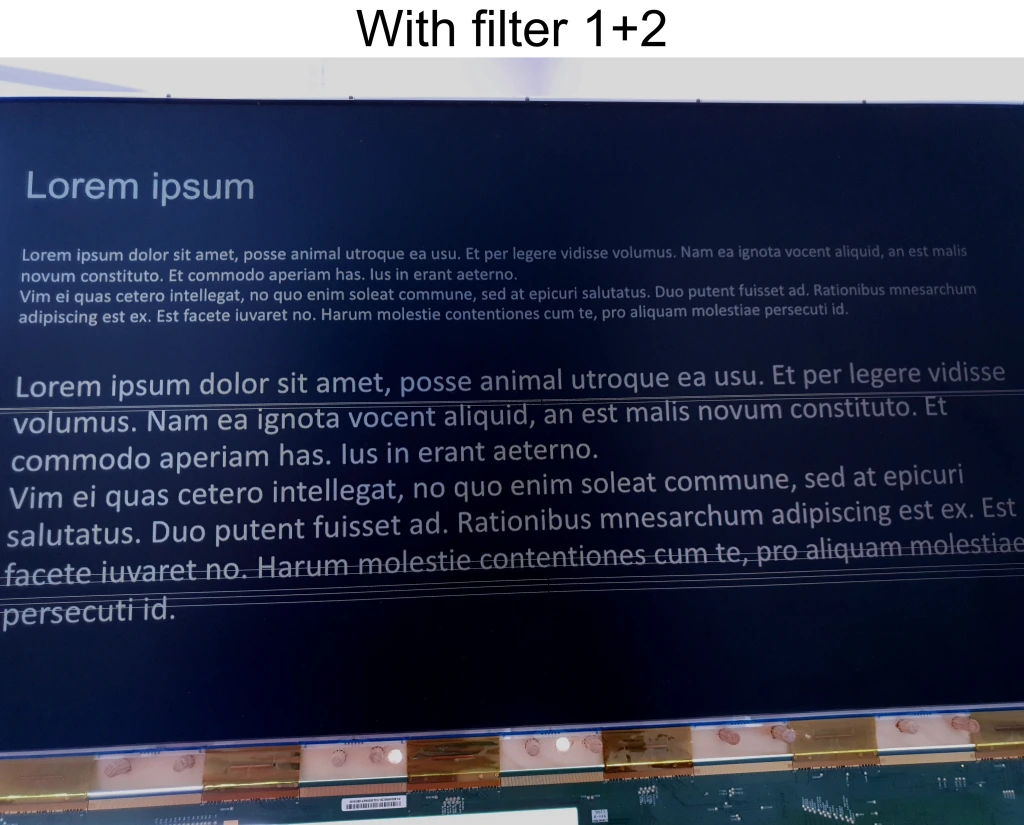
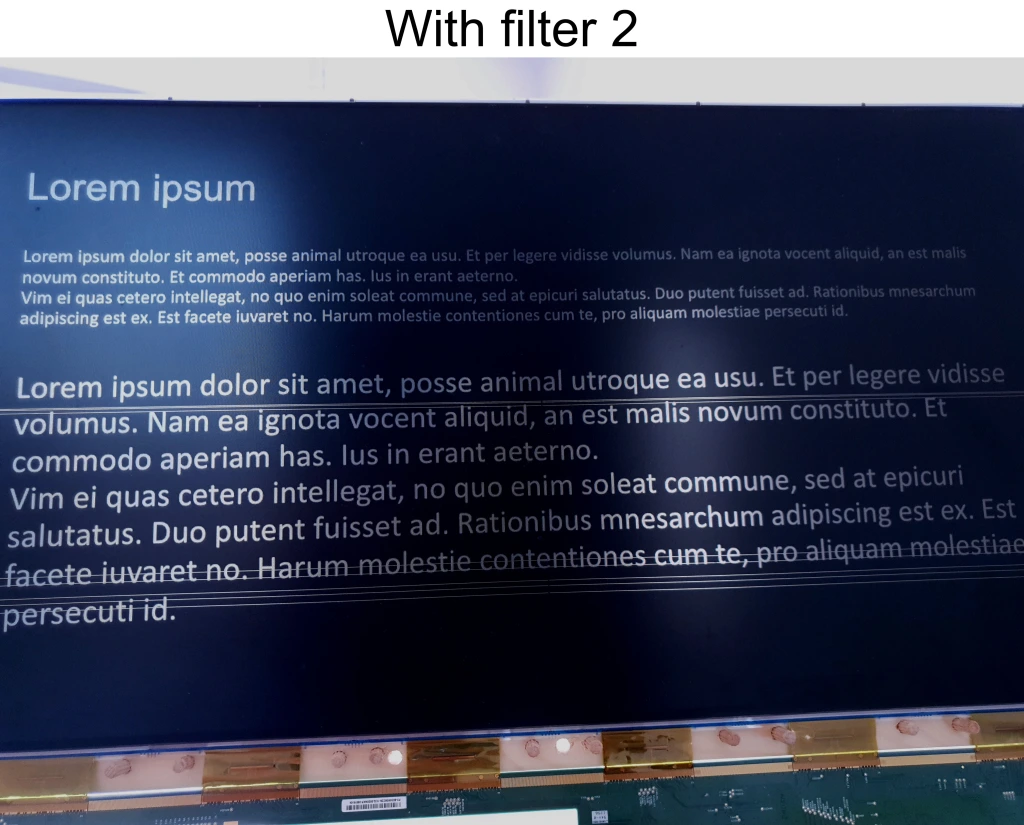
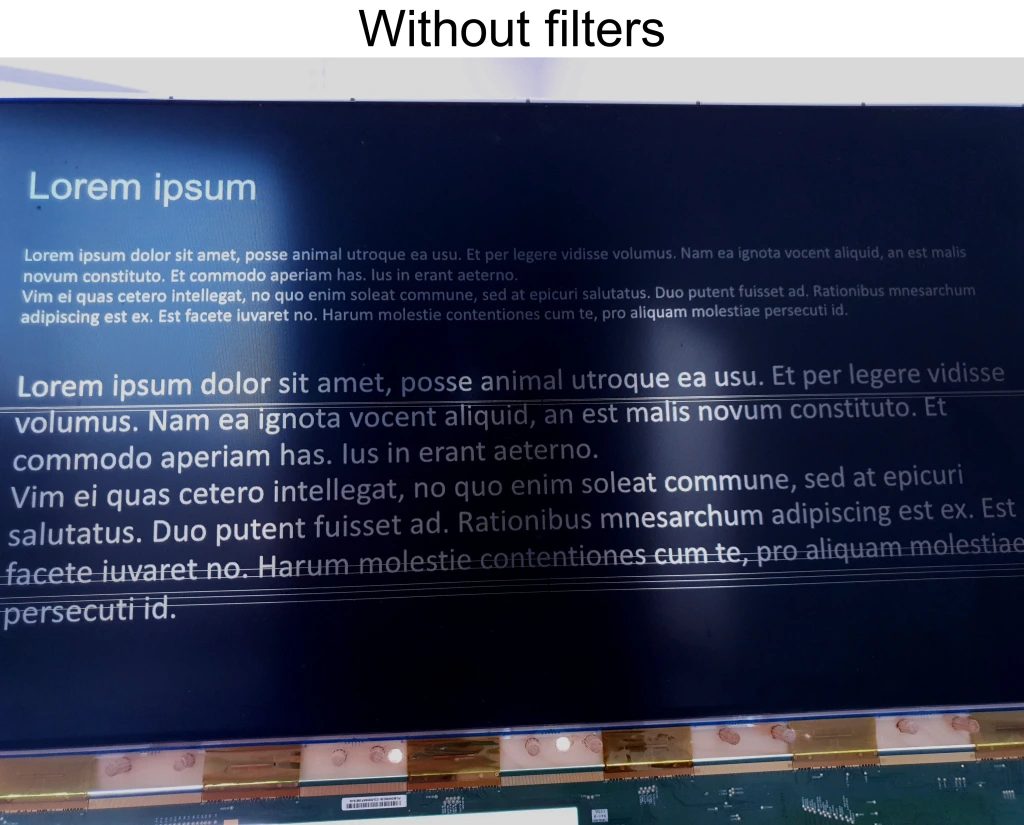
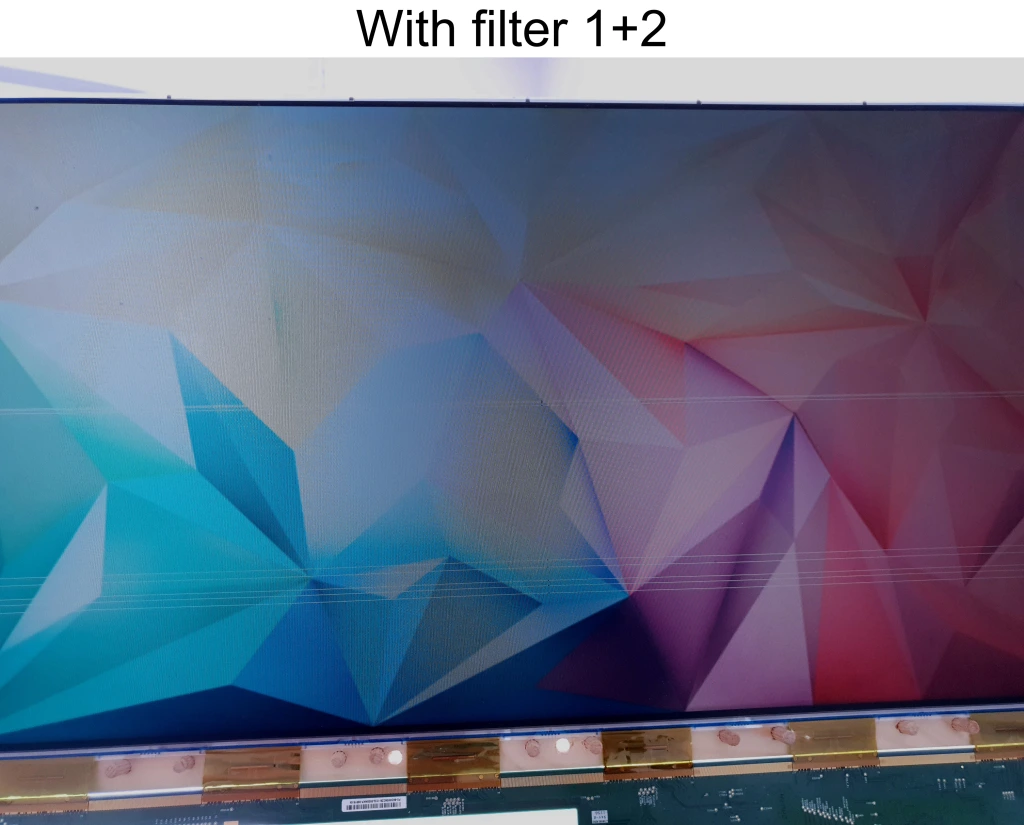
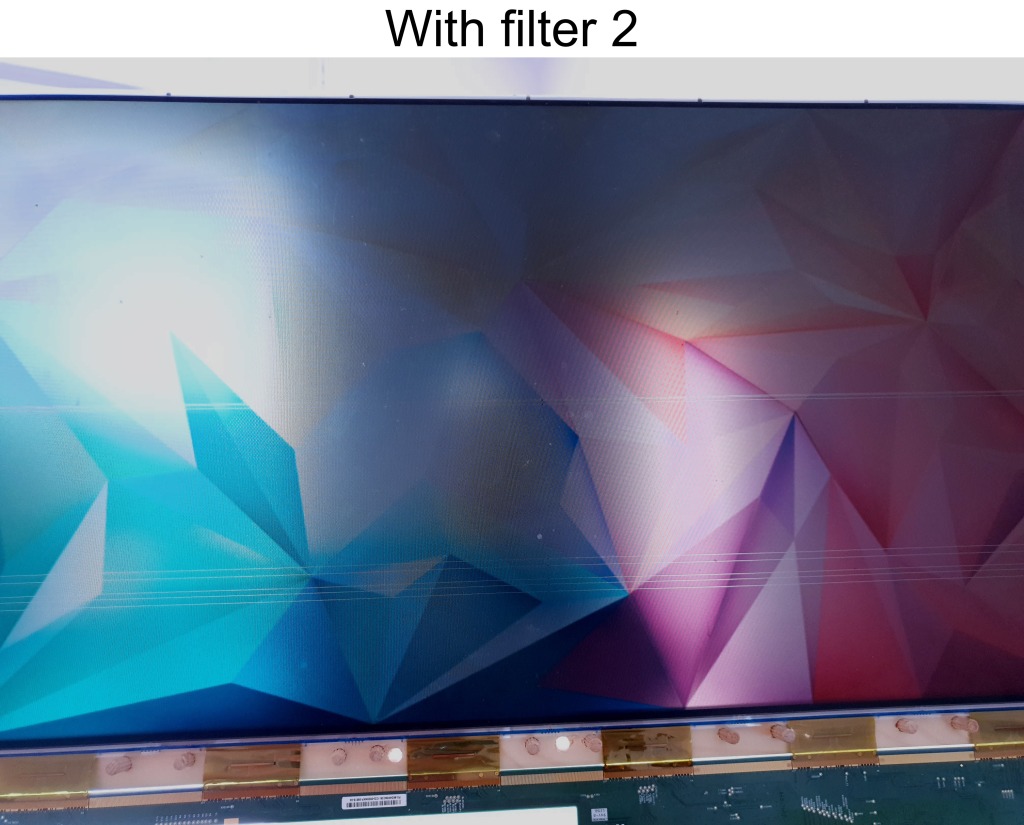
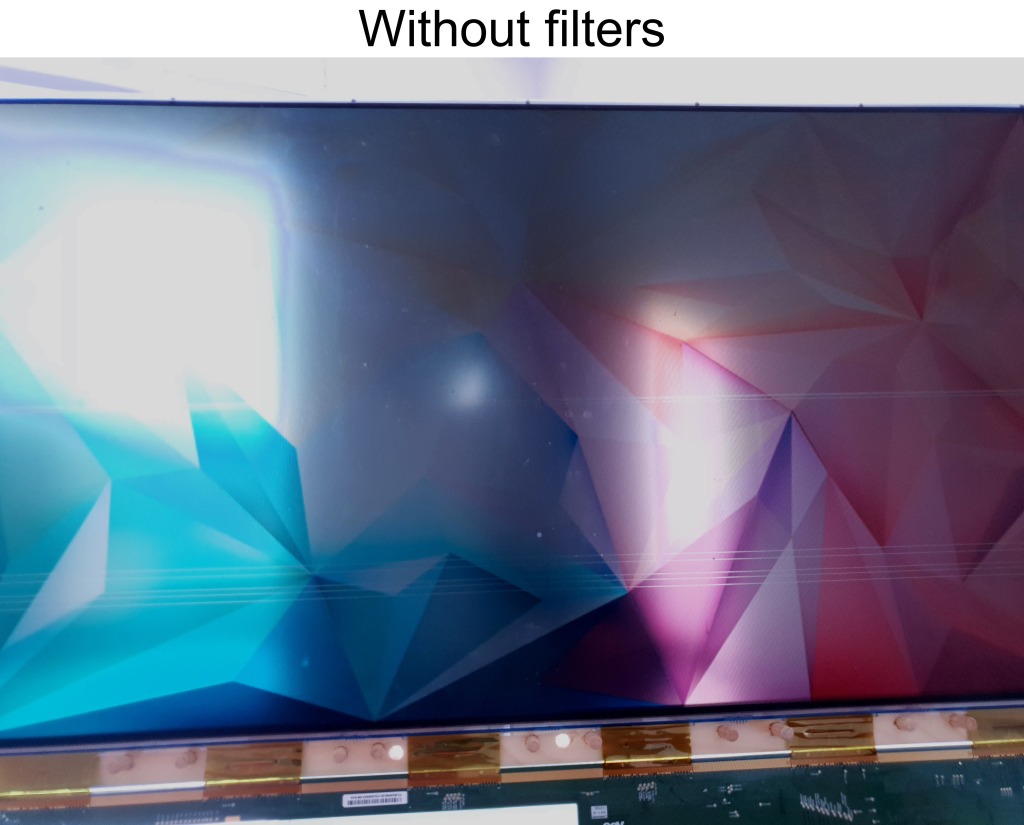
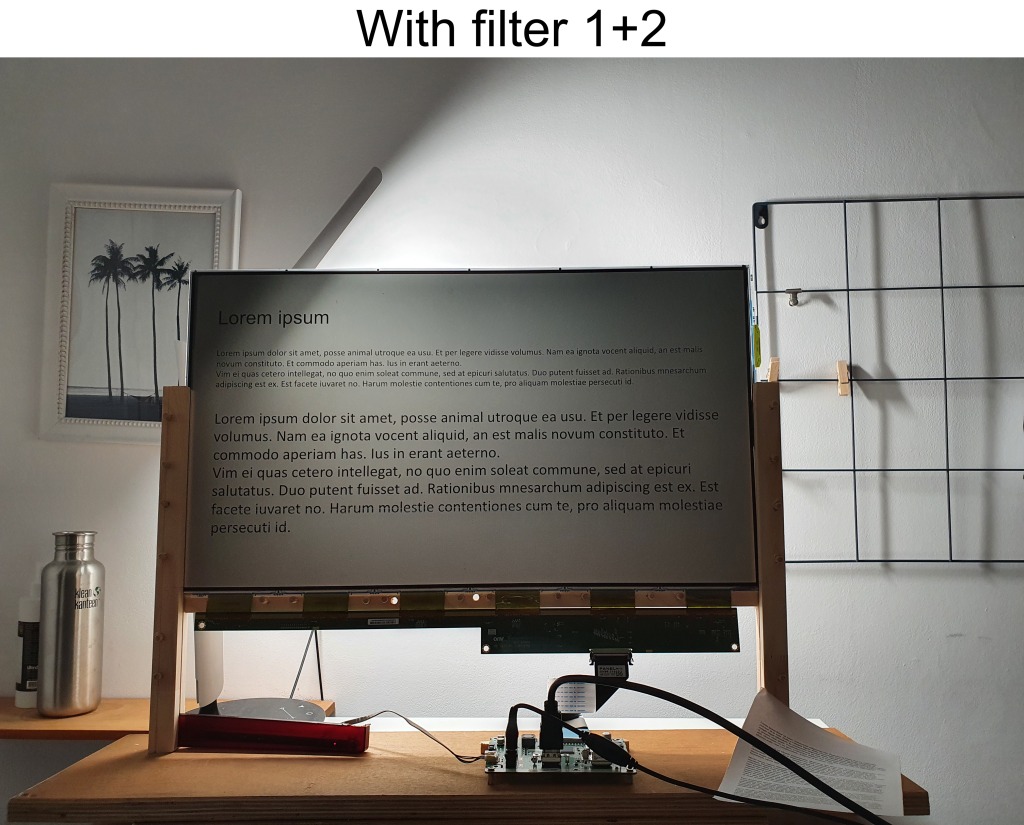
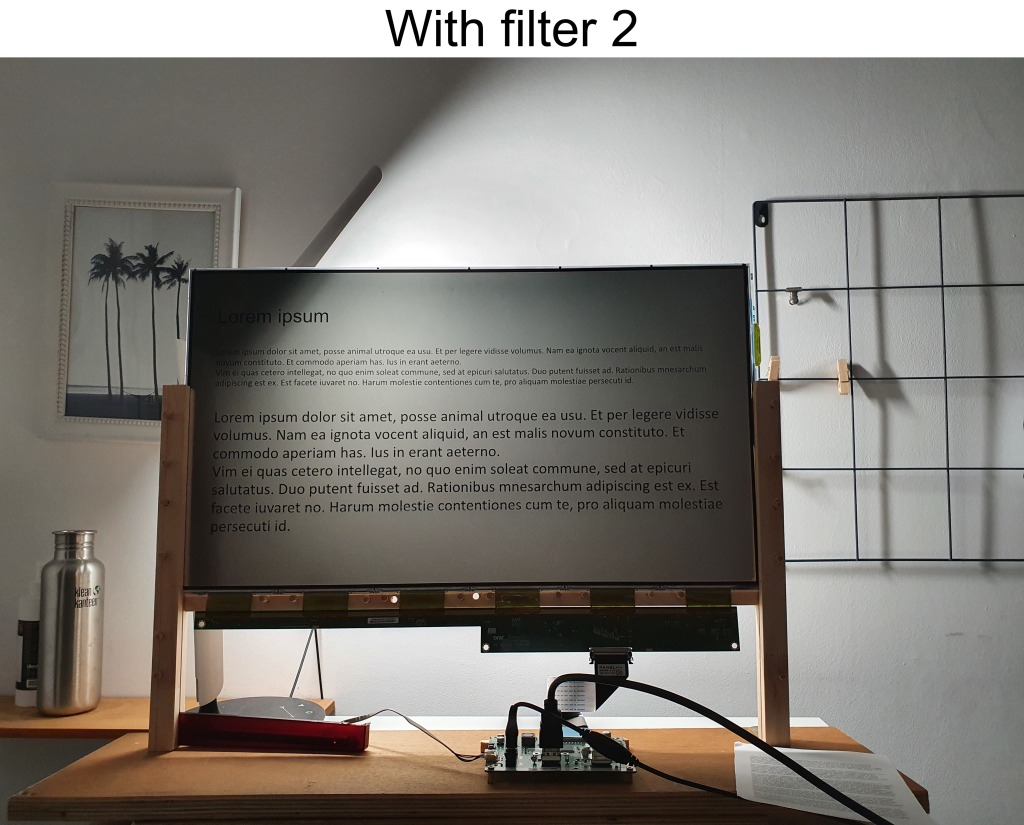
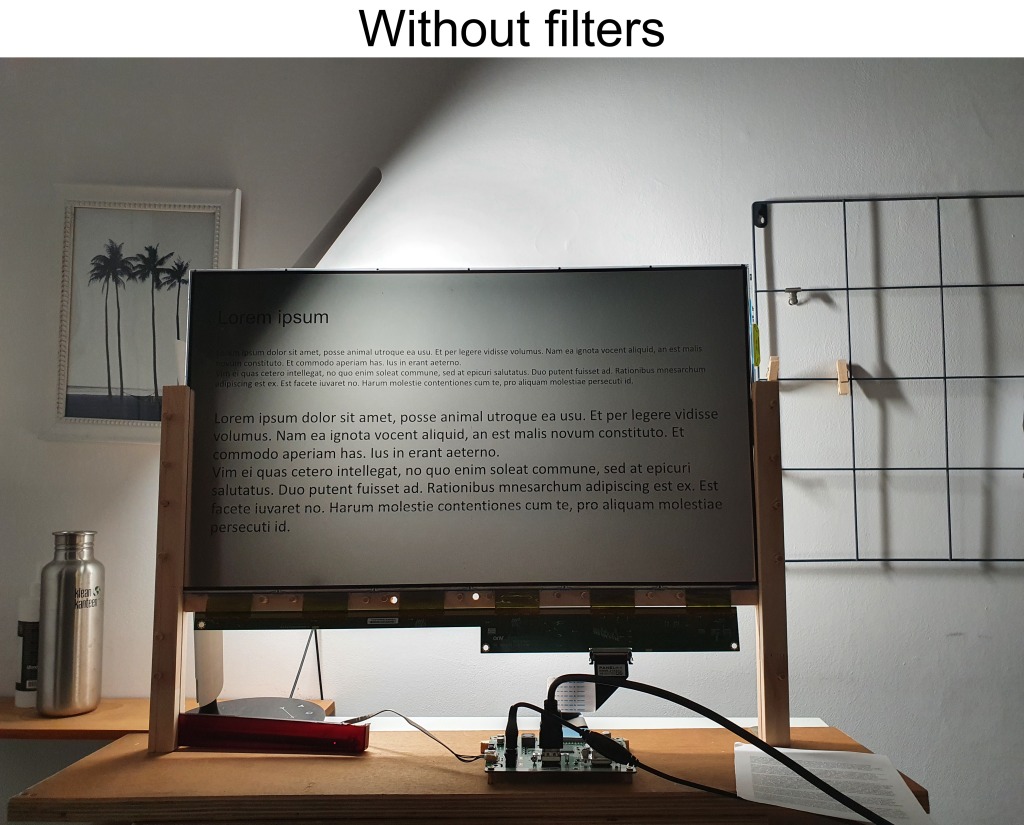
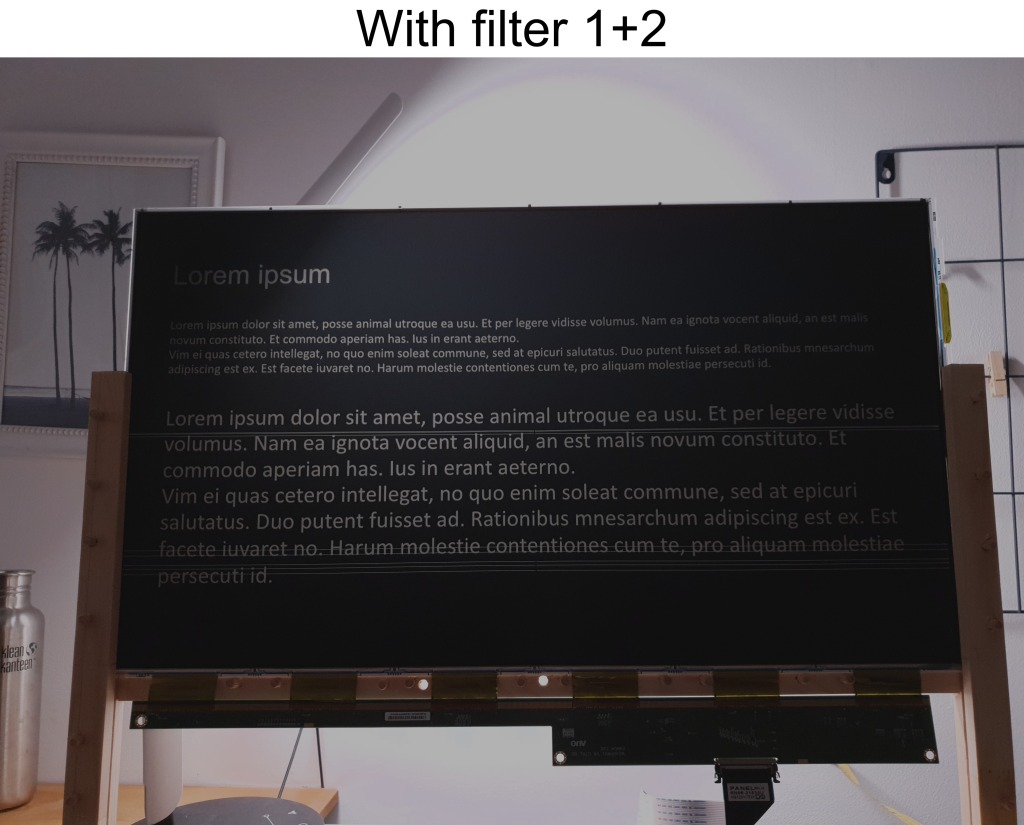
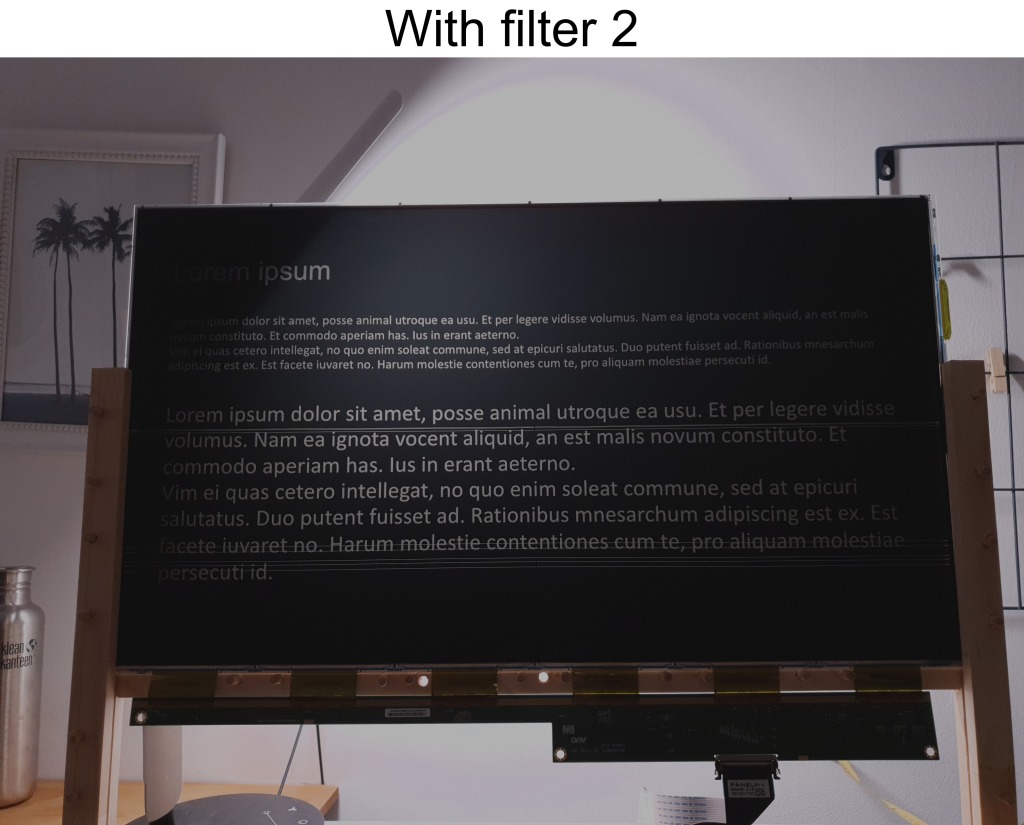
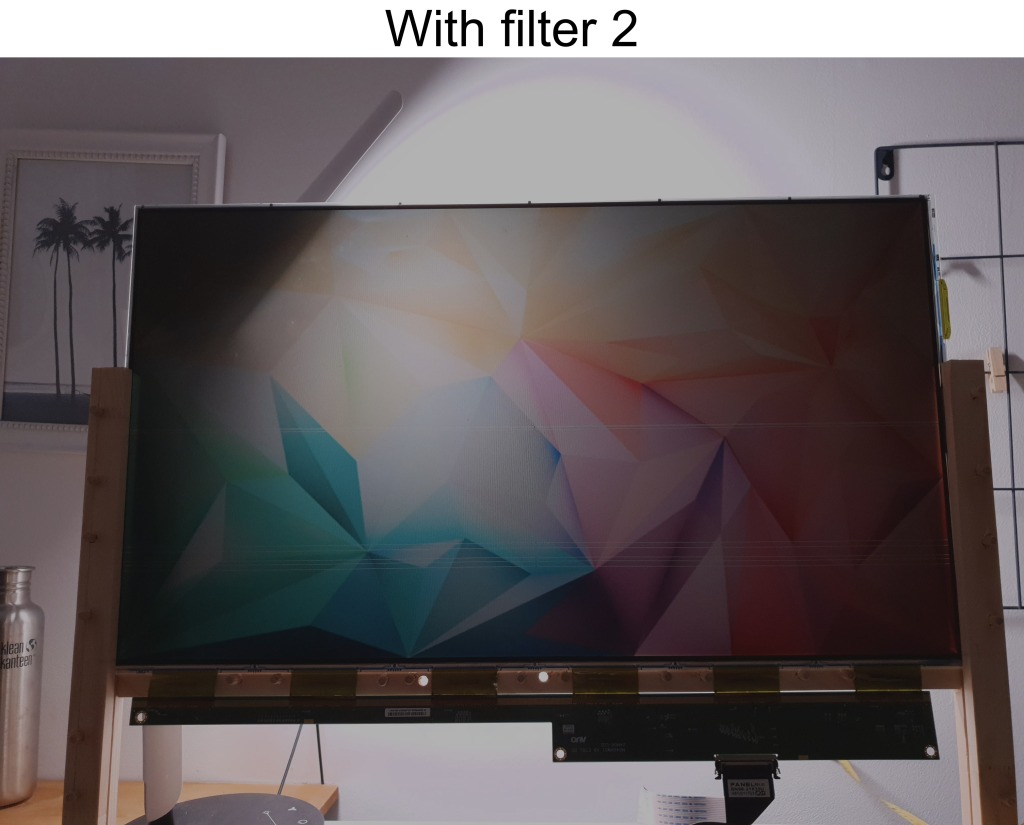
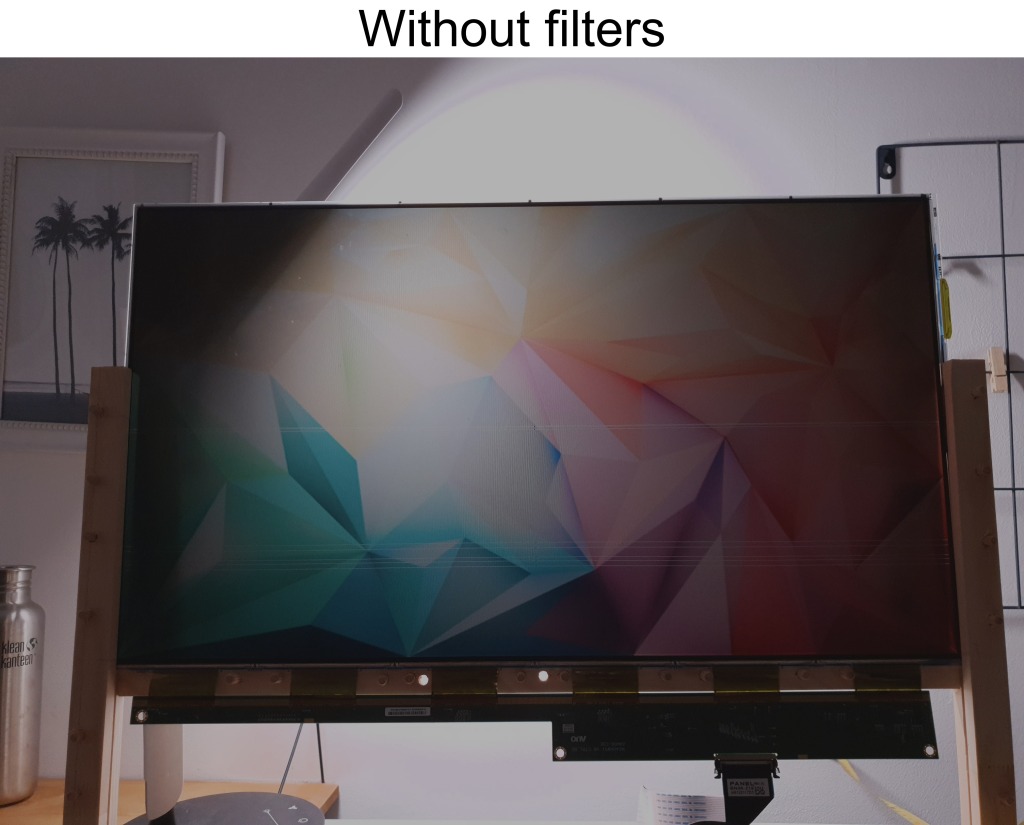
My monitor came with 3 removable screen filters between the LED backlight and the TFT panel: 1 polarizer that I didn’t use, and 2 frosted filters, (I am not sure if the 3rd one is a frosted filter or antiglare or something else, but it has a little frosted property to it that I liked).
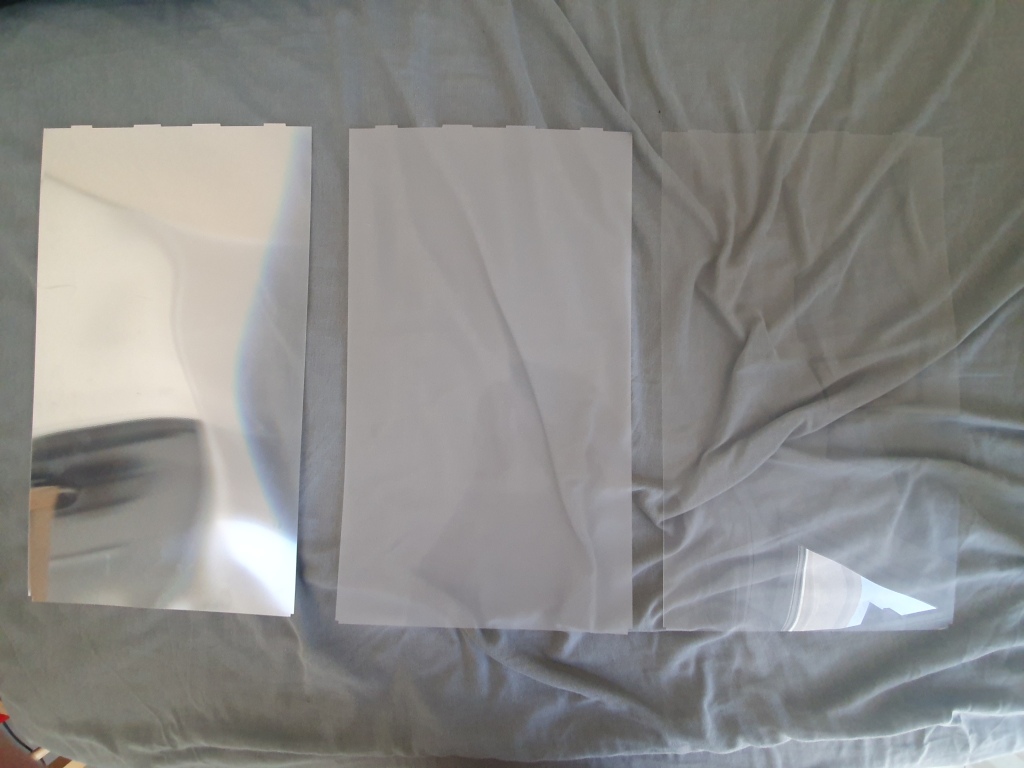
The frosted filters seemed really handy, since the transparent screen really was annoying. There are two issues with a transparent screen:
- Not having an uniform background behind my screen makes it hard to concentrate on text and photos
- We have binocular vision and when focusing on a close object, as the text on the screen, the far background is different for each eye. The images from both eyes are blended together by the brain, and so, the 2 backgrounds overlap in an annoying way. The frosted filters blur the background astonishingly well and this problem is avoided.
Furthermore the filters seem to act as an average filter: if a part of the screen is slightly more illuminated, the filters seem to spread the light to the whole area, to a small, but very noticeable extent. The screen is slightly dimmed, but it is more uniform.
Here are some photos of various combinations of the filters and screen:
SETUP
Location
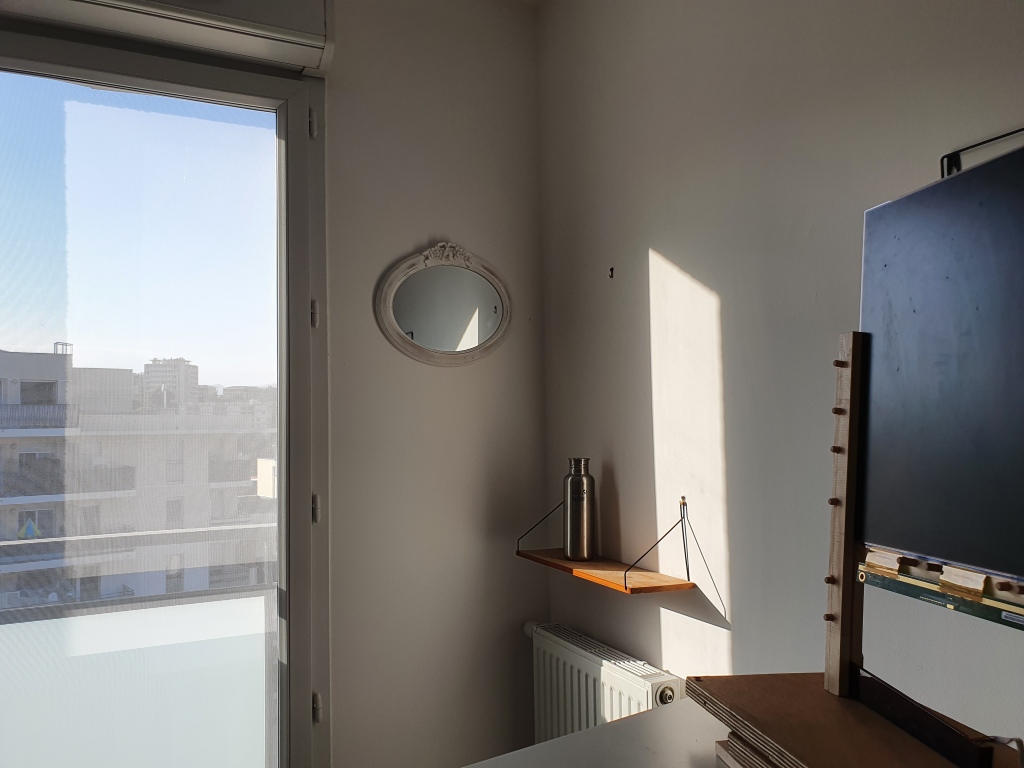
- Last Floor (5th floor)
- Latitude: 43.580418 N
- There is only one window in the room and it is facing North-West Direction:
- I only get to see the sun through my window only after 16h00 at this time of year
- Photos taken on 17 August 2021 :
- Sunrise time: 06h39
- Sunset time: 20h30
- My view is partially clear, there are some buildings in from of mine, at the same level, but 35 meters away. The lack of taller buildings makes my window/room receive a lot of ambient light, despite the fact that I don’t have any direct sunlight throughout the day.
Equipment
- The monitor I used is a Samsung SyncMaster S24B350H
- Diagonal : 24″ (61 cm)
- LED backlight
- Format : 1920 x 1080 / 16:9
- TFT TN panel – 2ms response
- 60Hz
- Horizontal viewing angle : 170 Degrees
- Vertical viewing angle : 160 Degrees
- Photos taken with a Samsung s10E
Caveats
- Since the smartphone cameras have very little dynamic range compared to the human eye, I’ve tried to set manual parameters in order to replicate as much as possible what I’ve experienced with my own eyes. The whites on the screen are well replicated in the photos, but the blacks not as well. In reality they are much darker, hence the contrast in the photos is a little less good. Unfortunately I wasn’t able to find the most optimum settings in my camera.
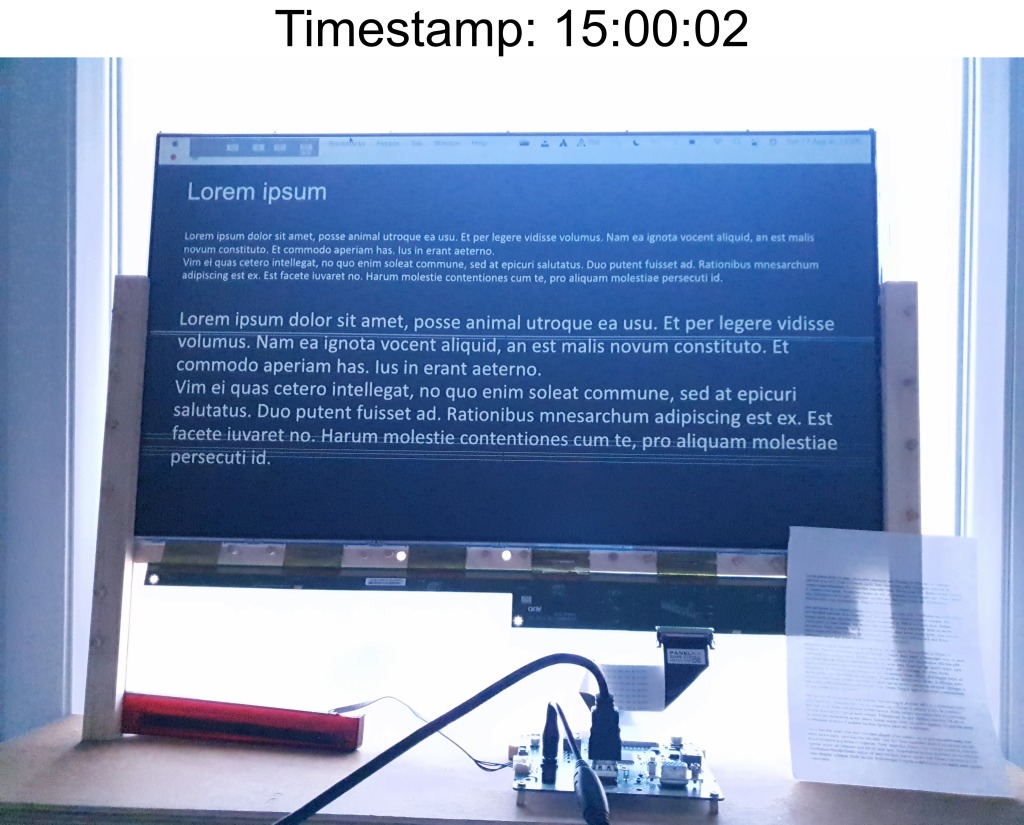
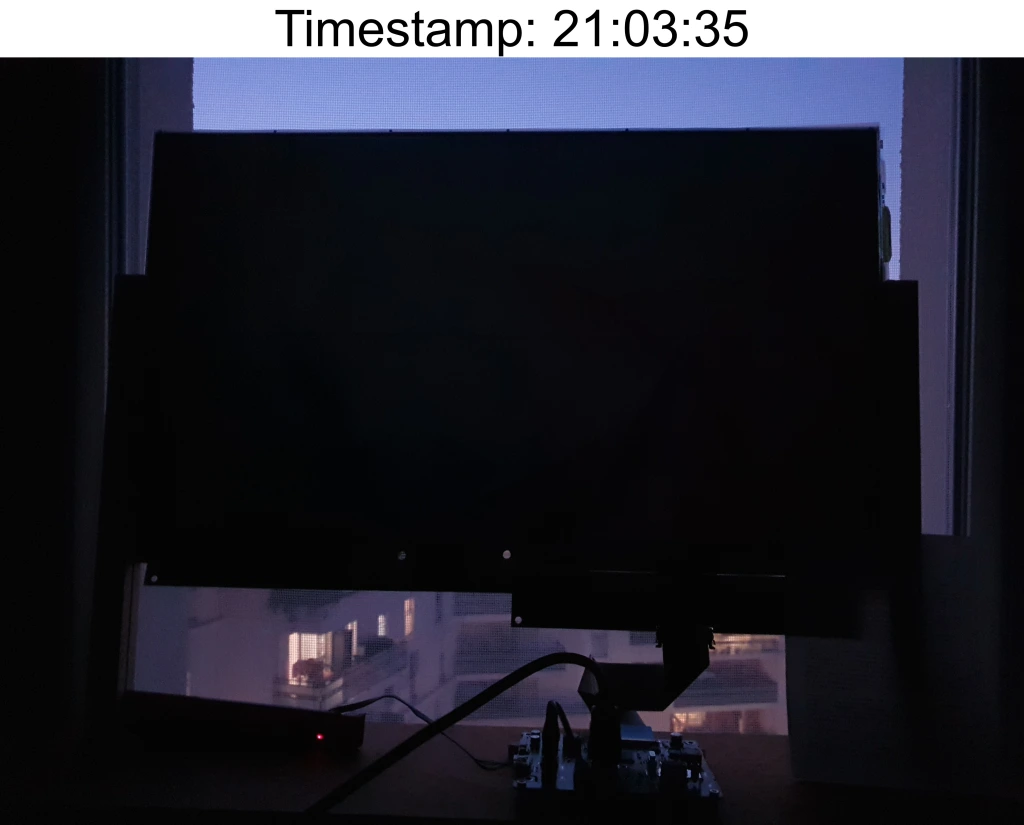
- I’ve propped the screen upside down, for easy cable management, but it proved to be a bad idea for common use. Screens in general have very bad viewing angles from below, and since it is upside down, it means that now, it has bad angles from above. To correct this, I’ve slightly slanted to screen forward, and when I took the pictures, I made sure the angle is optimal.
- I’ve accidentally hit the LCD while I was storing it overnight after dismantling it. Oops. It damaged the screen a little bit and the screen acquired some dead pixel lines. Please try to ignore that.
- !!!! The screen is most transparent when it is displaying white, or while it is shut off. If you notice that the screen is not as transparent while displaying white vs turned off, it might mean that the contrast is not correctly set in the monitor settings, or that some software on your computer dims the signal sent to the monitor. The whites on the screen will be as white as the screen while it is turned off.
- PUT picture
Usecases
The next use-cases will be studied by this post
- In front of North-West facing window
- TimeLapse Photos on Sunny Day
- Evaluate different distances from window
- TO DO:
- Rainy Day
- Cloudy Day
- Timelapse during Winter Day
- Inside room – with daylight:
- Walls: discussion & Analysis
- Well illuminated wall scenario
- TO DO:
- TimeLapse during whole day with diffused illuminated wall
- Inside room – during nighttime with a lamp:
- Explore lamps and feasibility
- TODO :
- Build/Buy an appropriate lamp and restudy usecase
- Outside during day/evening
- Study how the screen looks in different positions outside
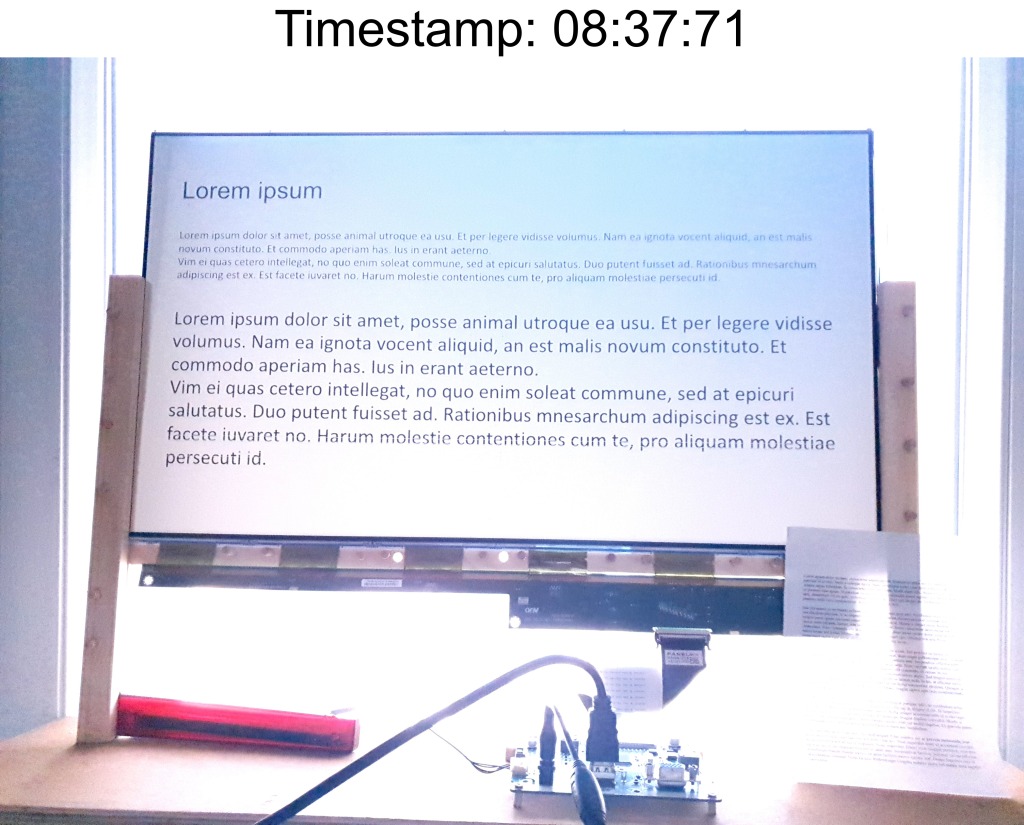
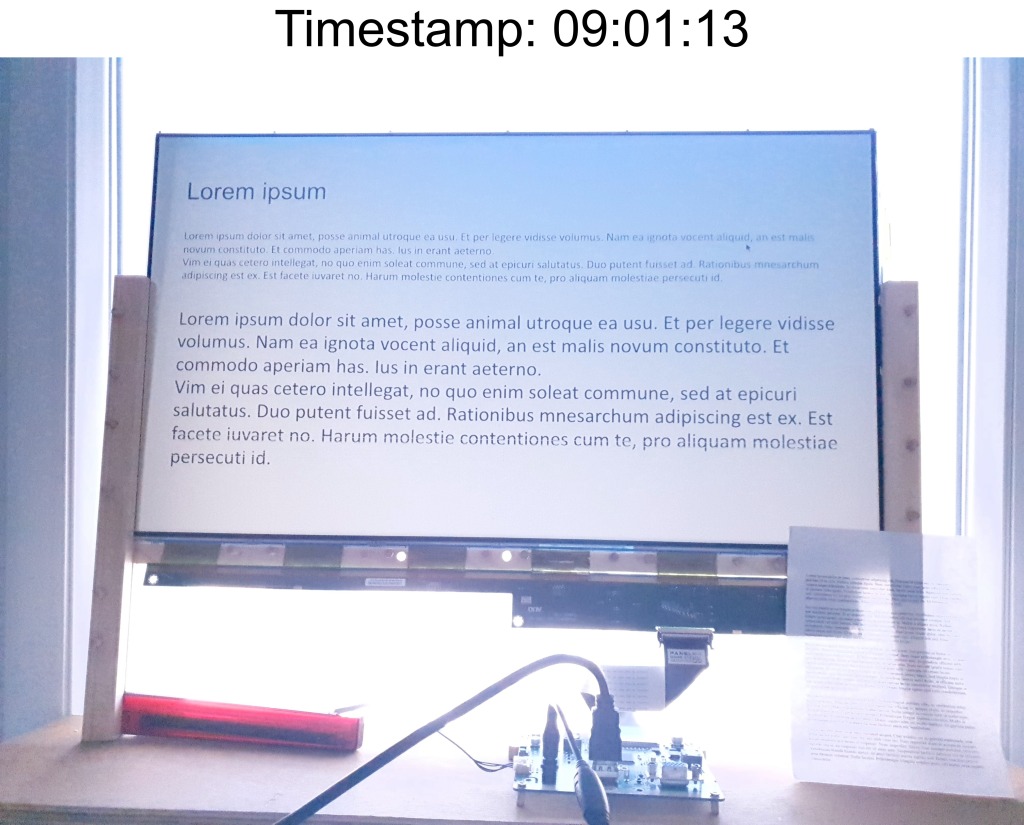
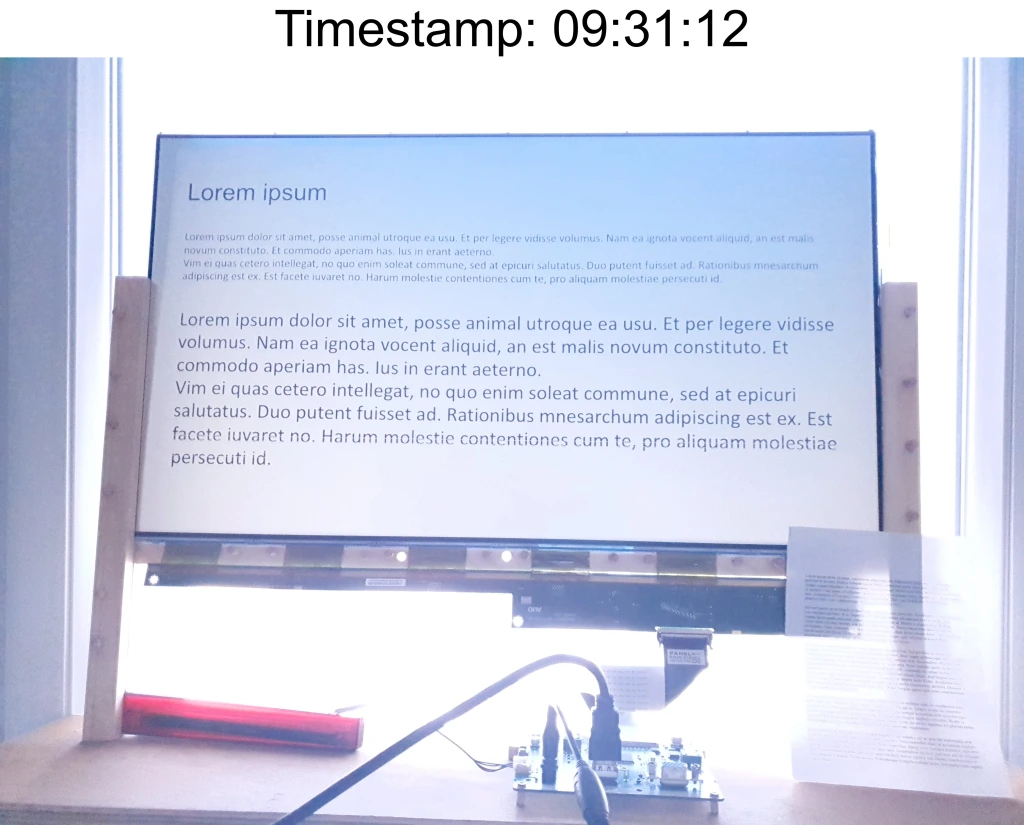
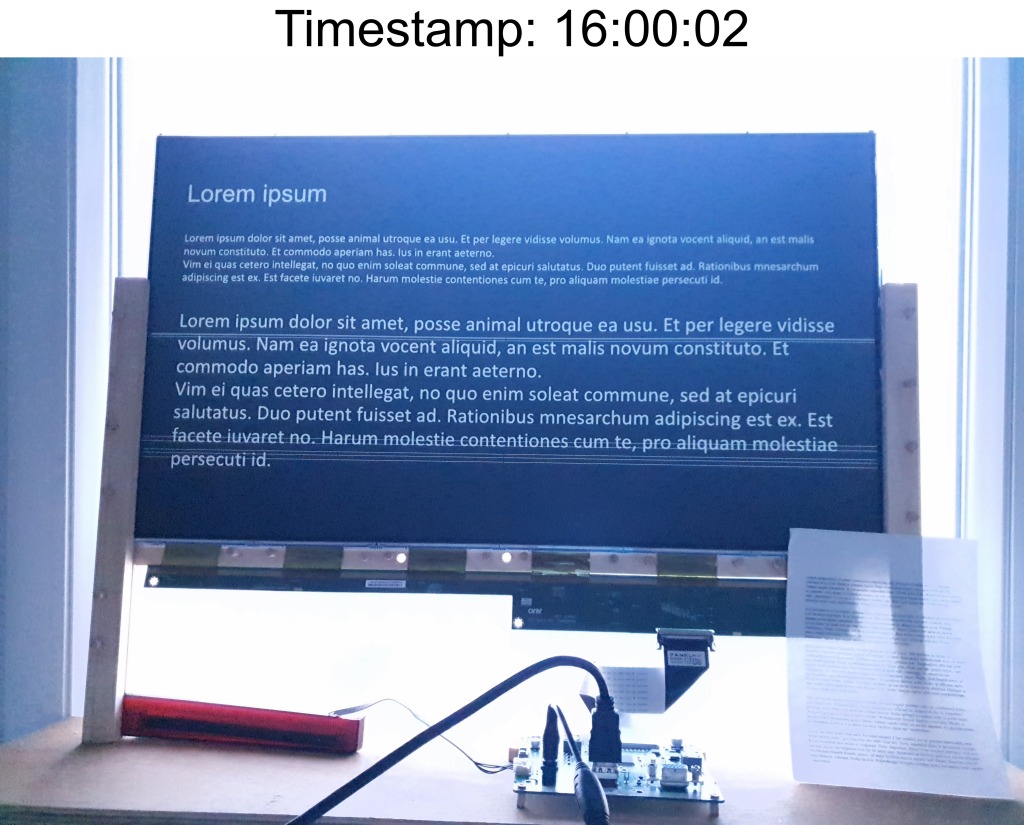
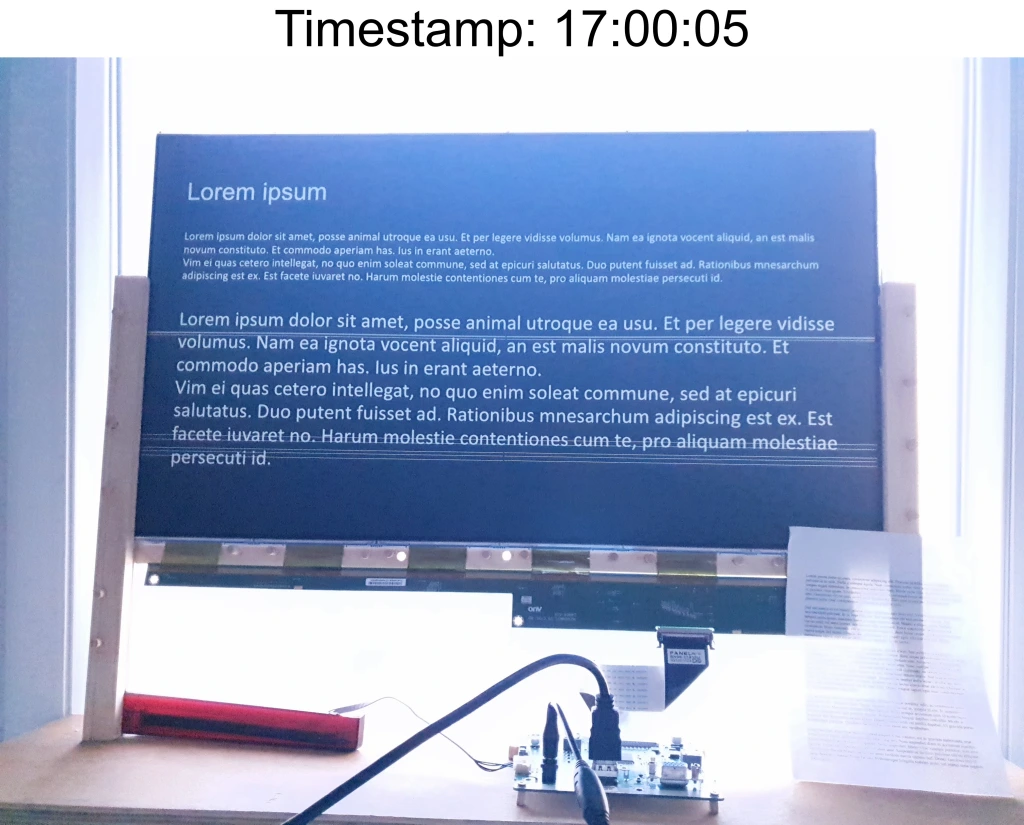
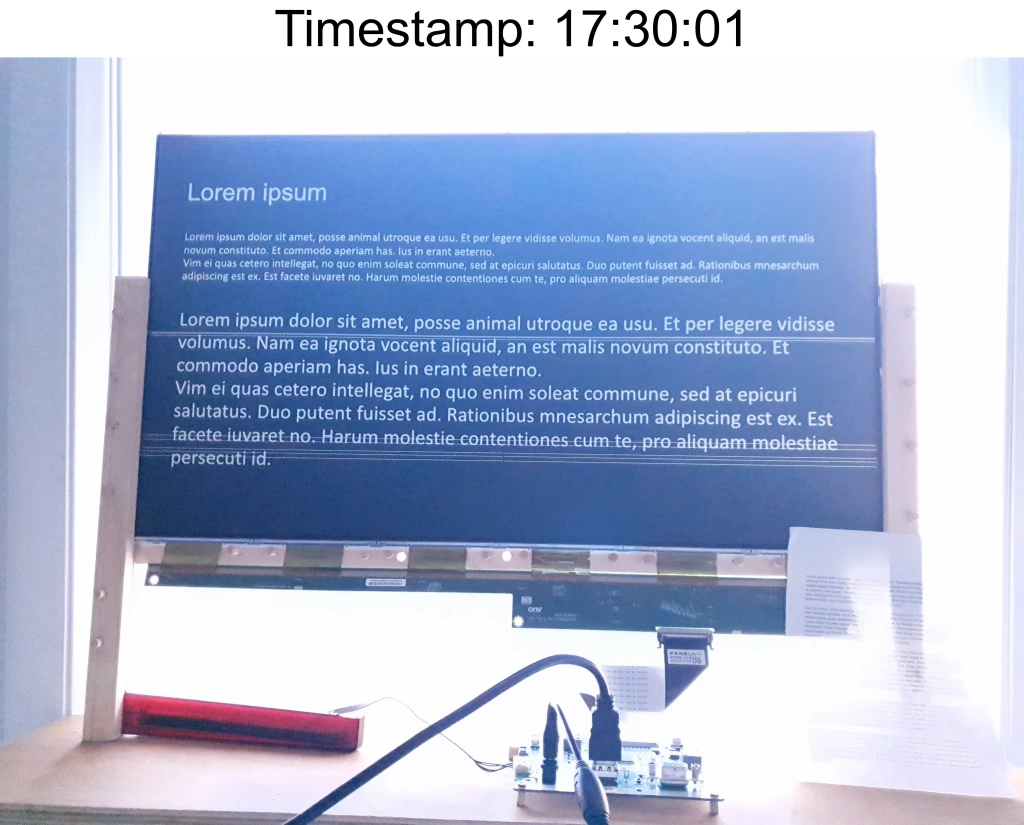
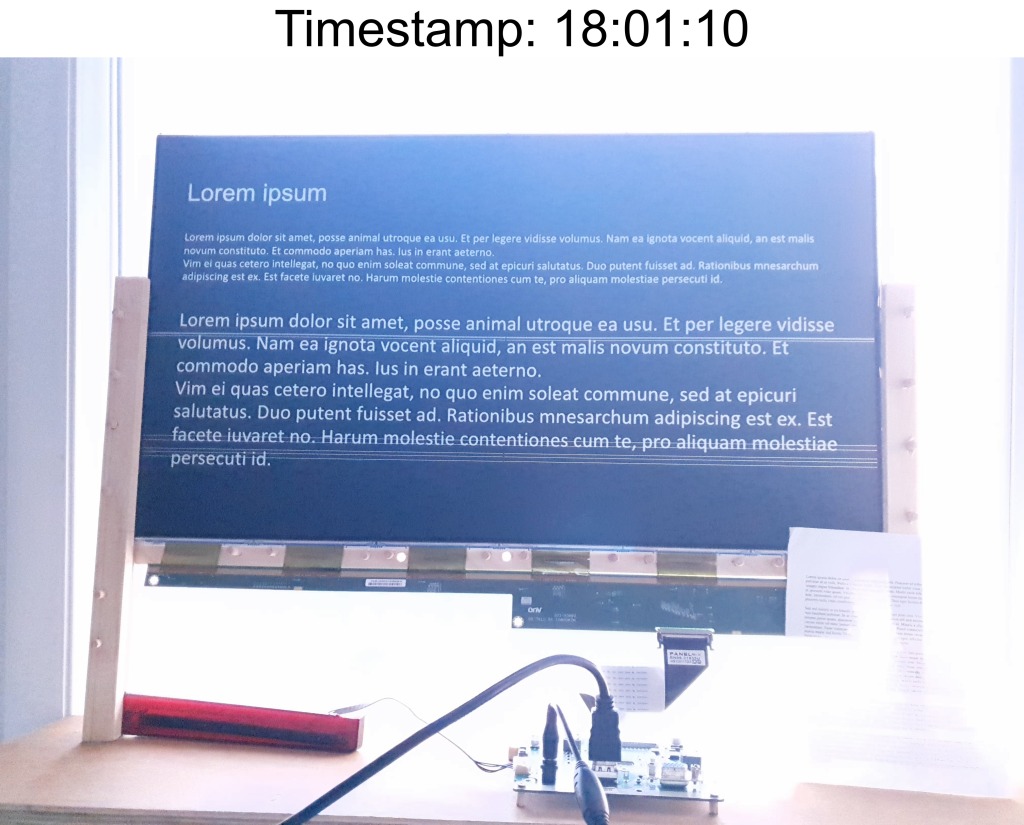
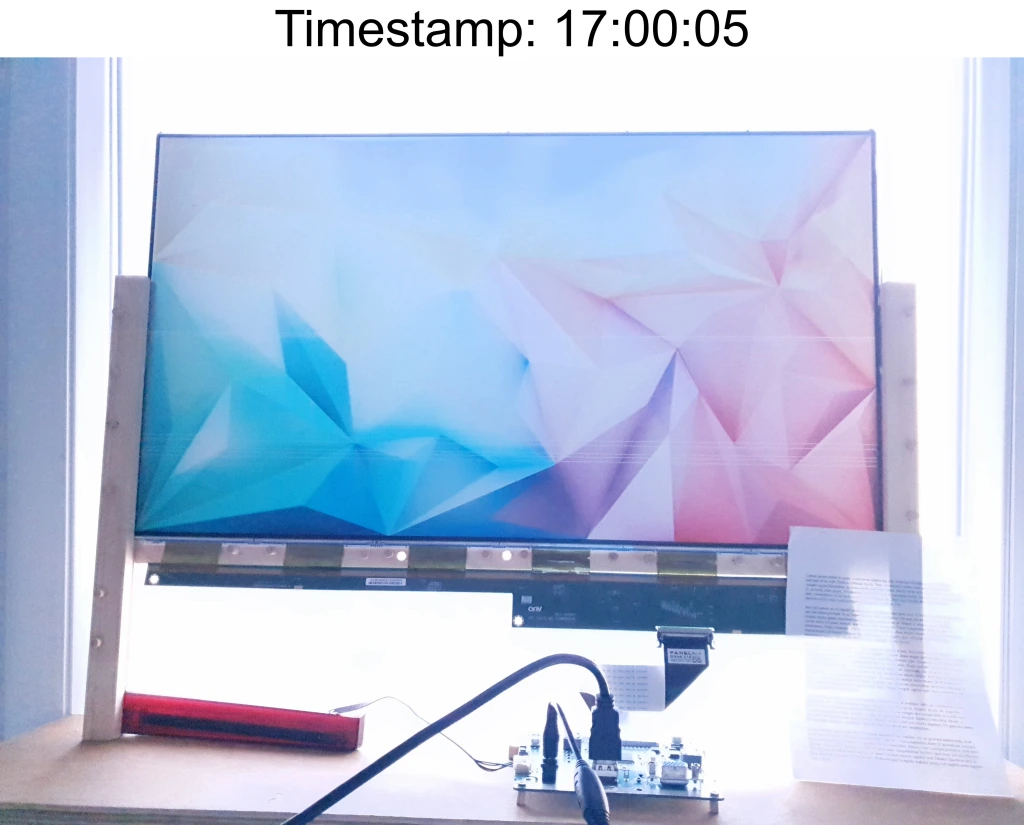
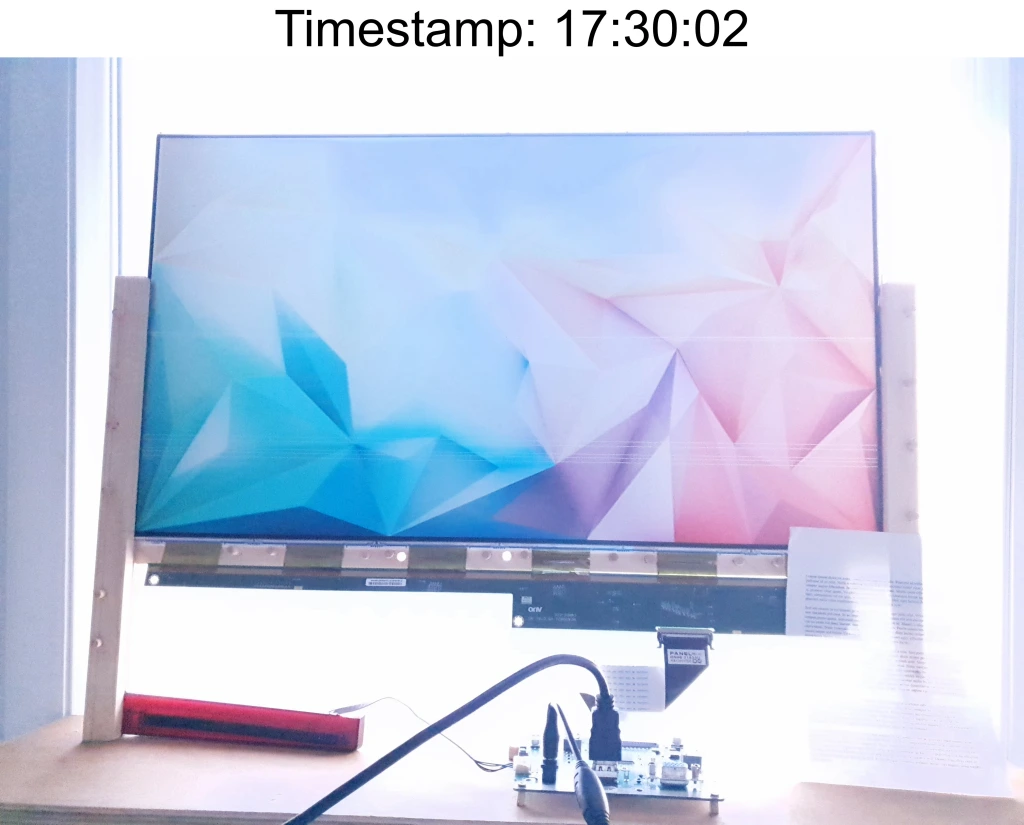
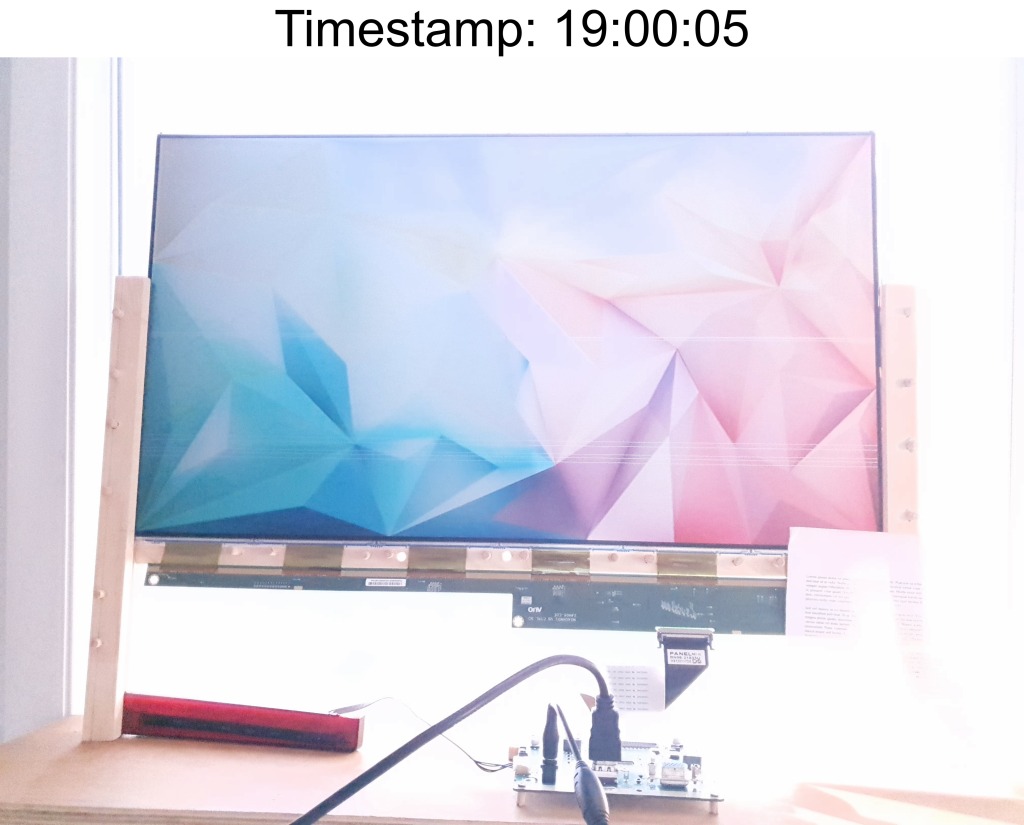
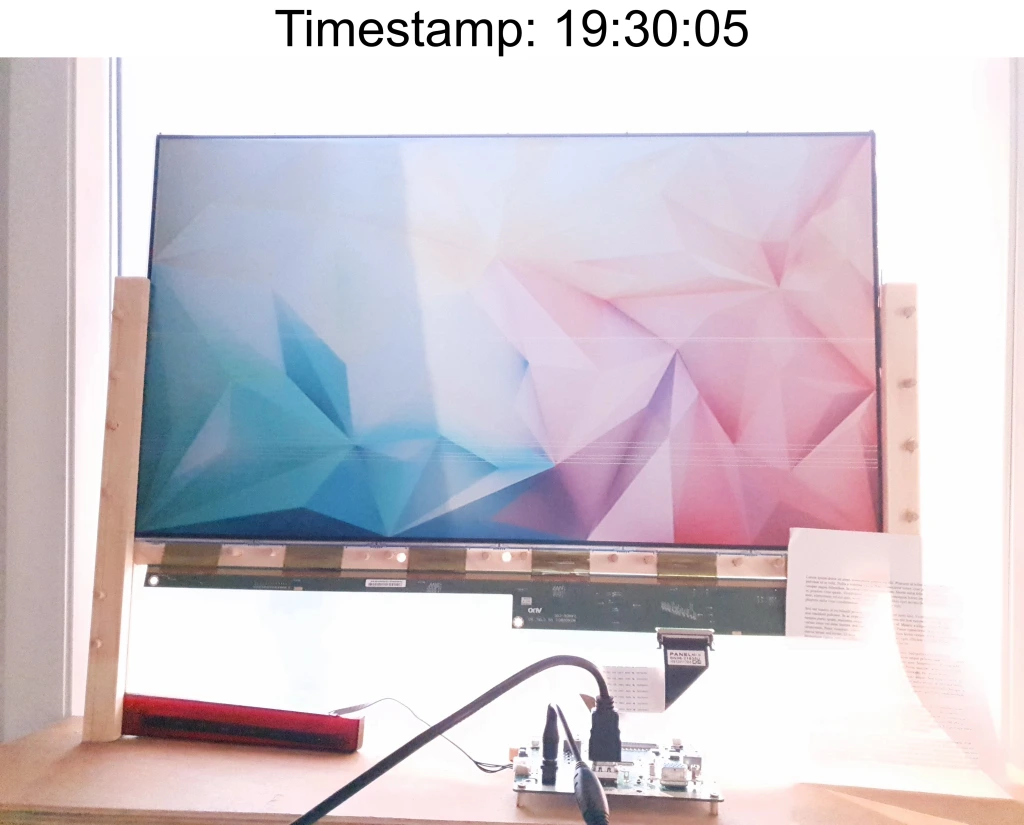
1. Front of Window
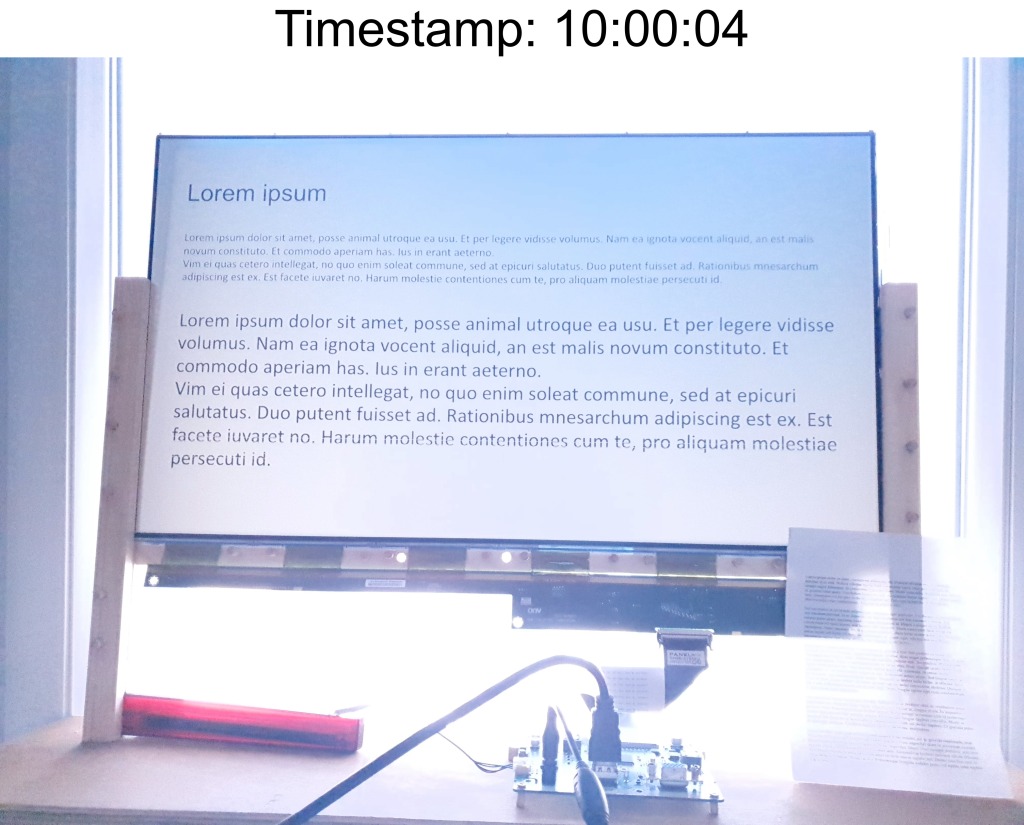
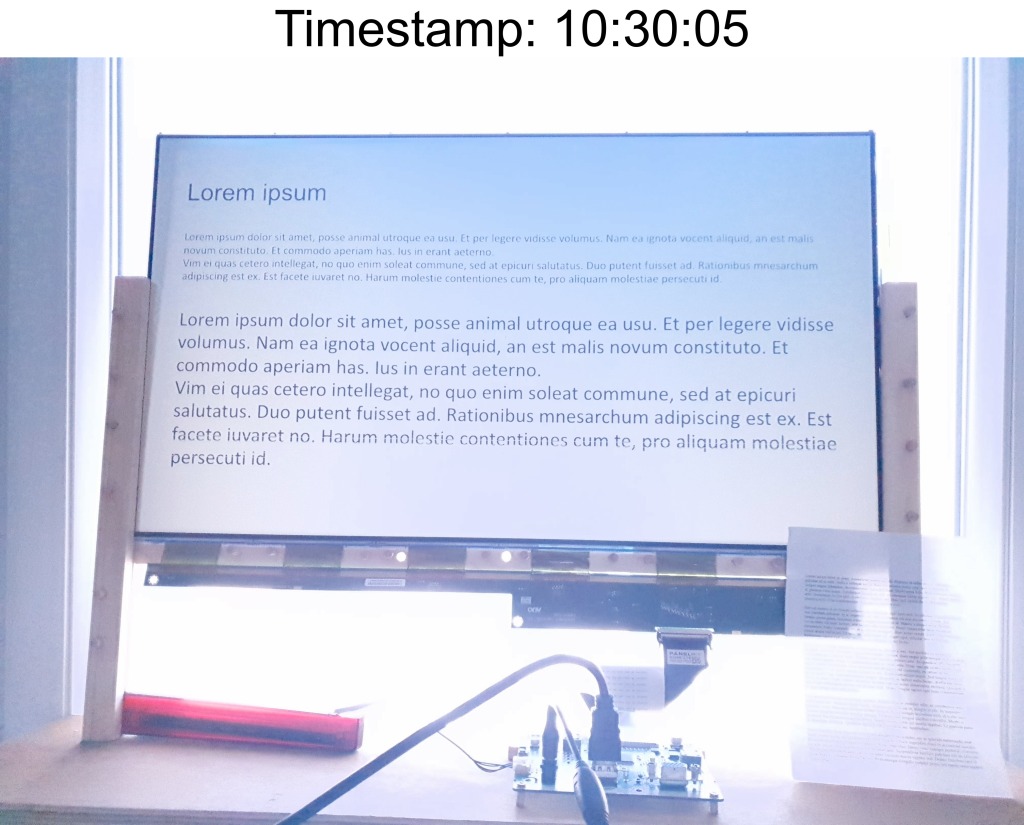
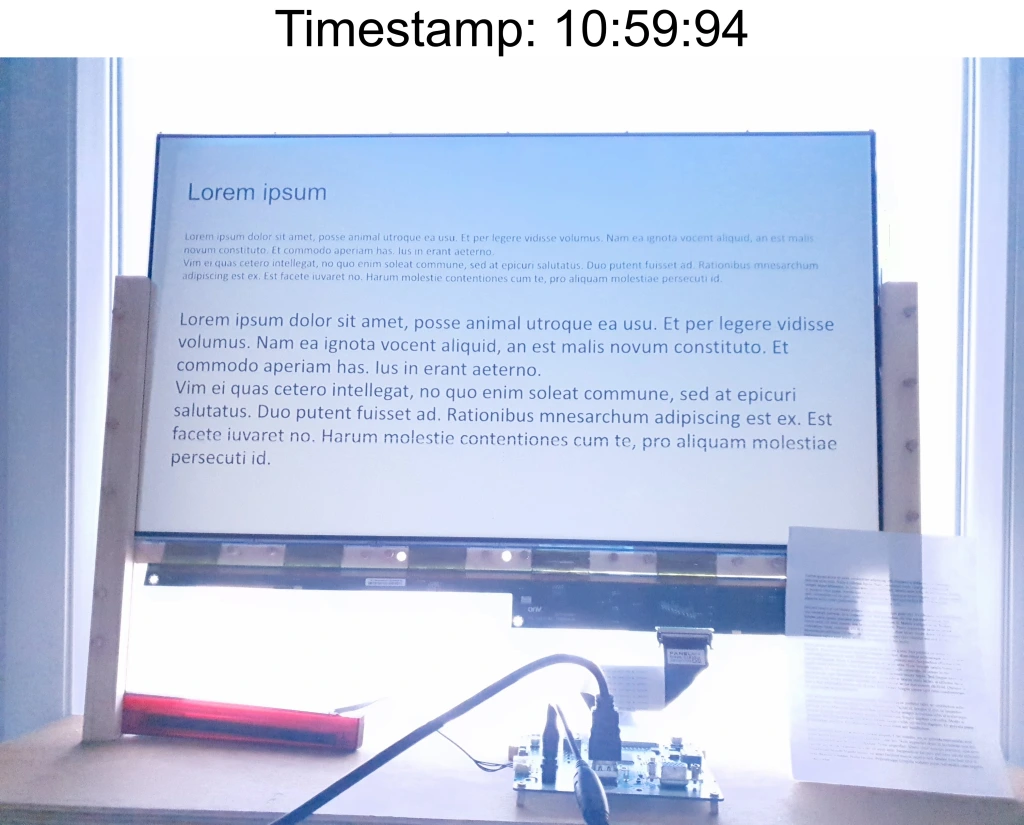
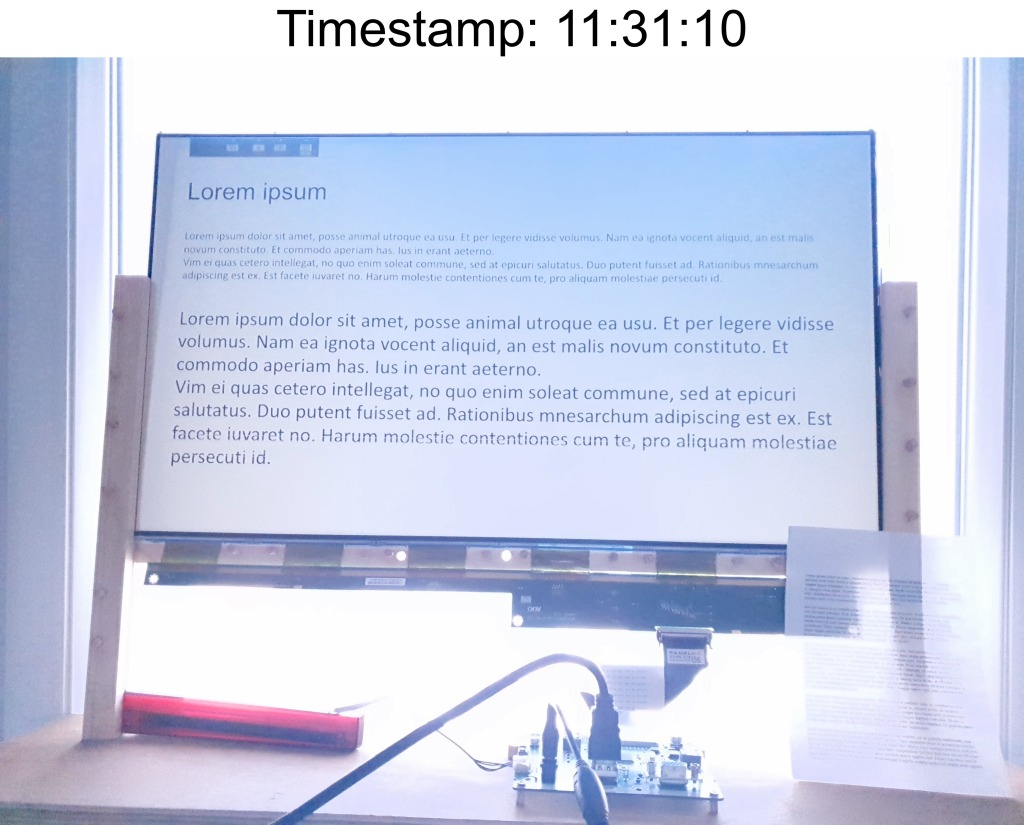
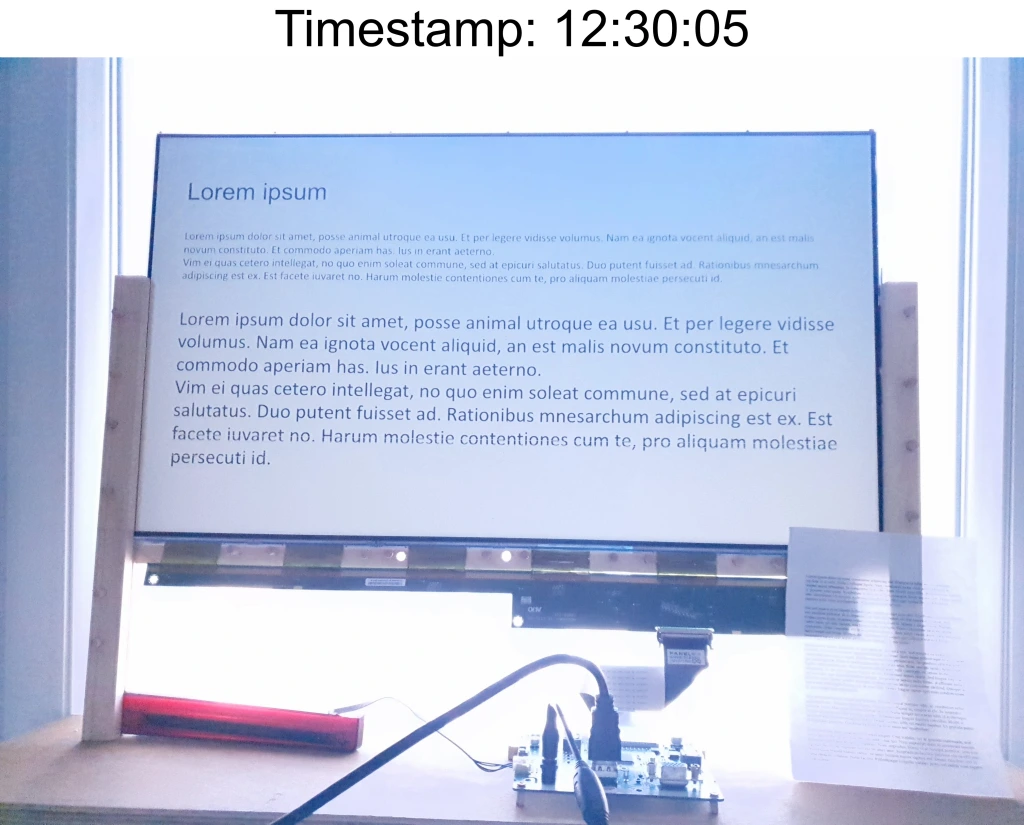
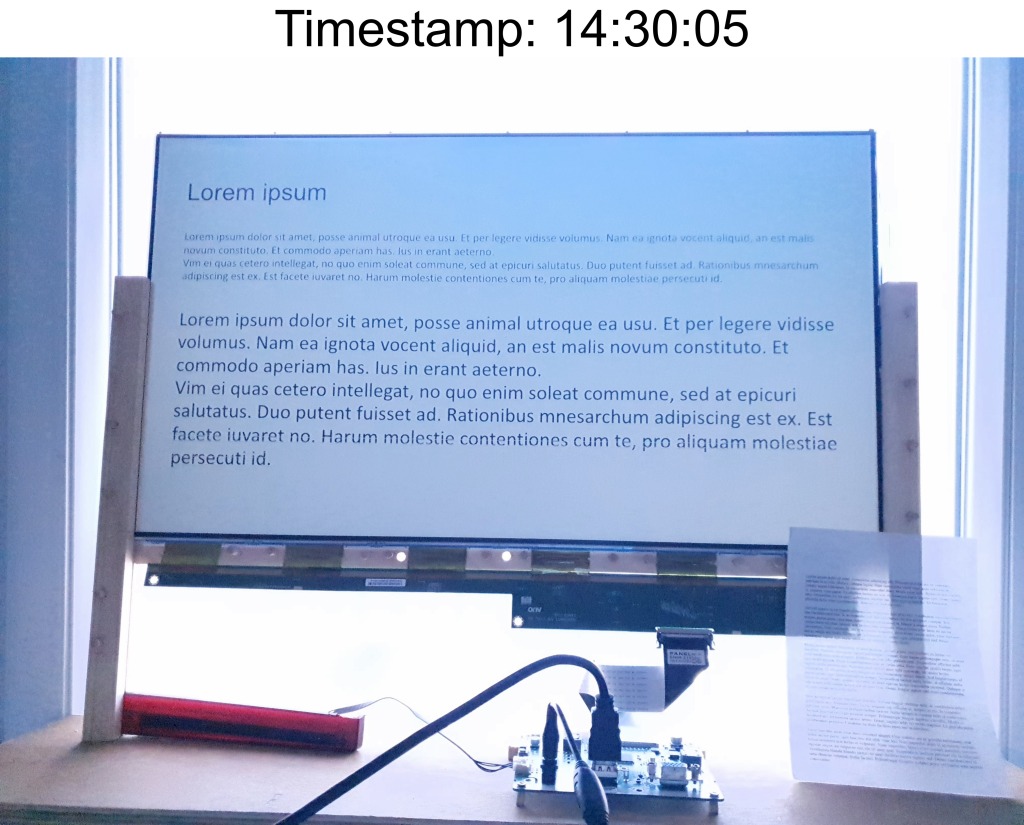
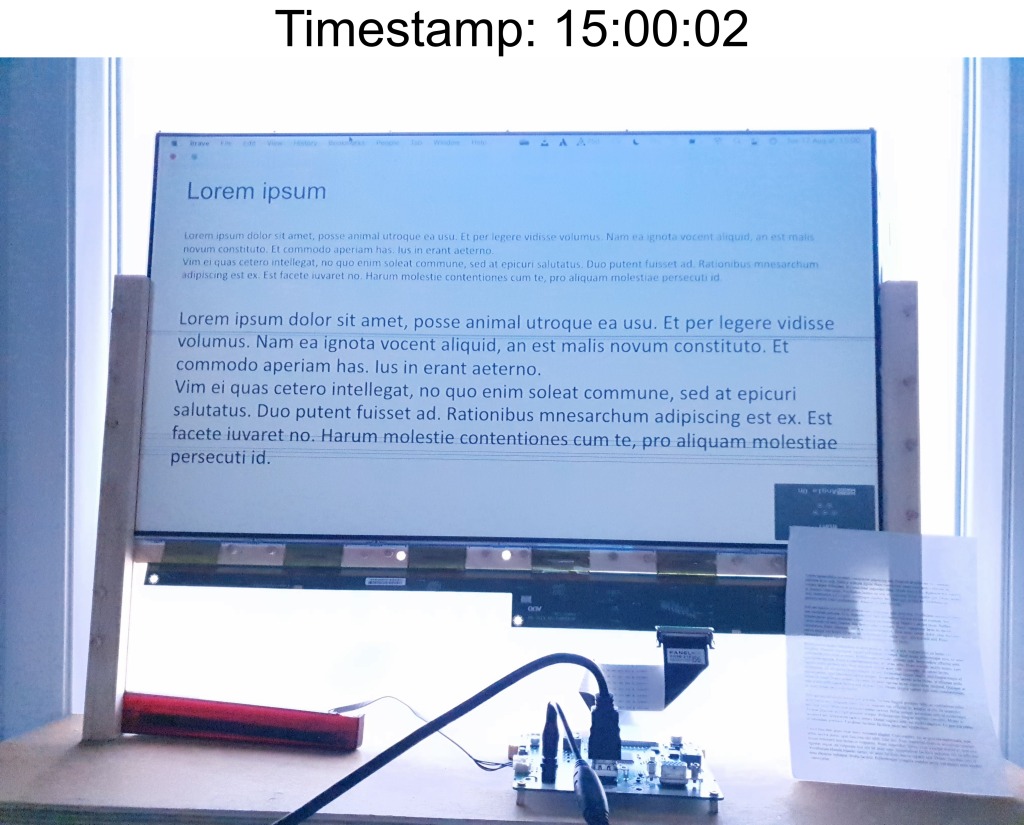
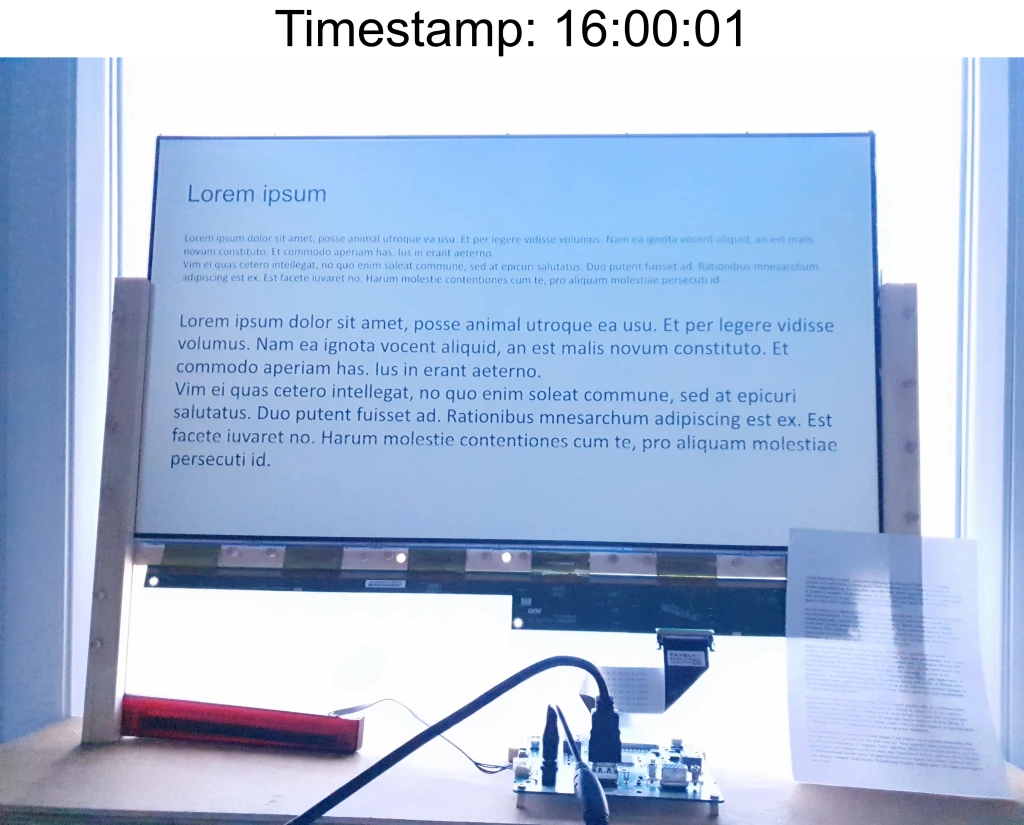
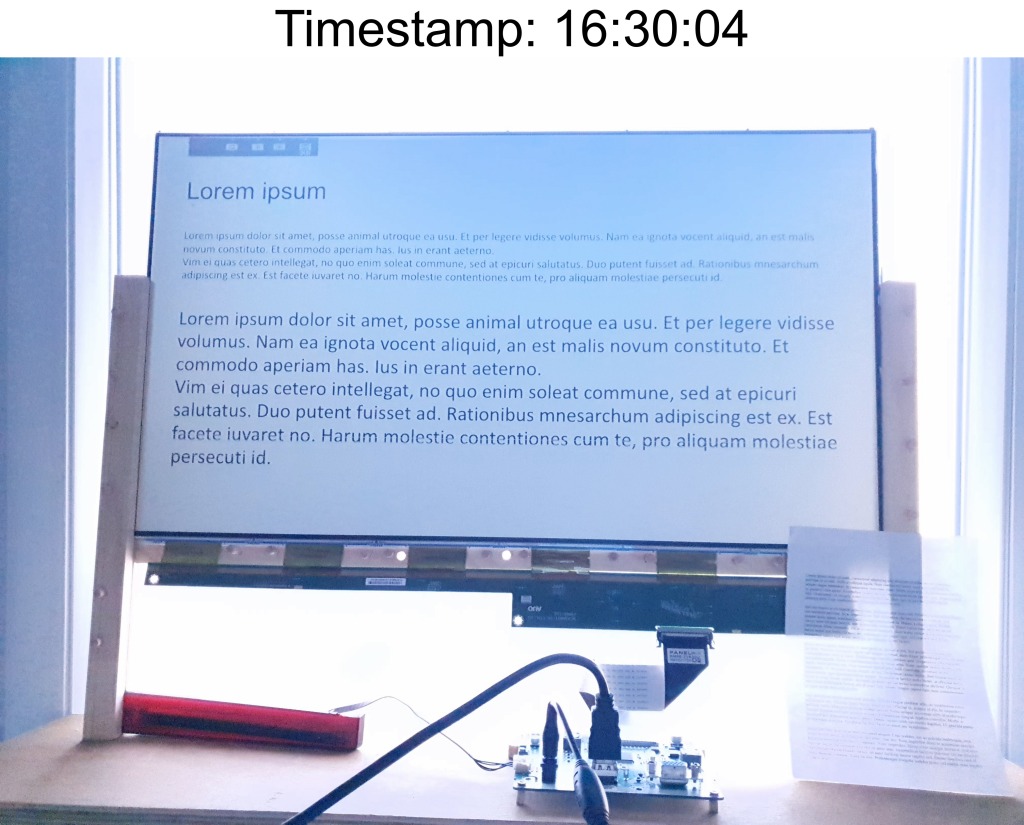
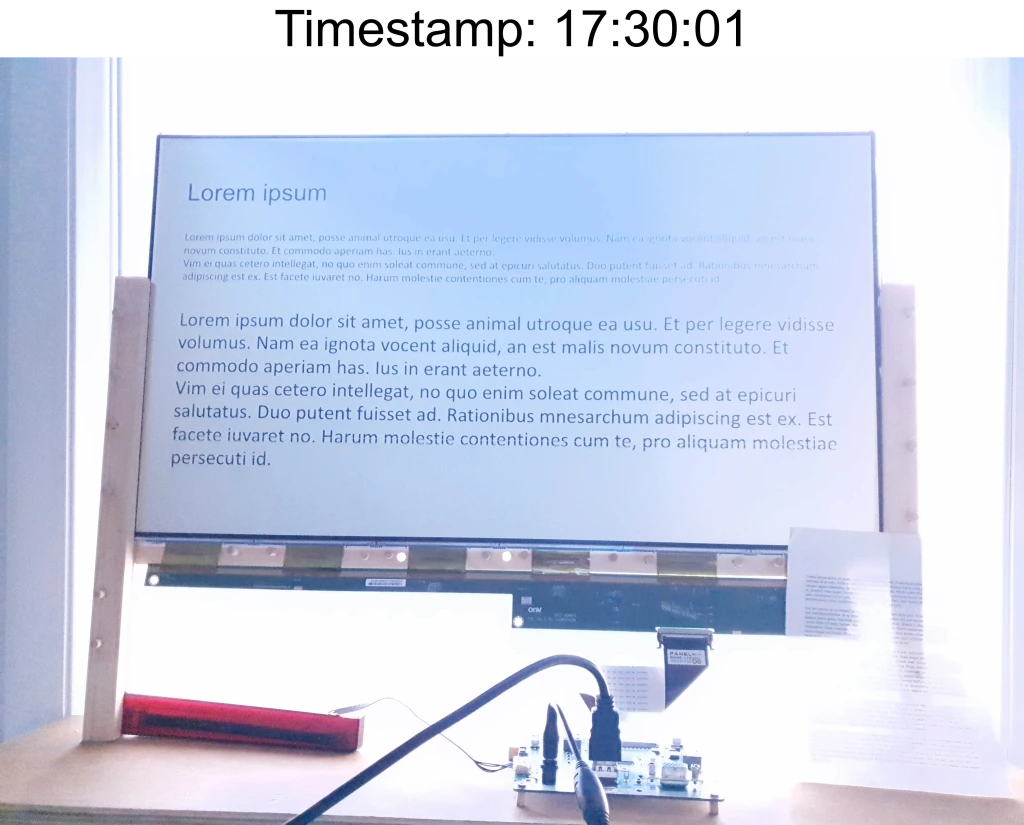
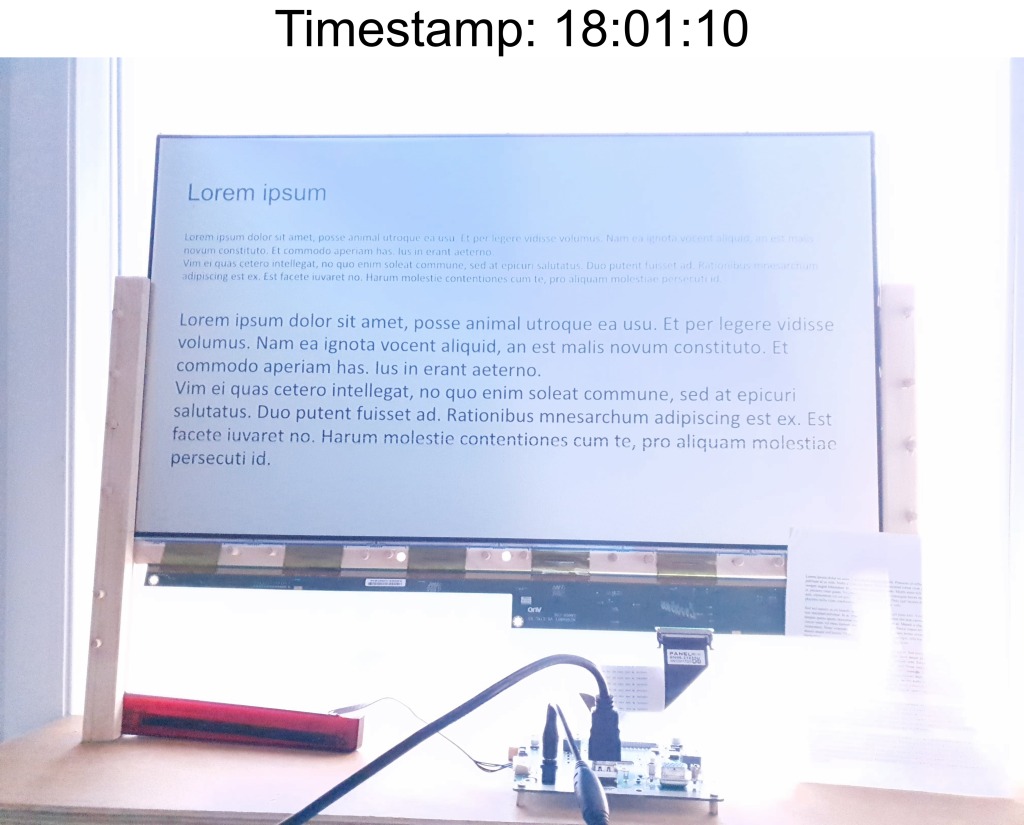
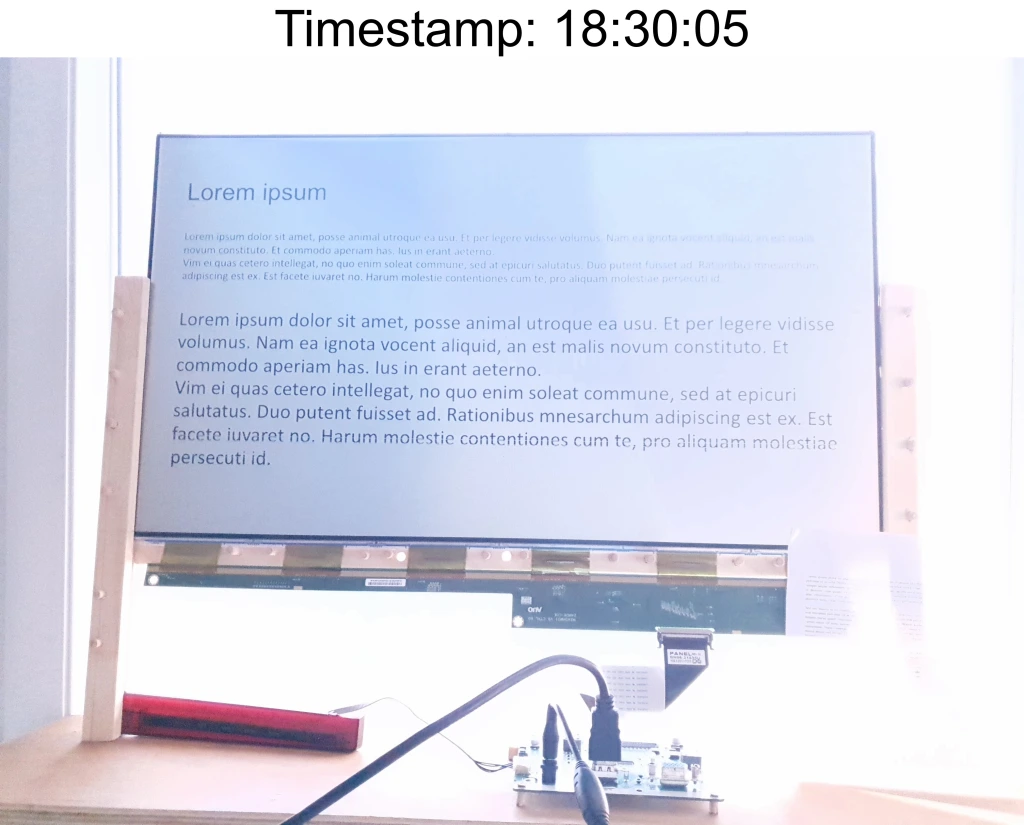
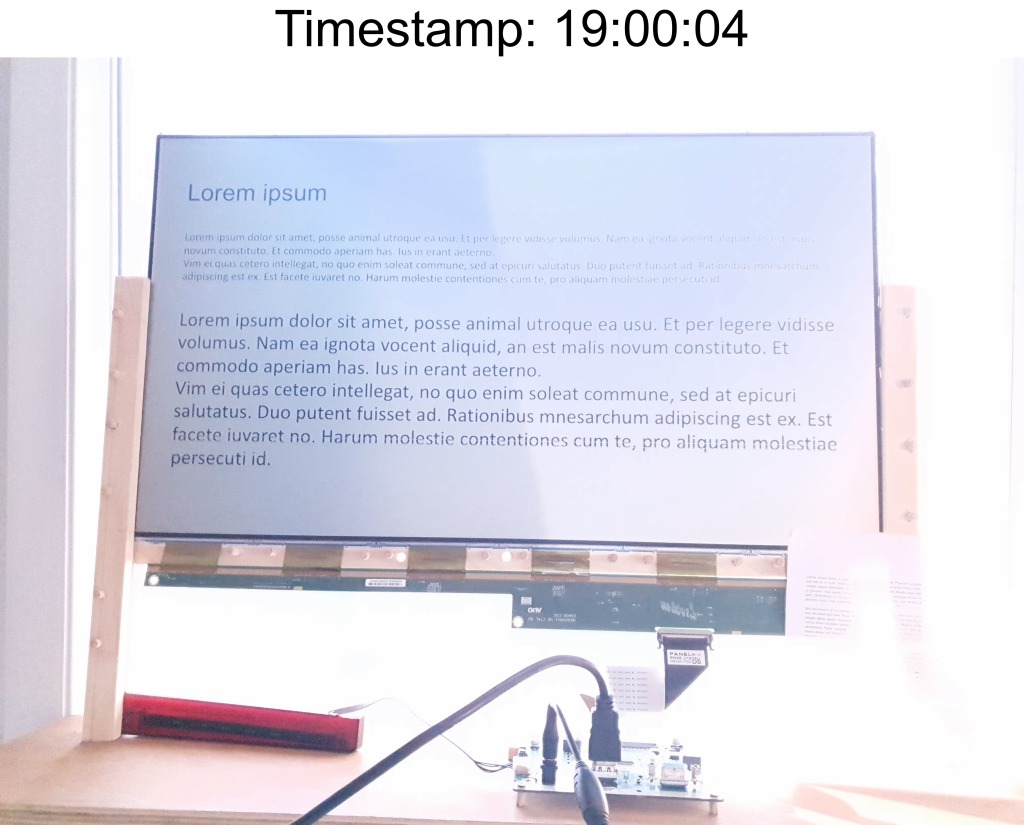
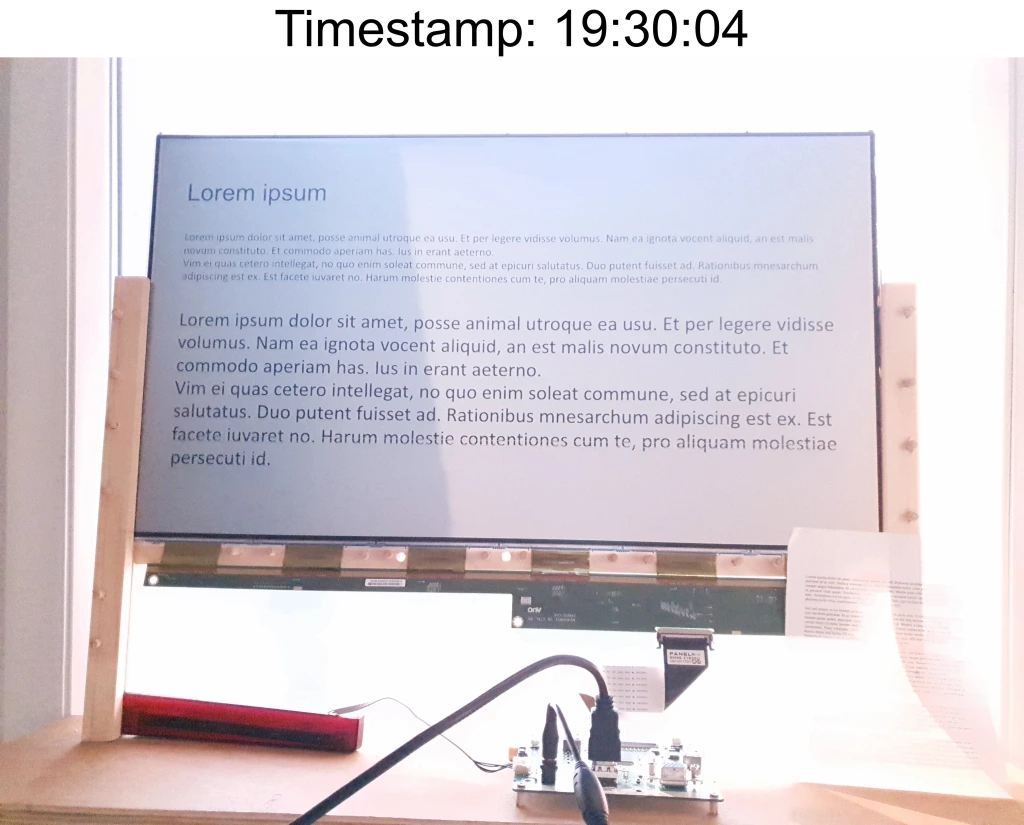
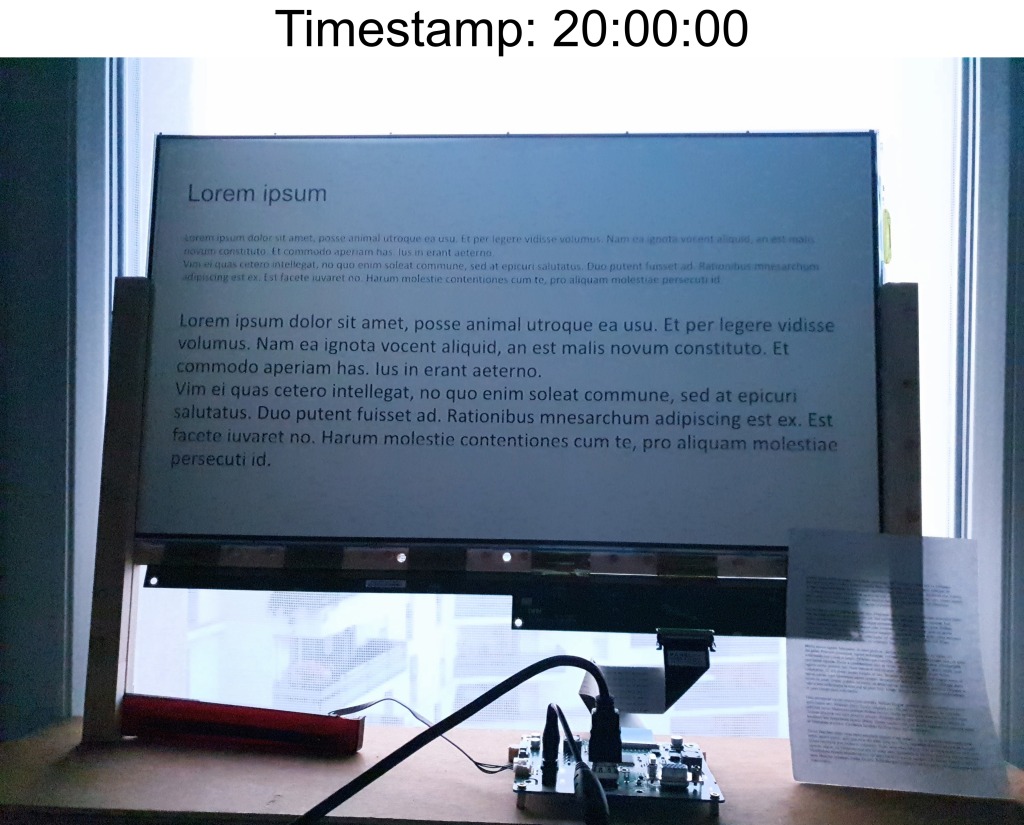
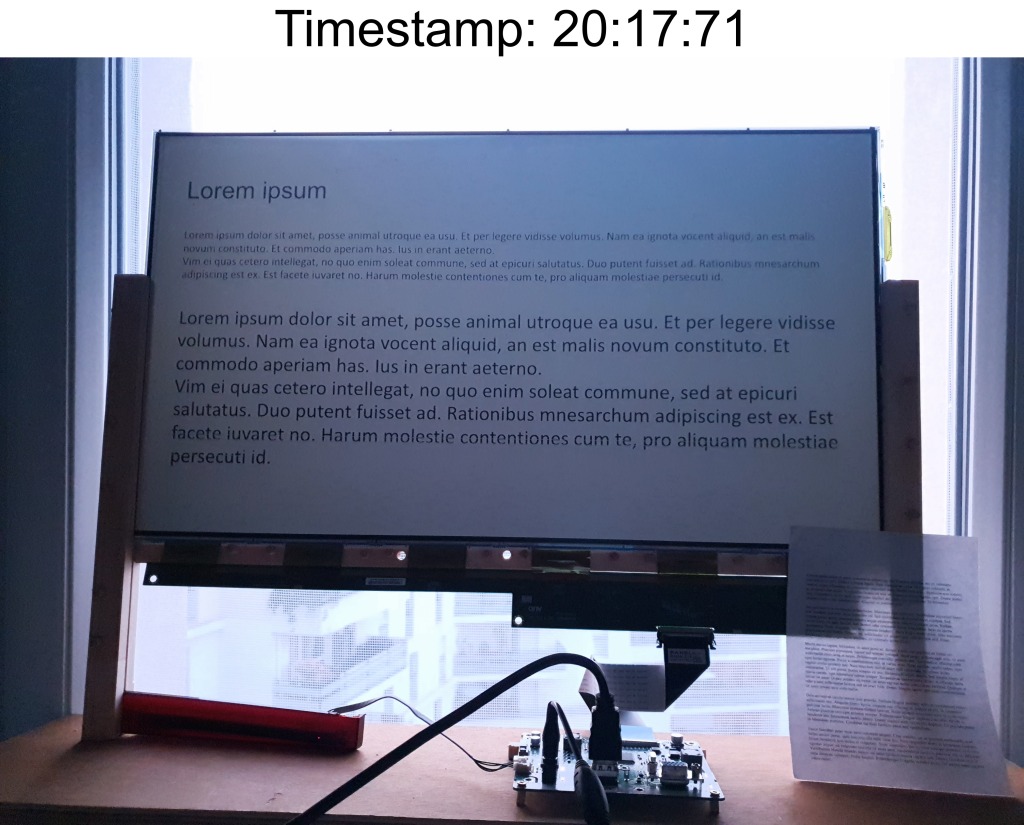
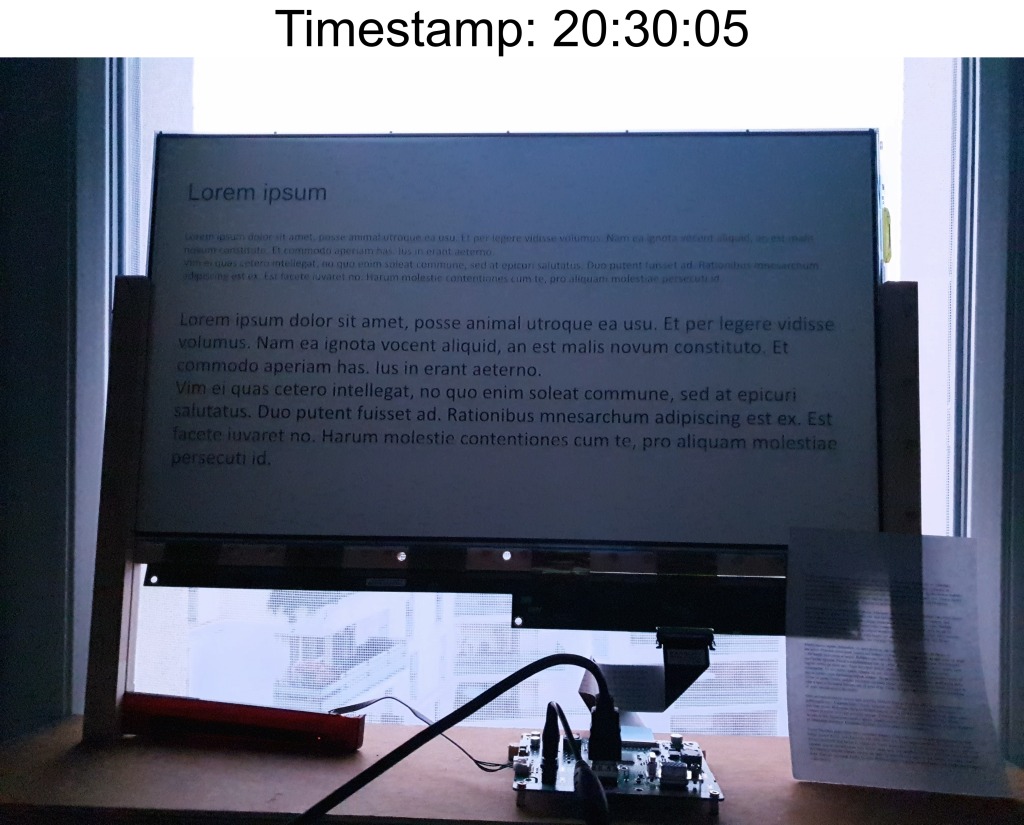
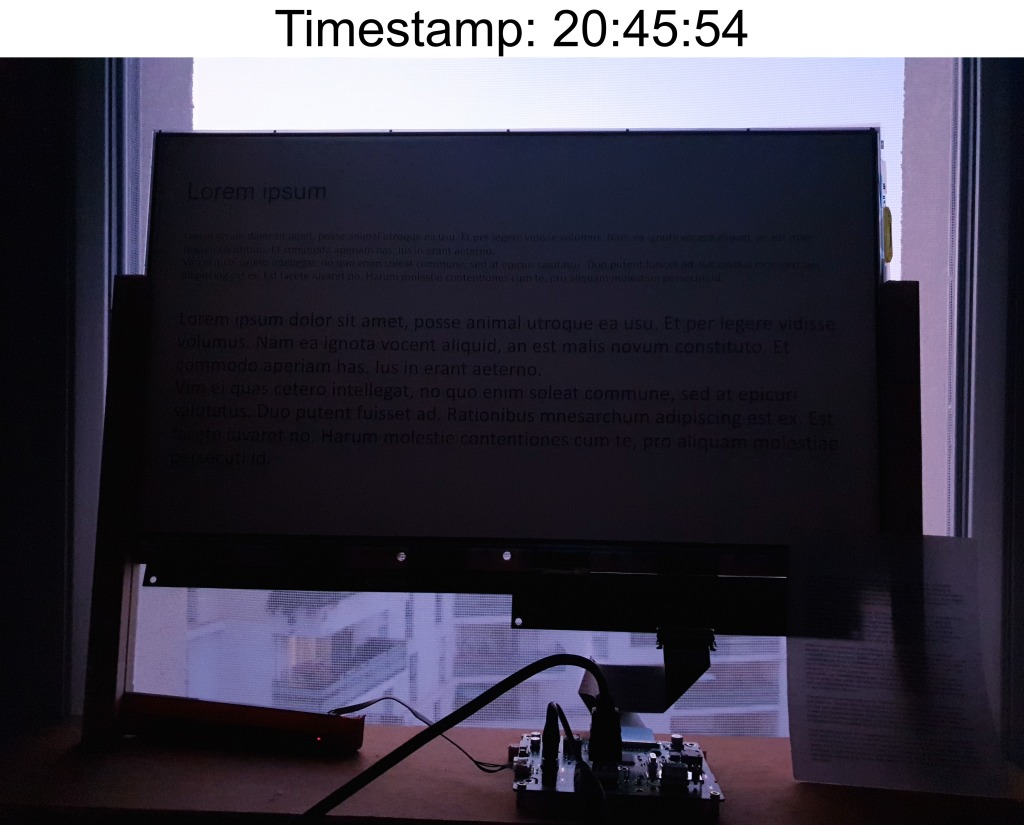
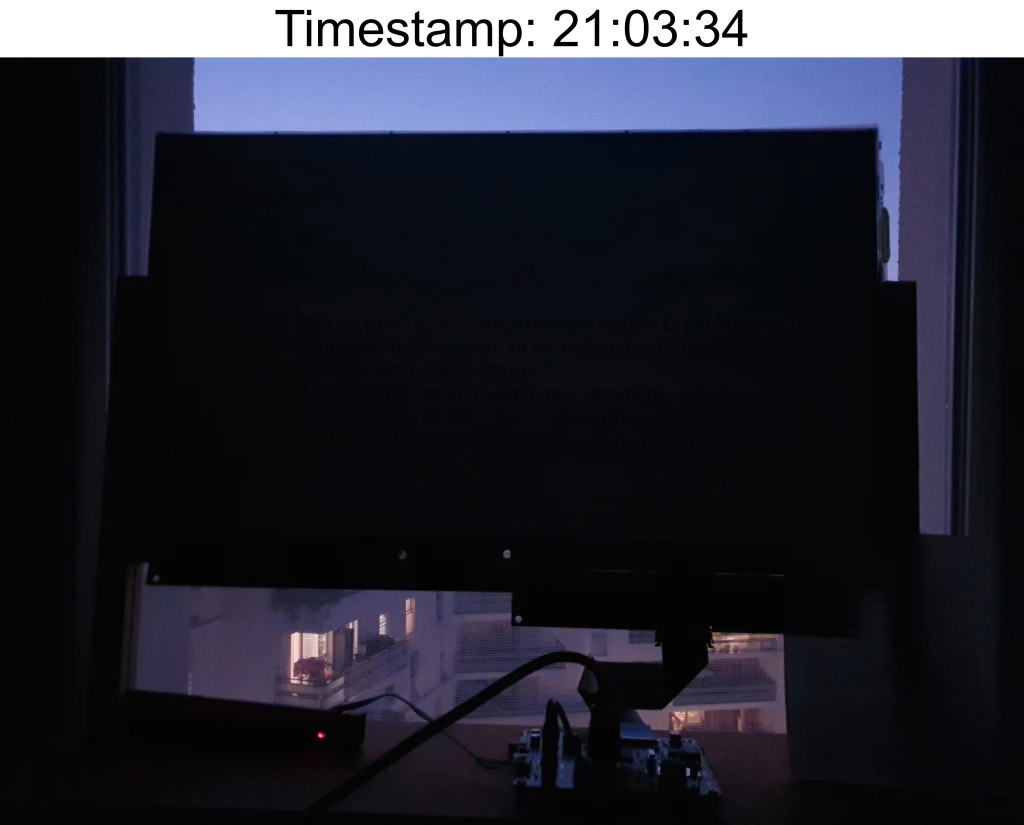
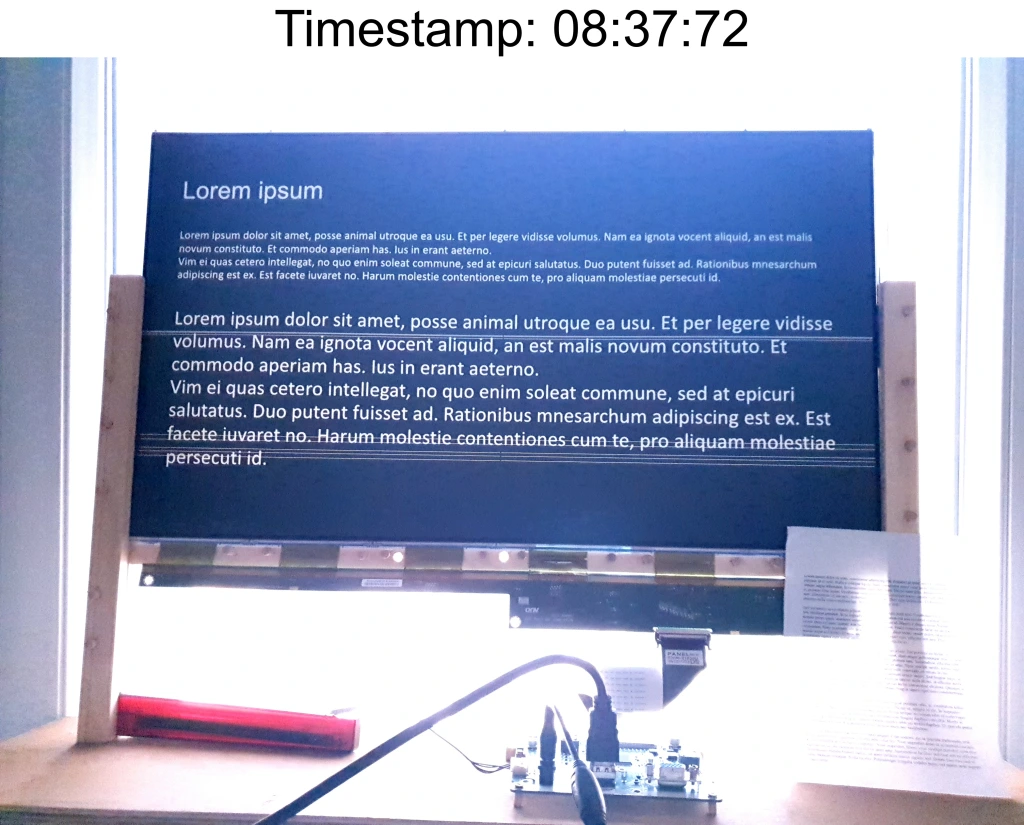
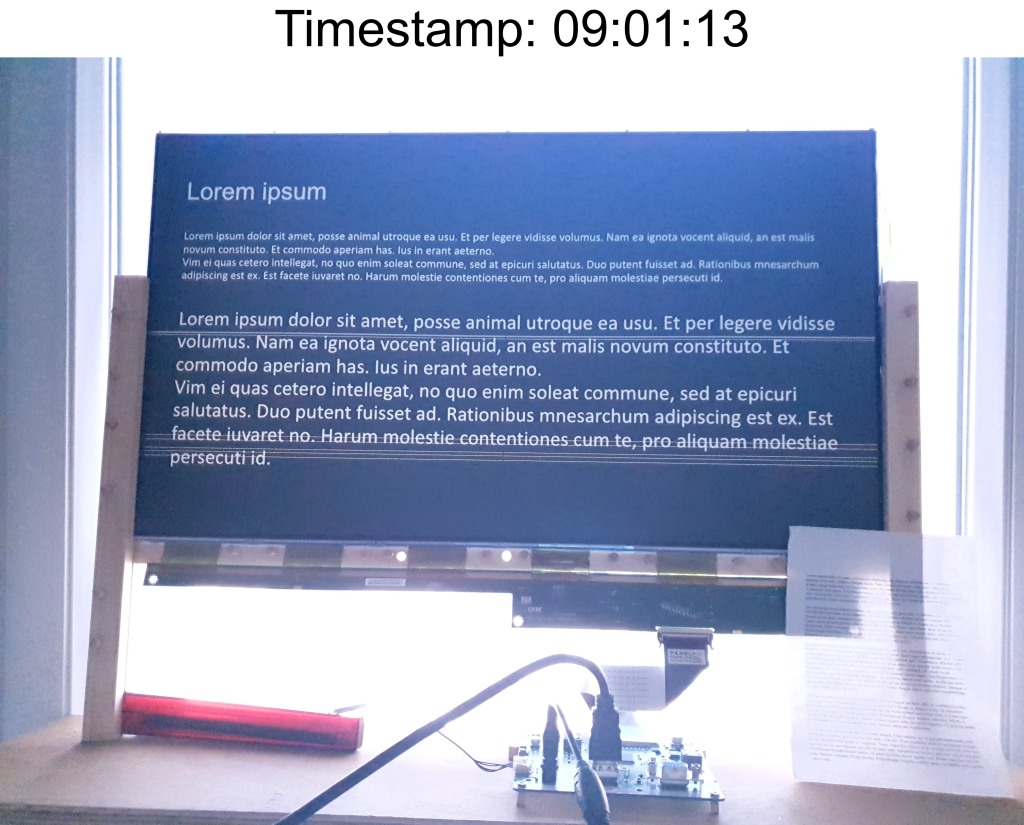
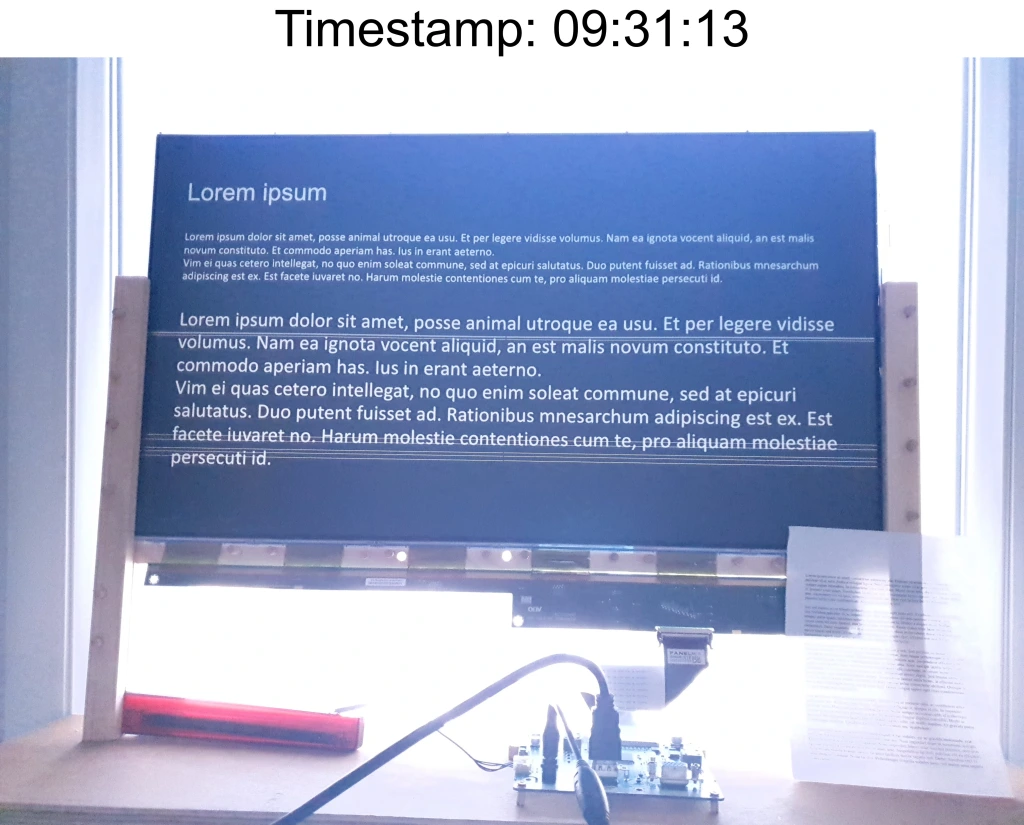
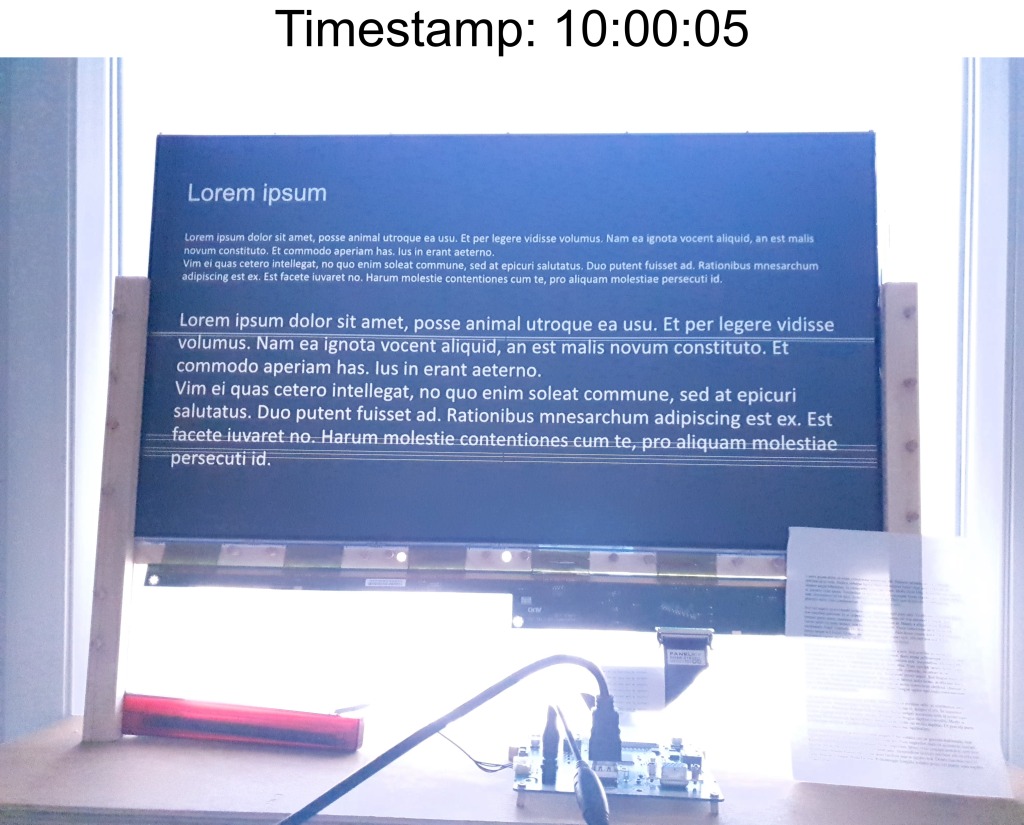
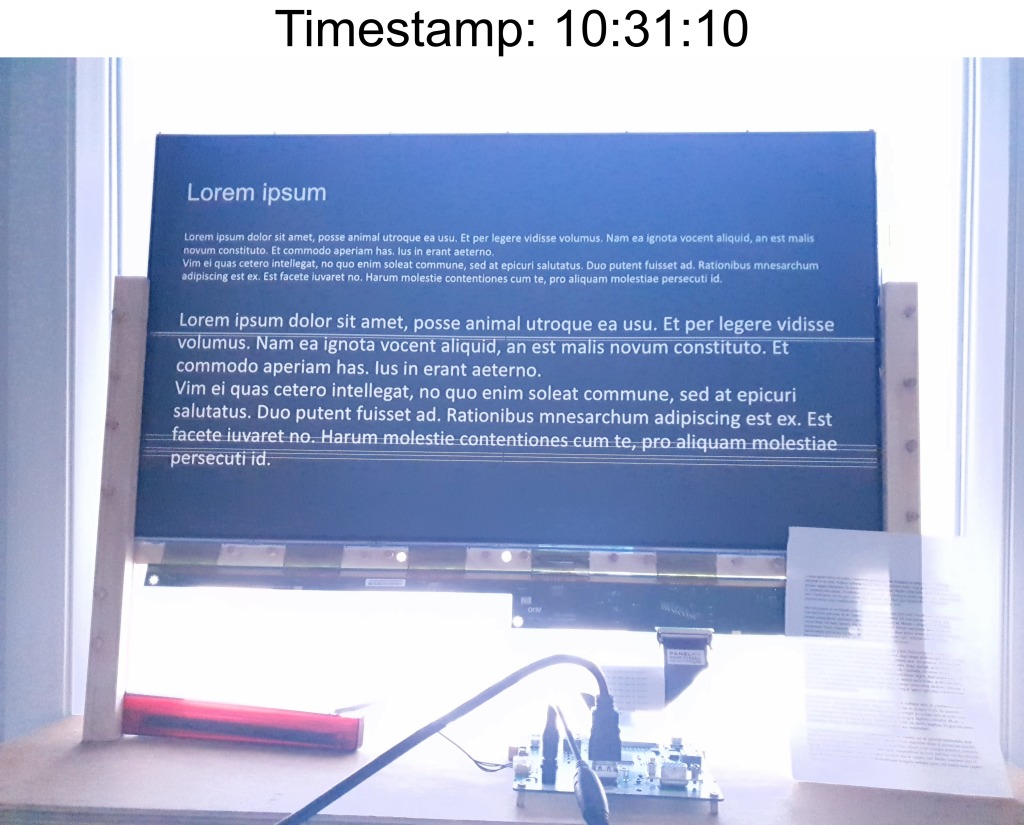
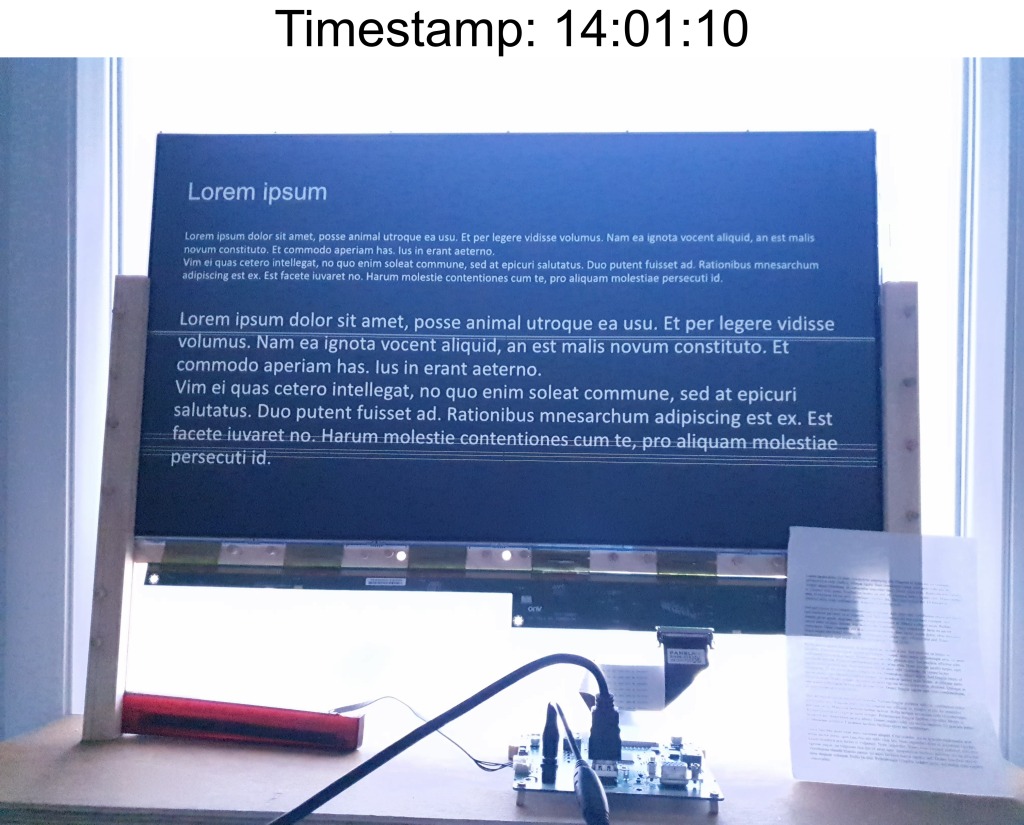
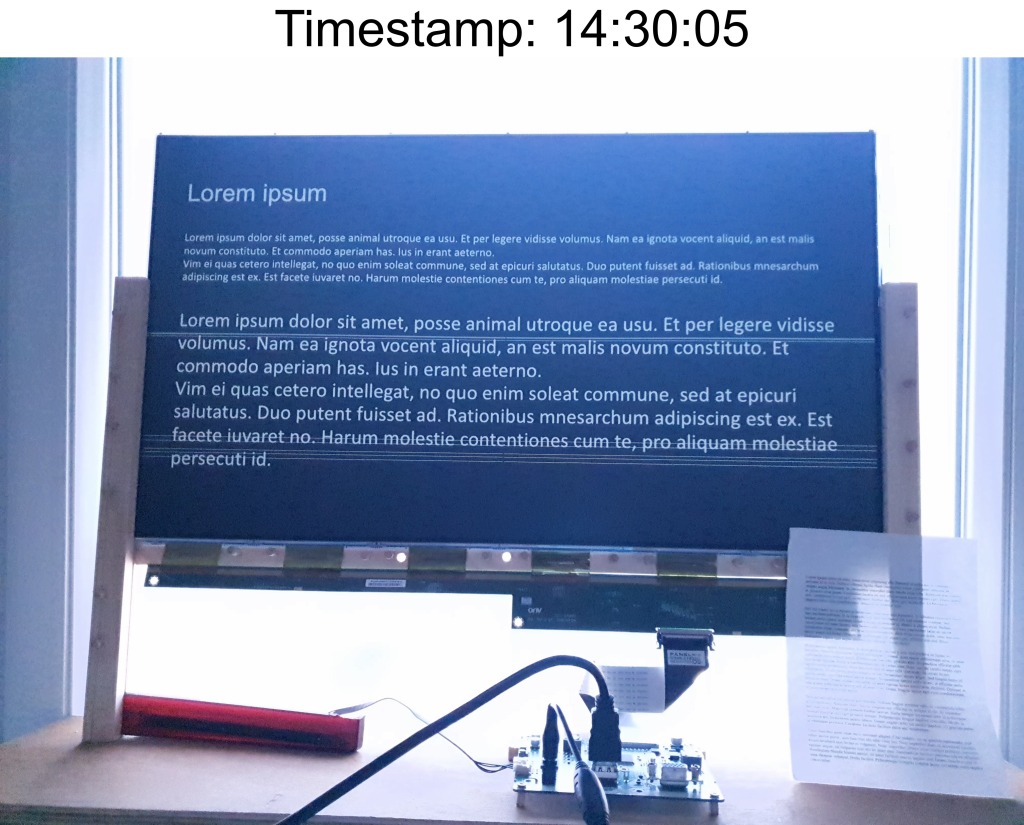
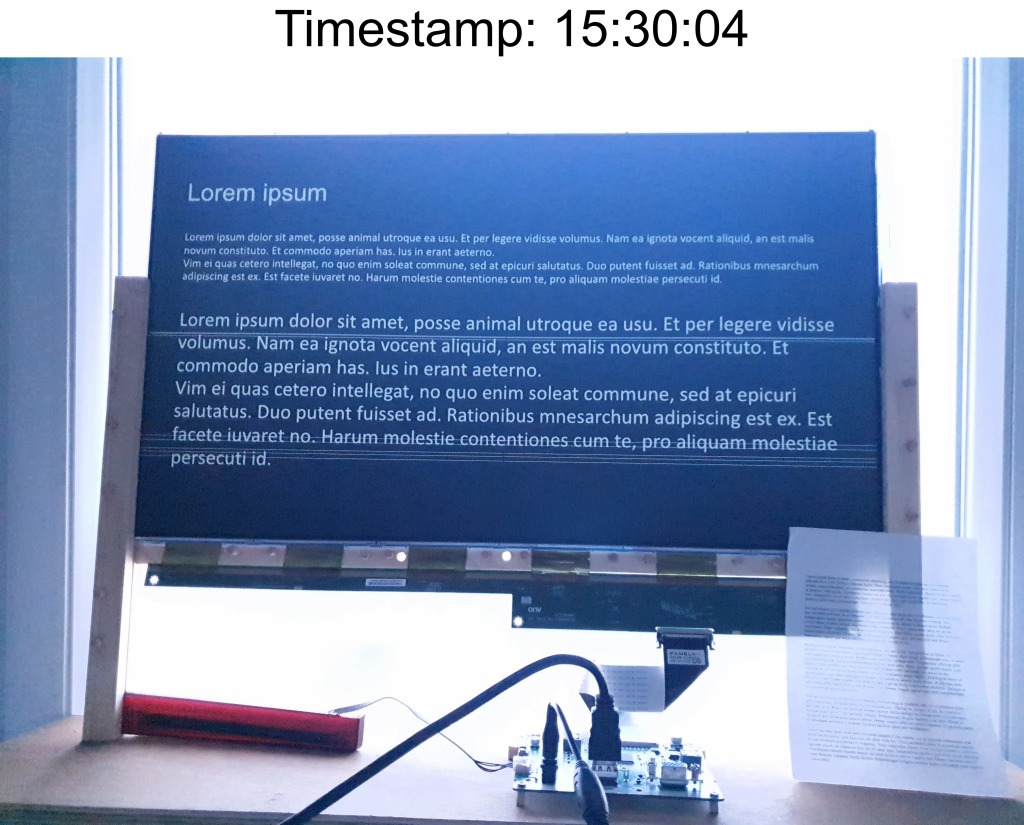
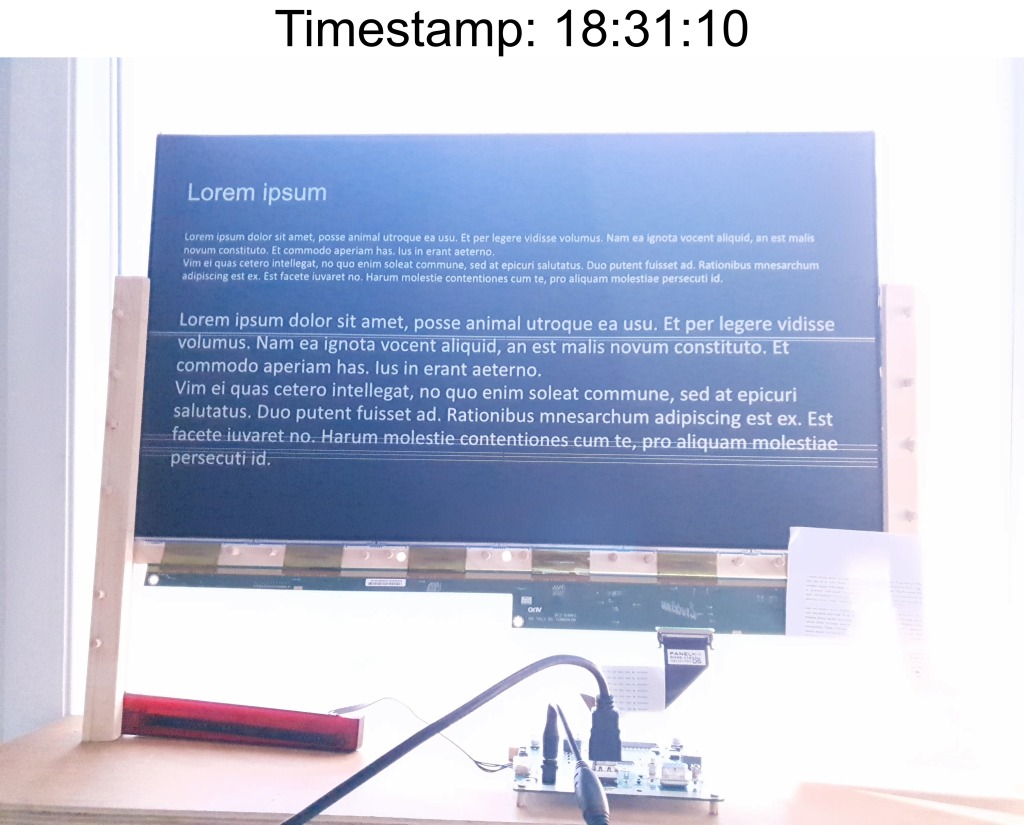
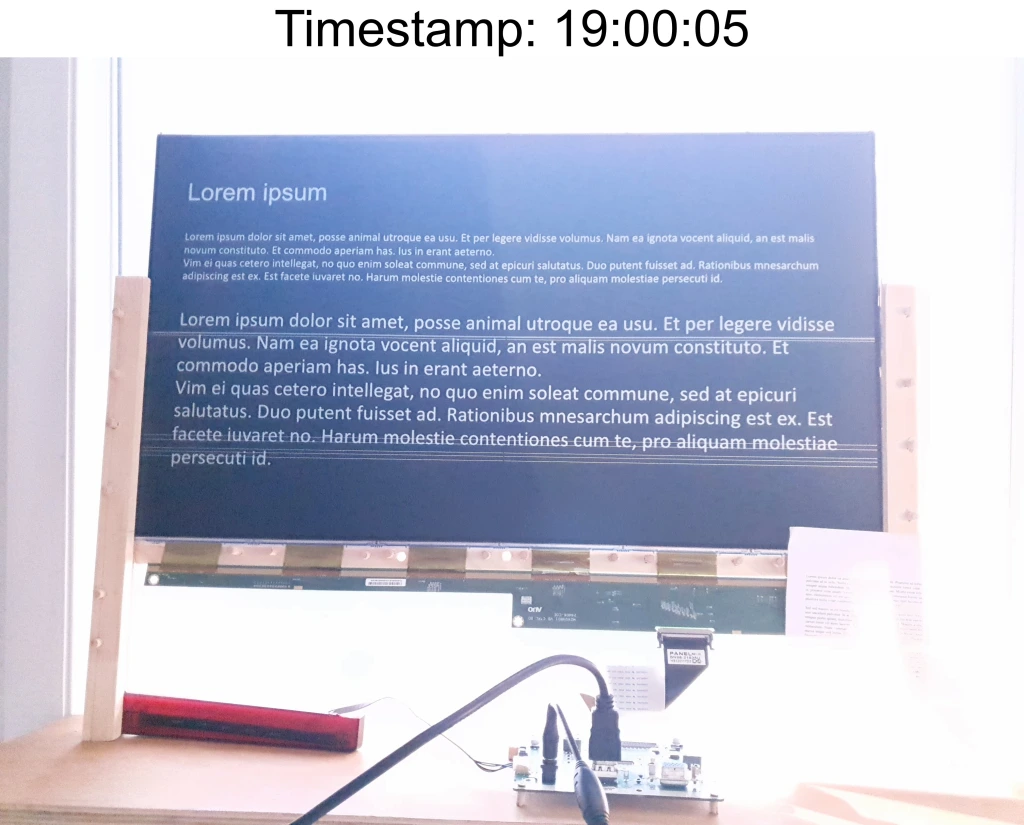
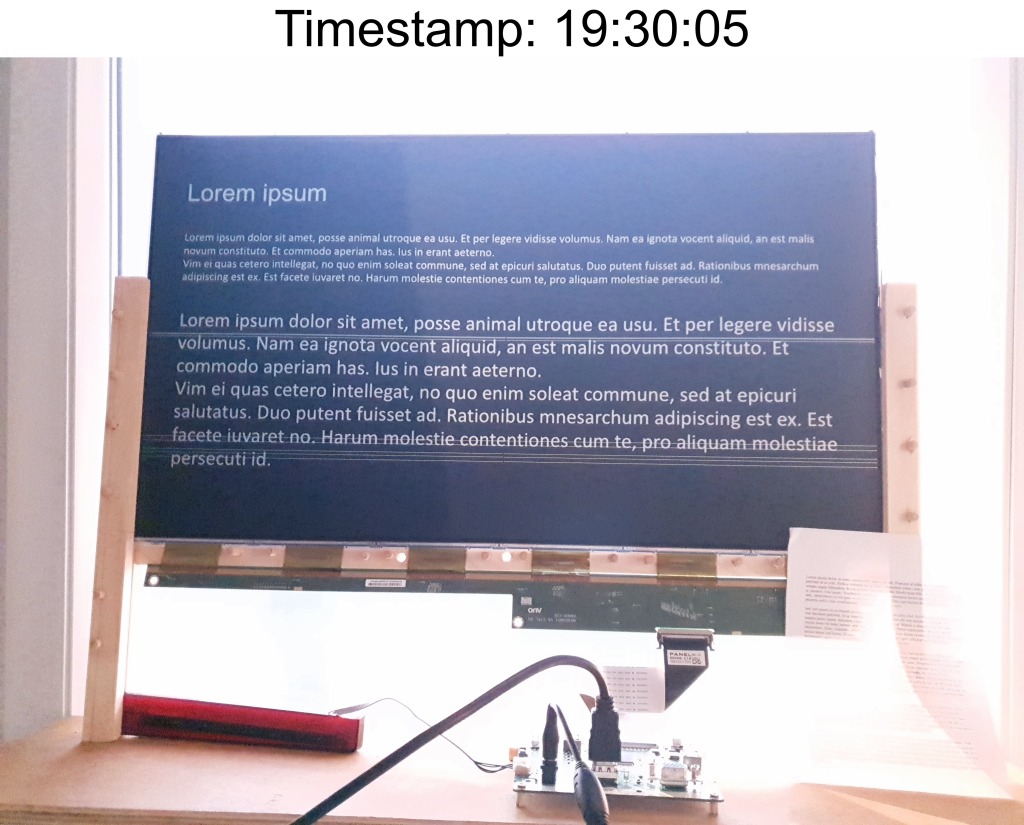
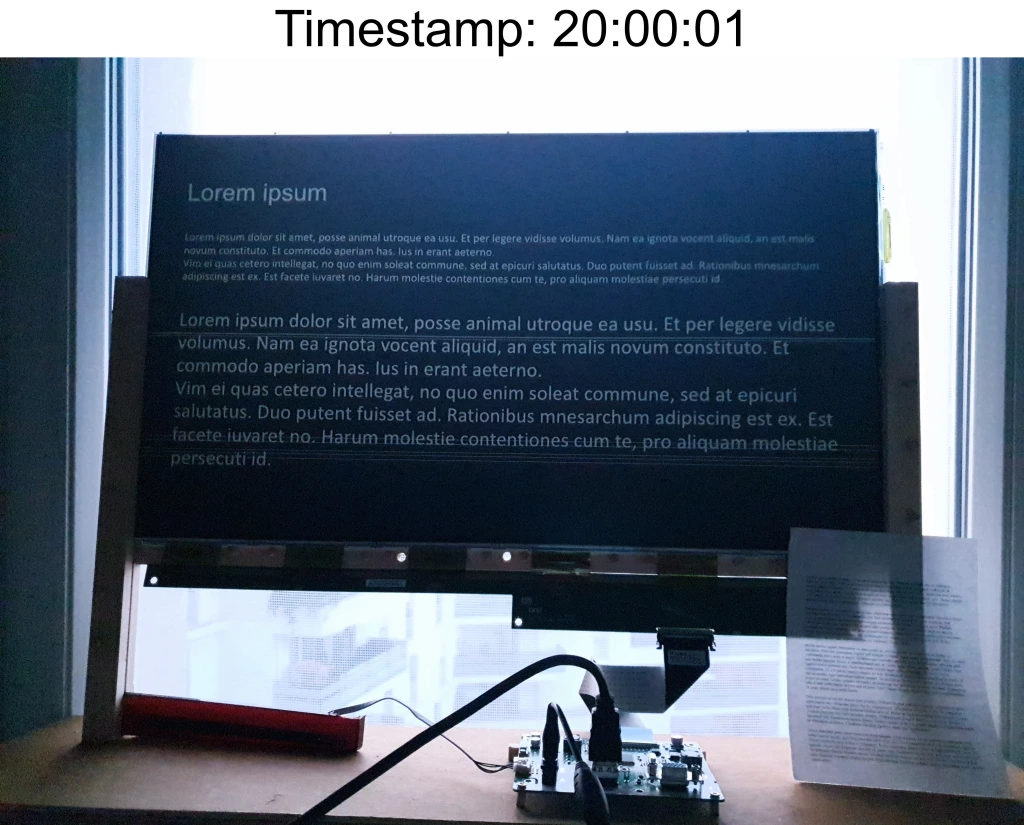
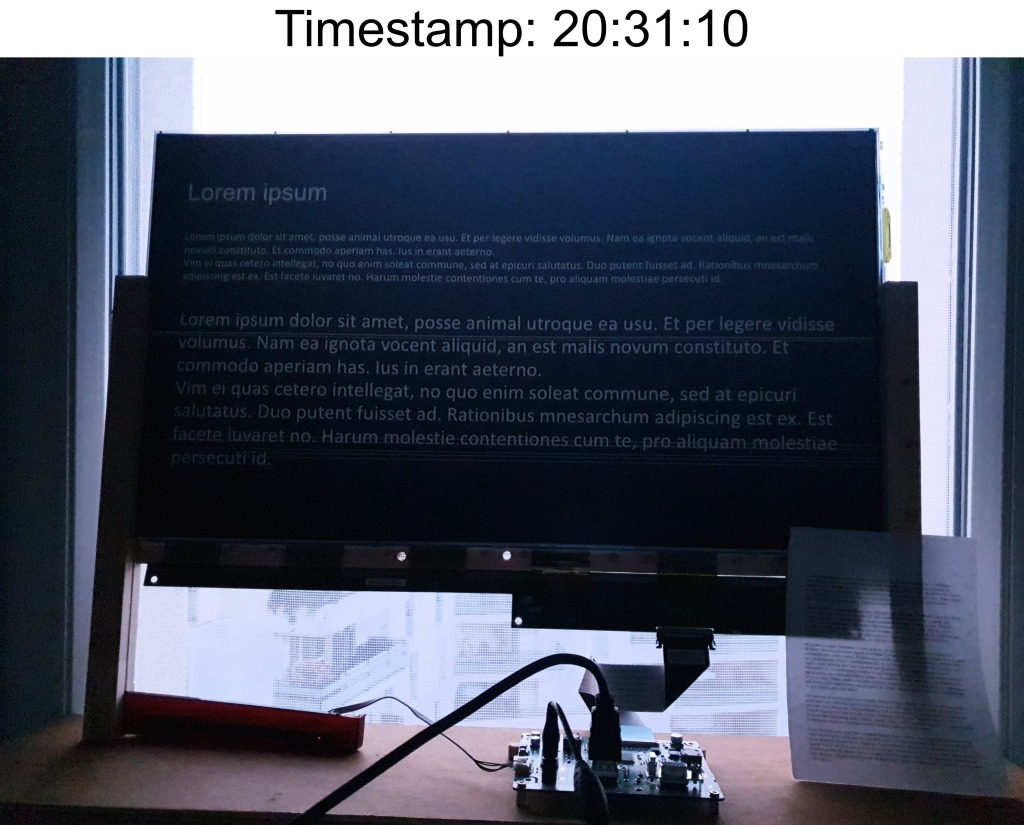
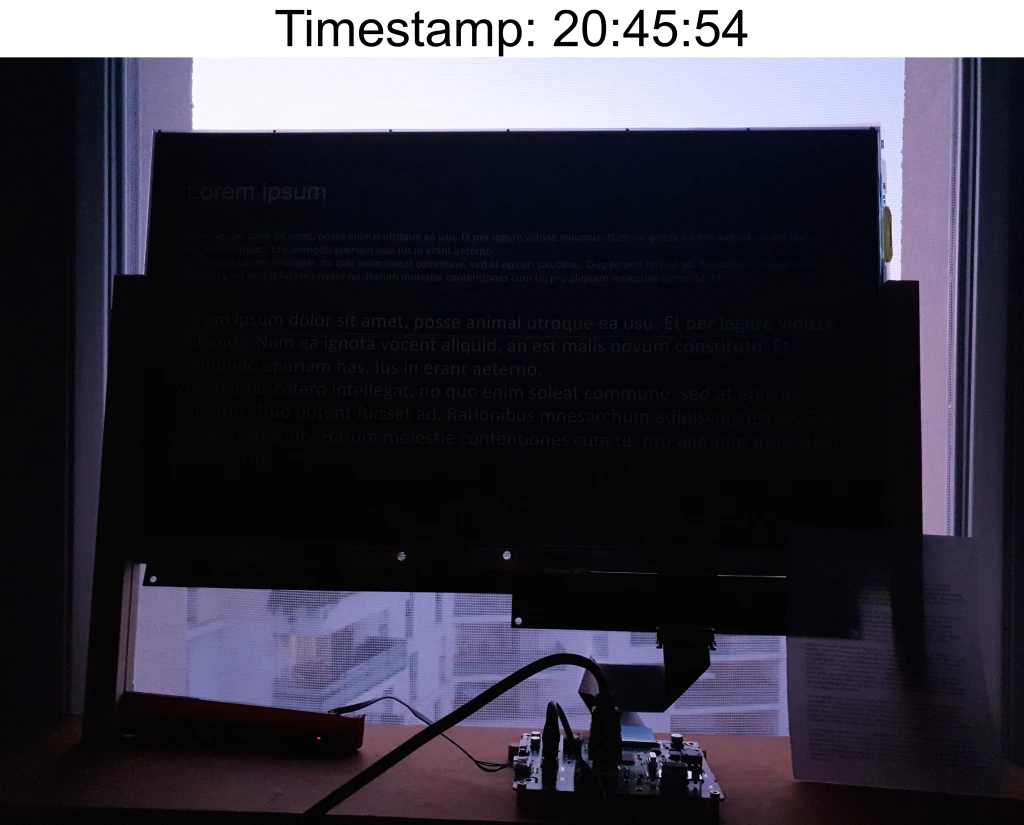
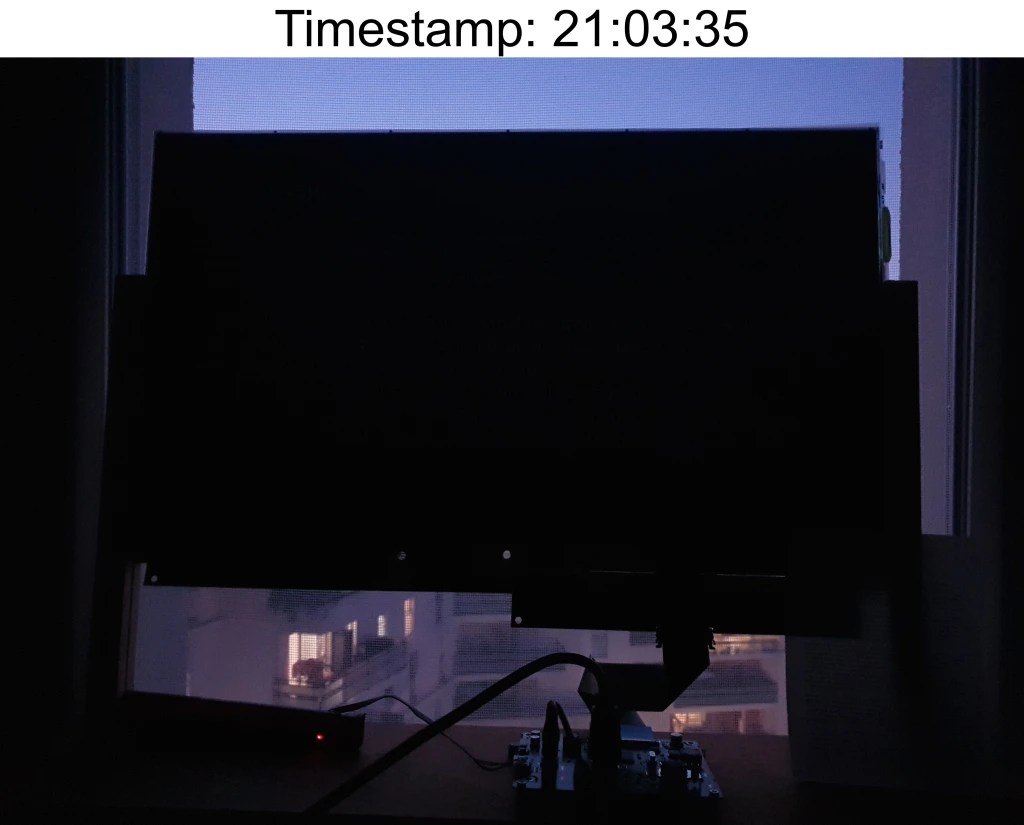
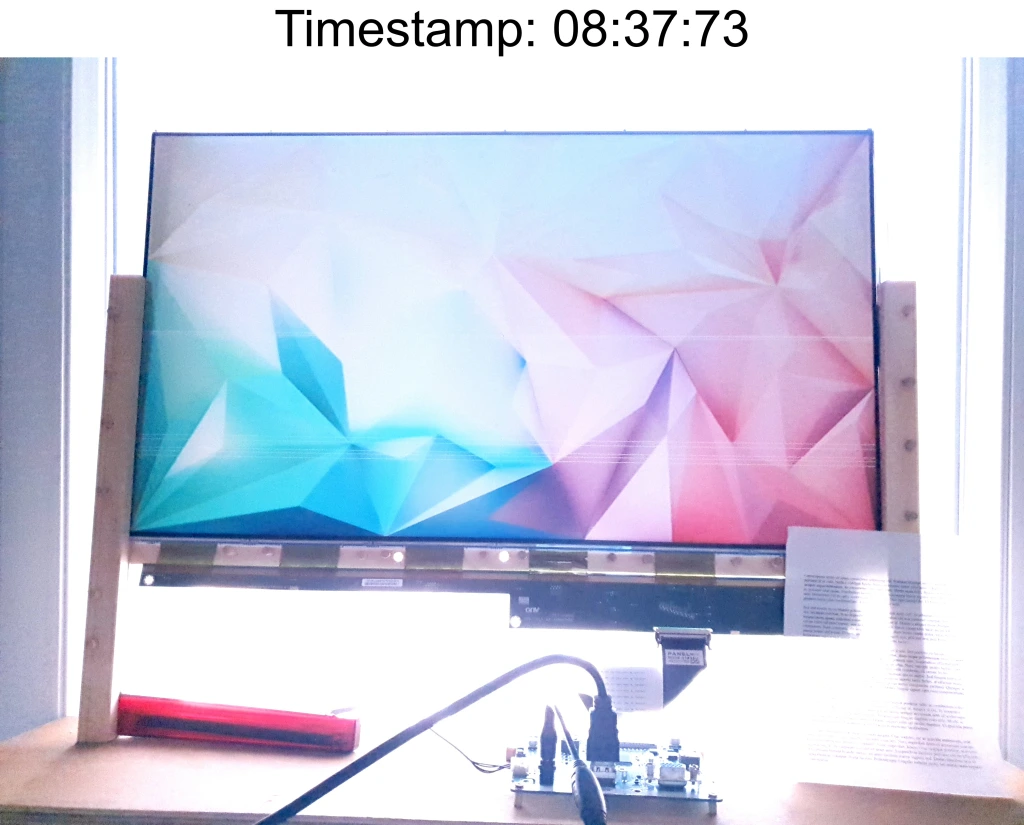
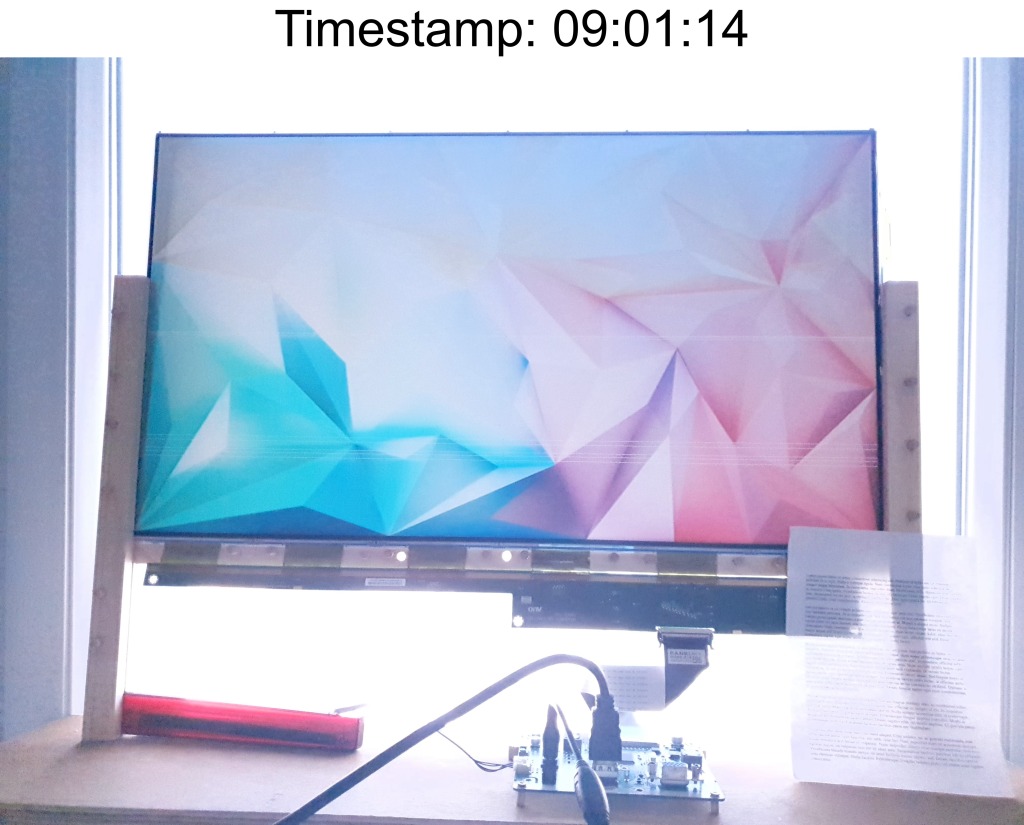
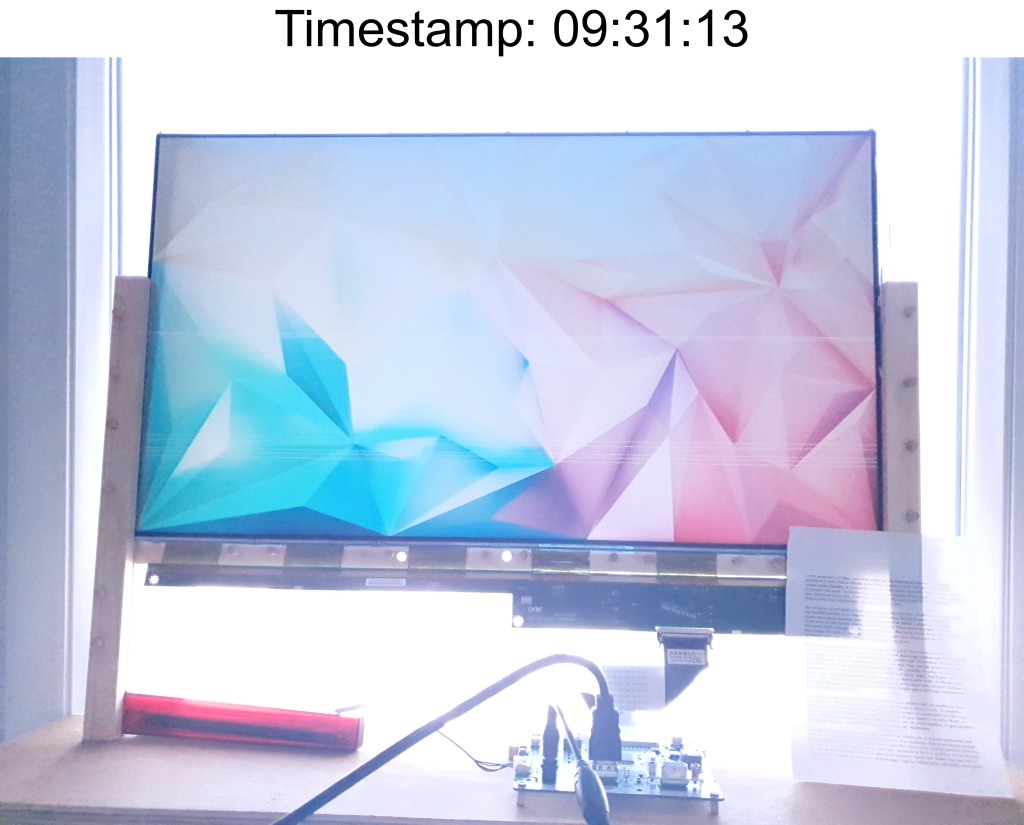
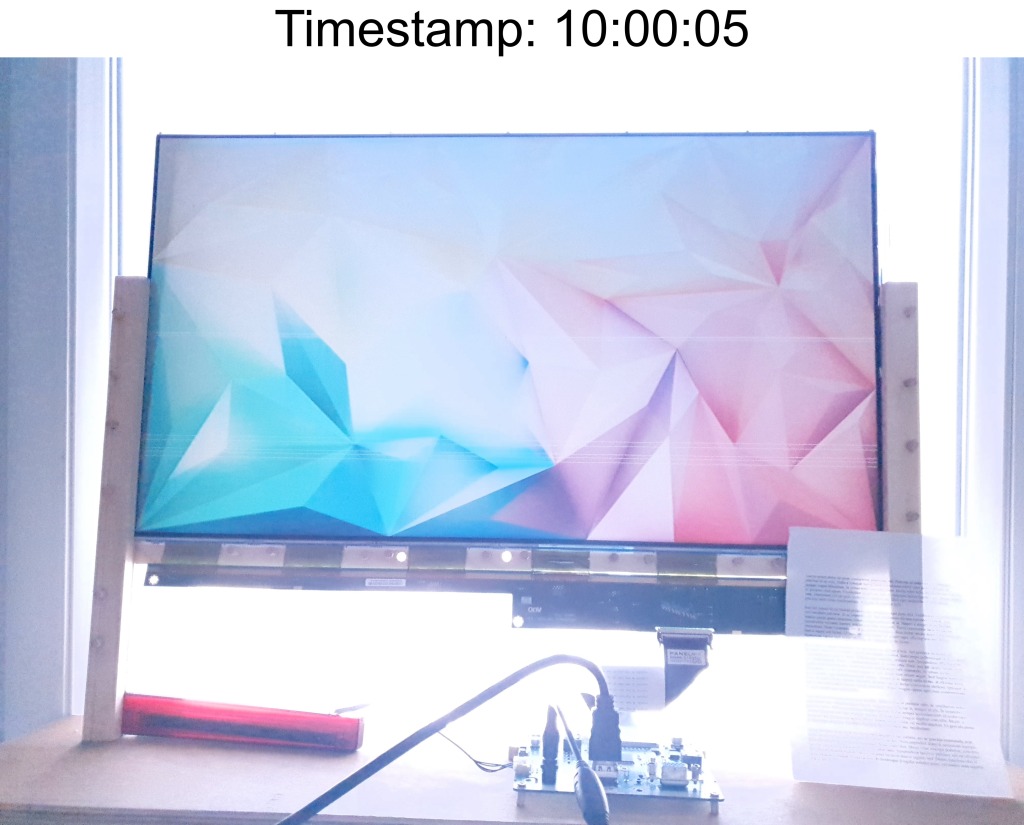
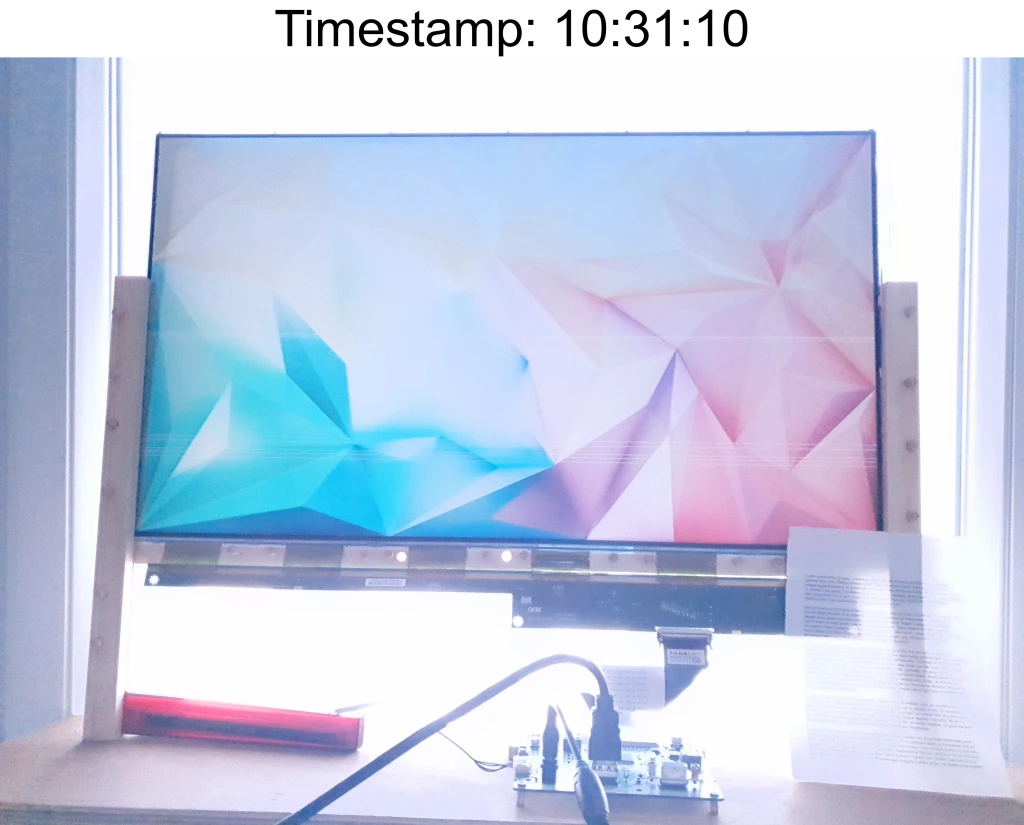
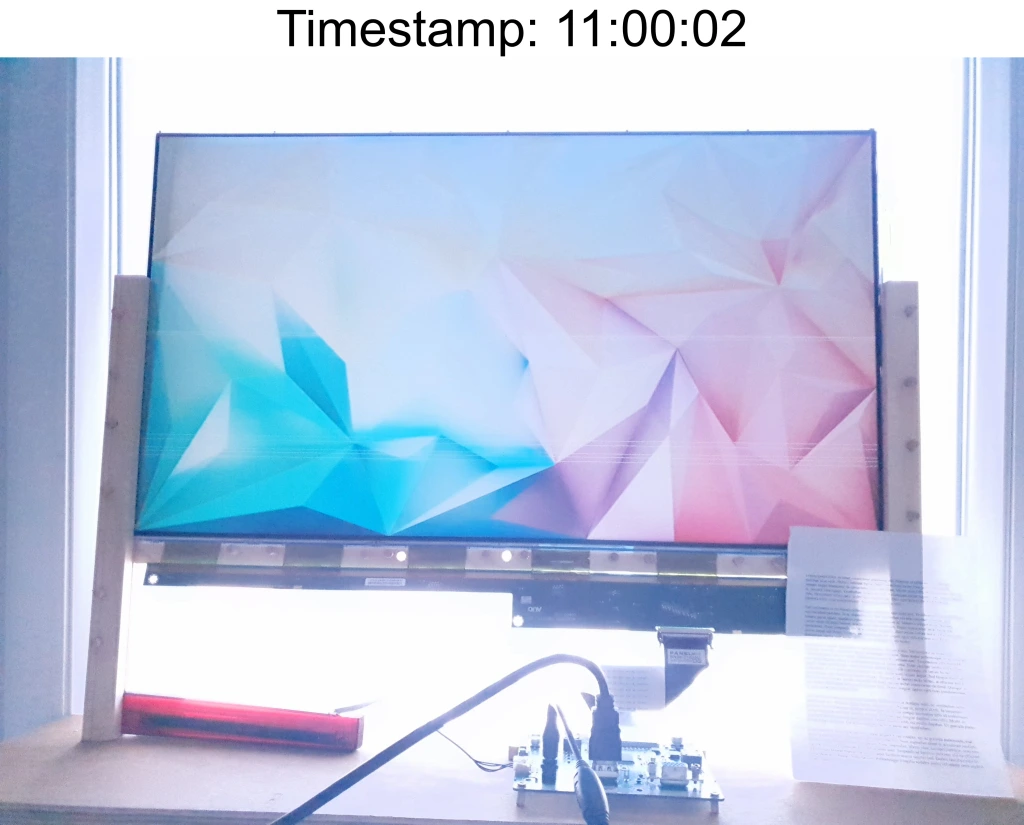
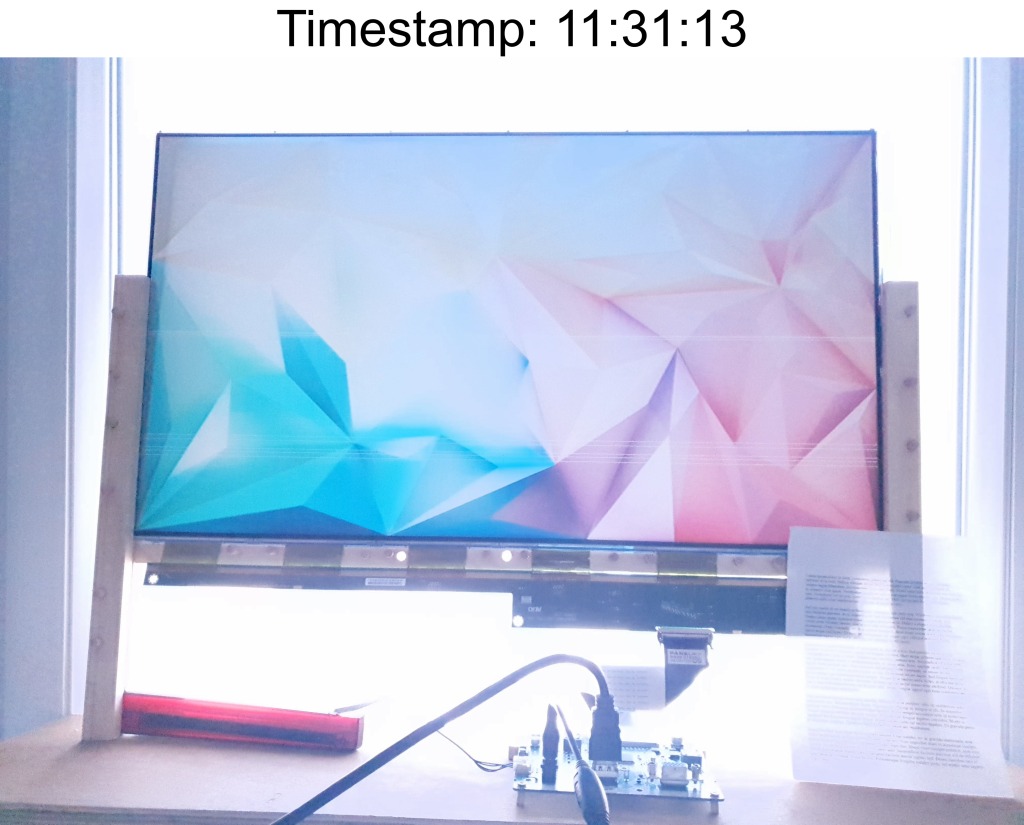
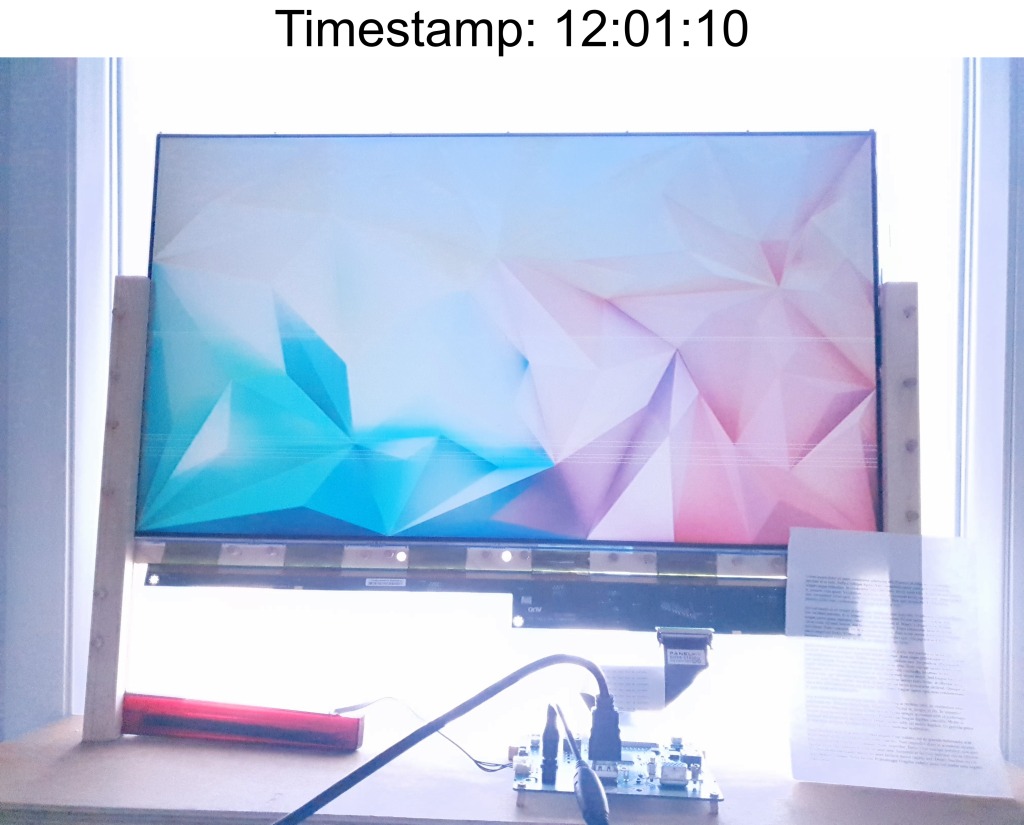
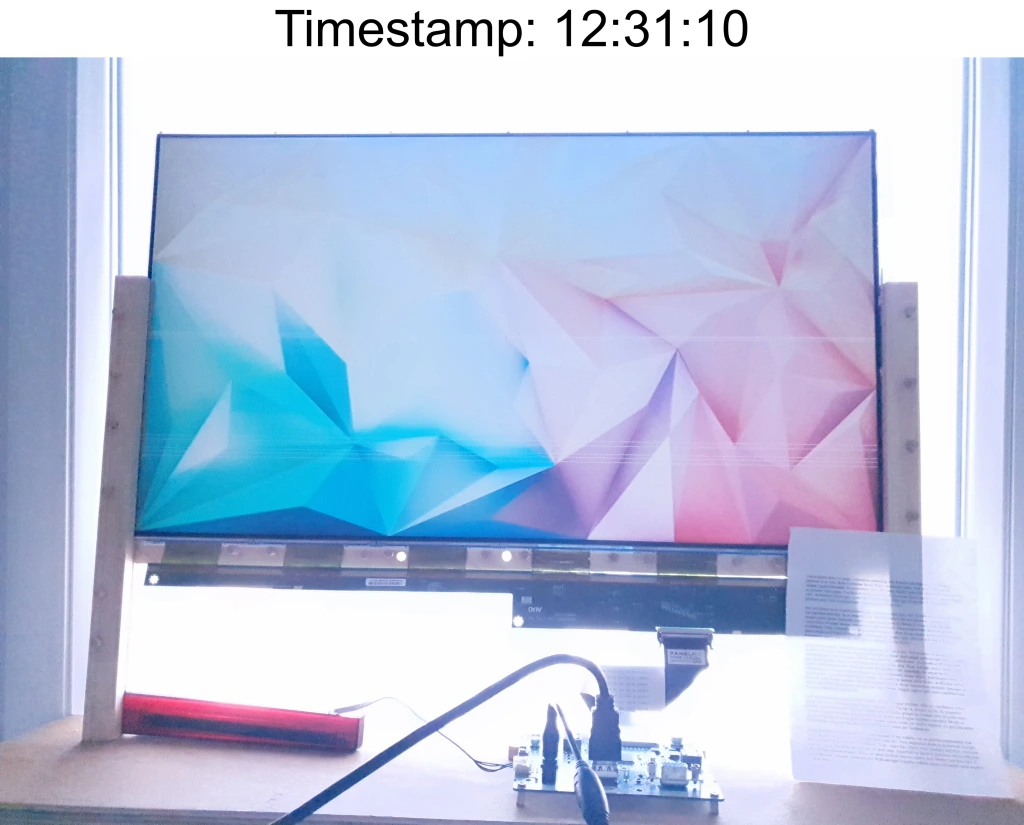
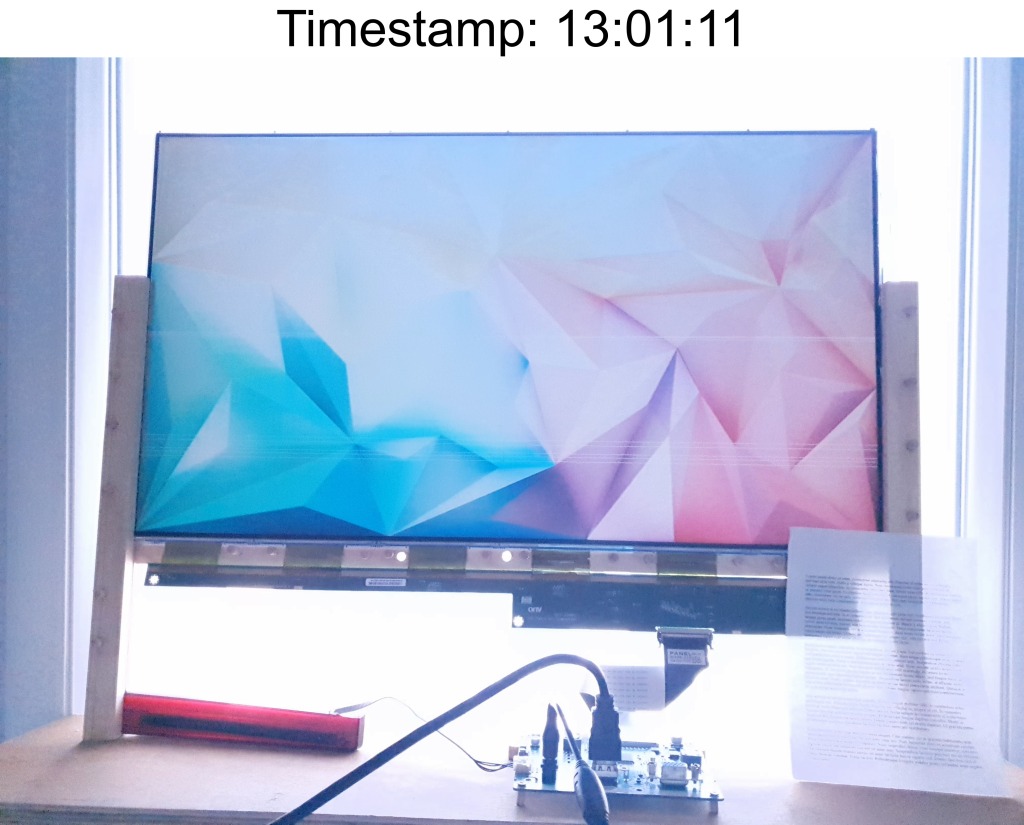
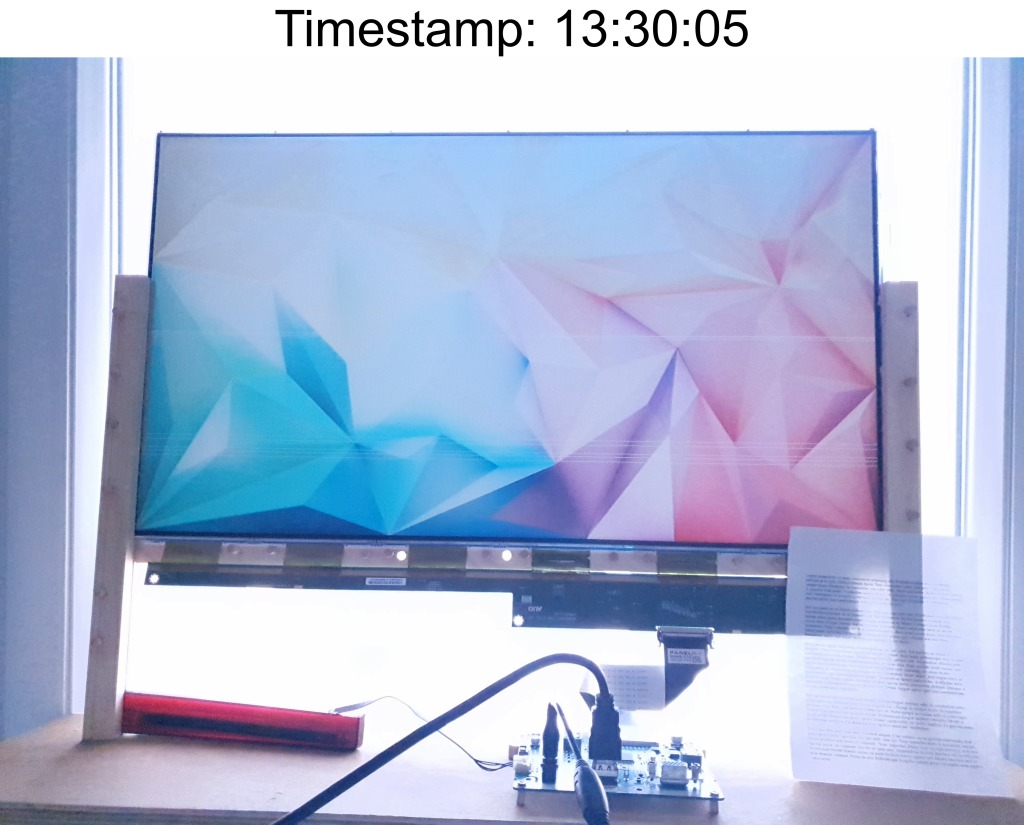
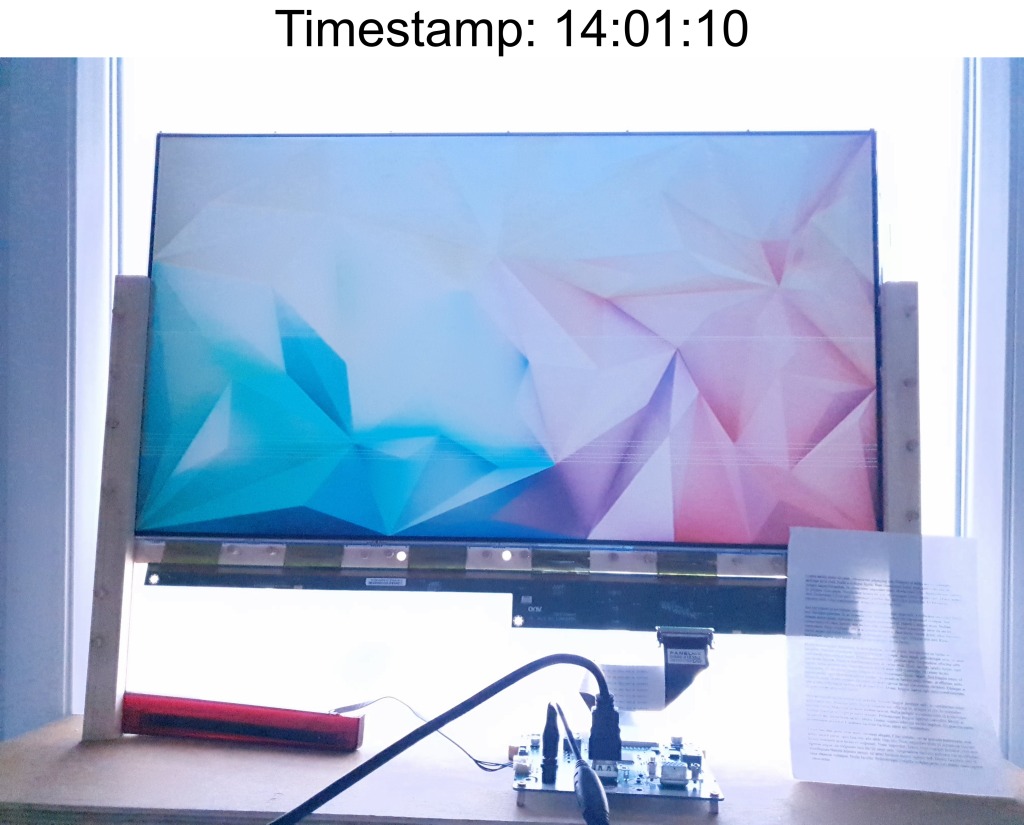
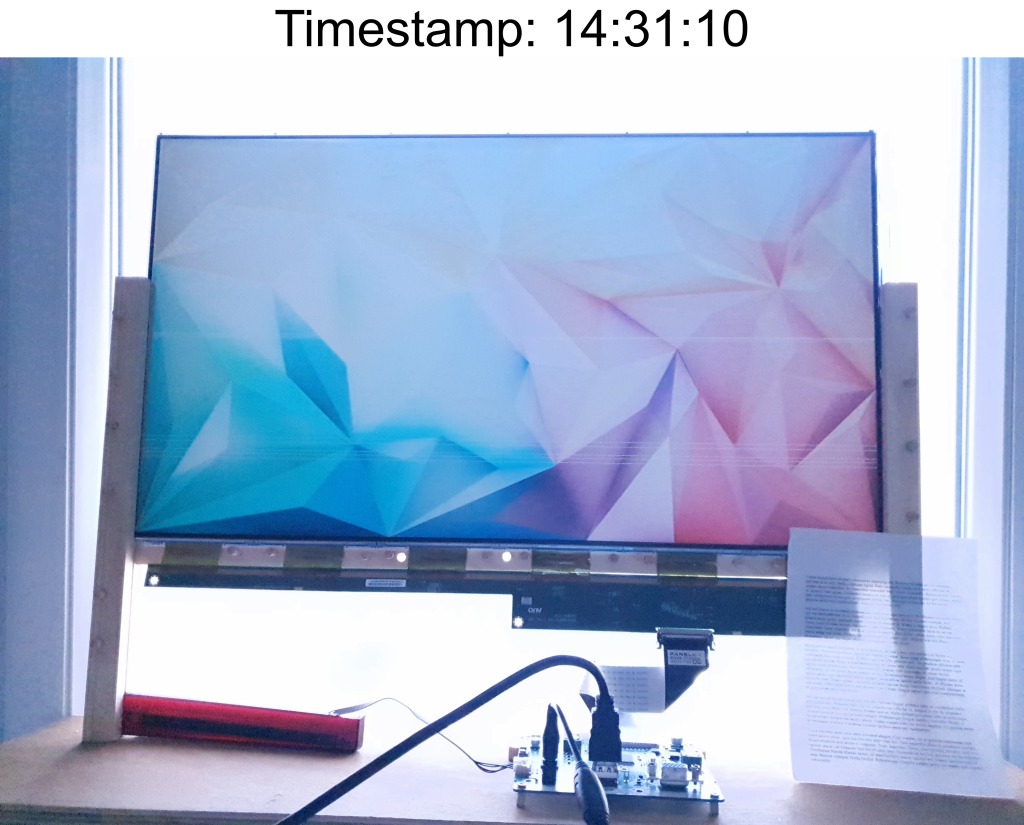
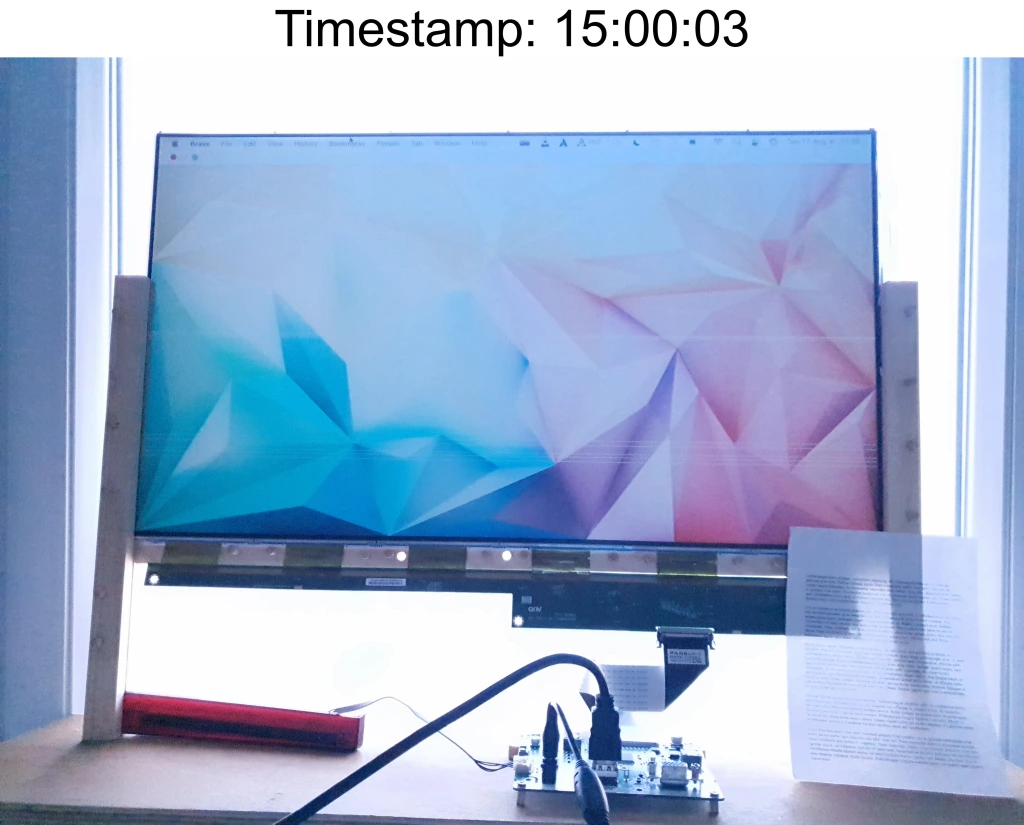
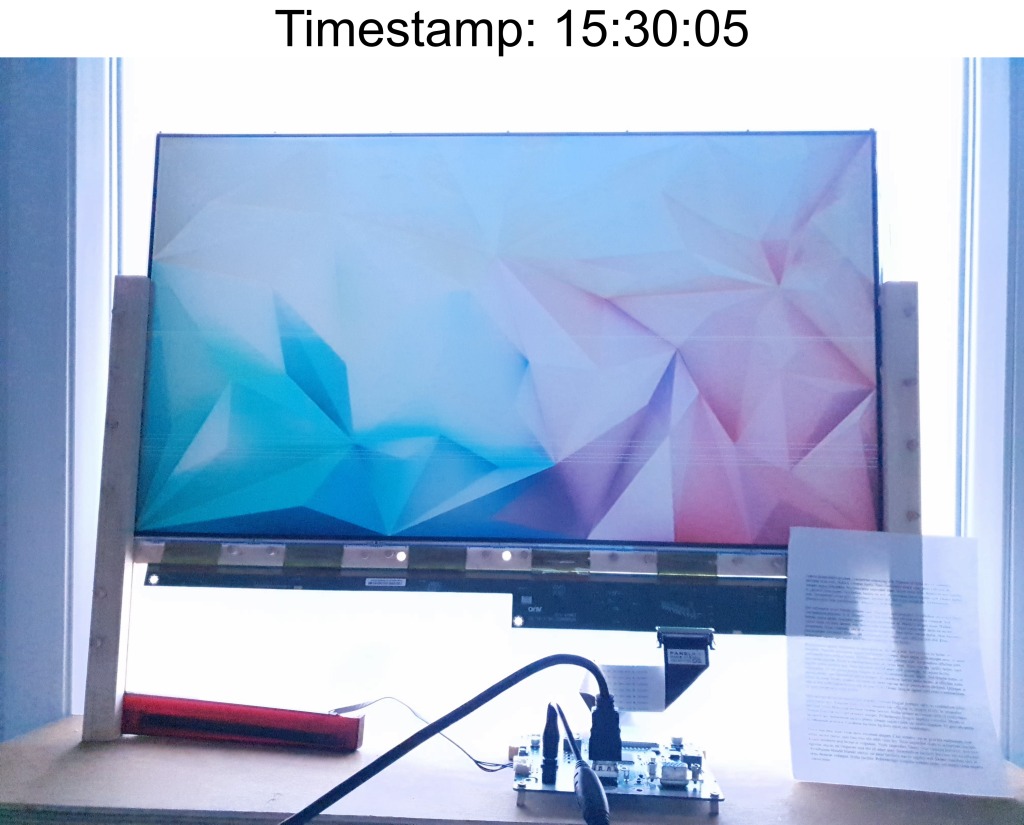
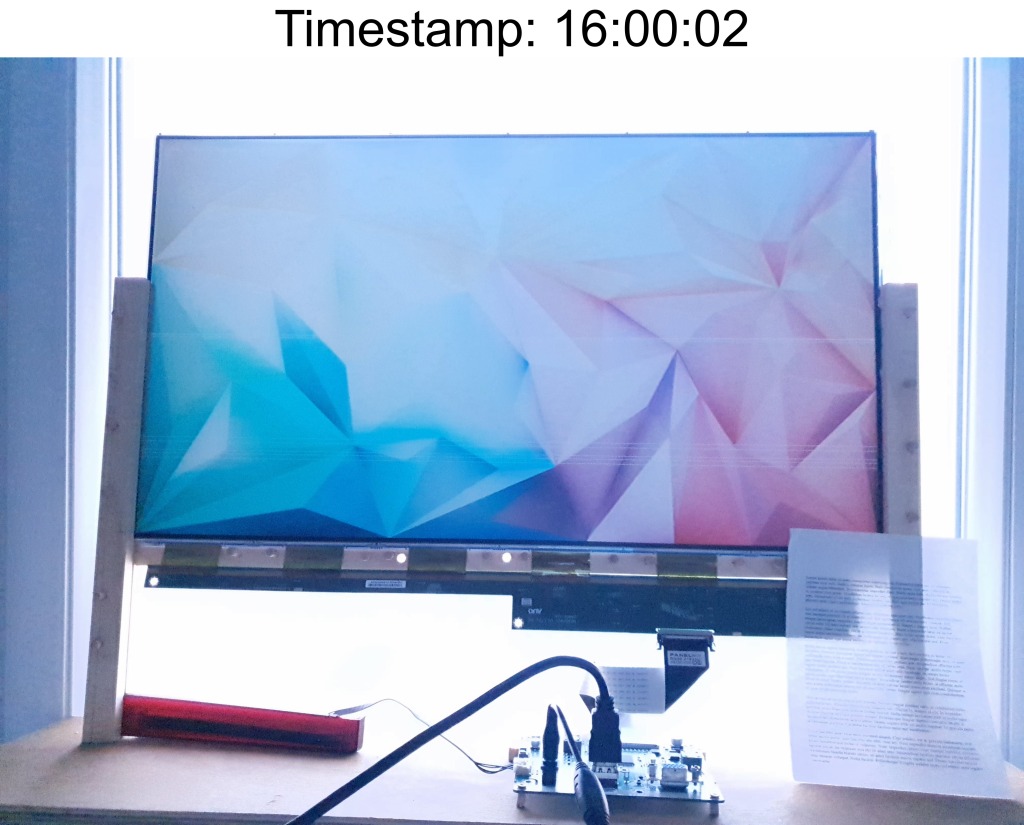
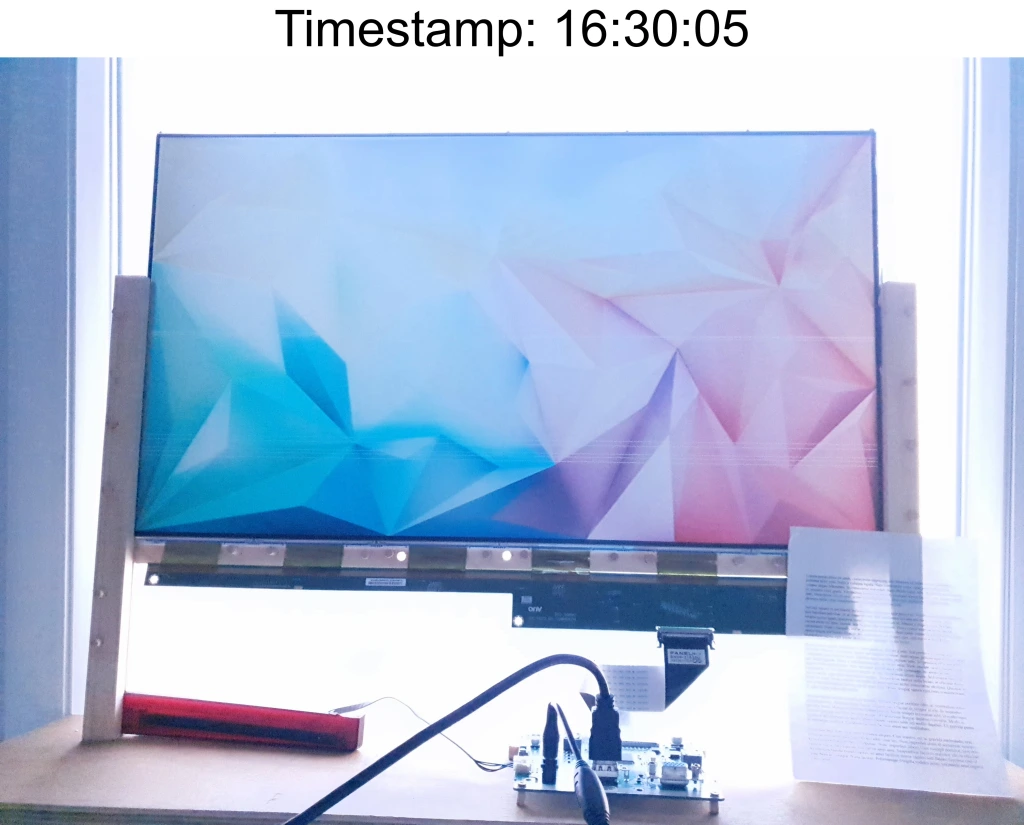
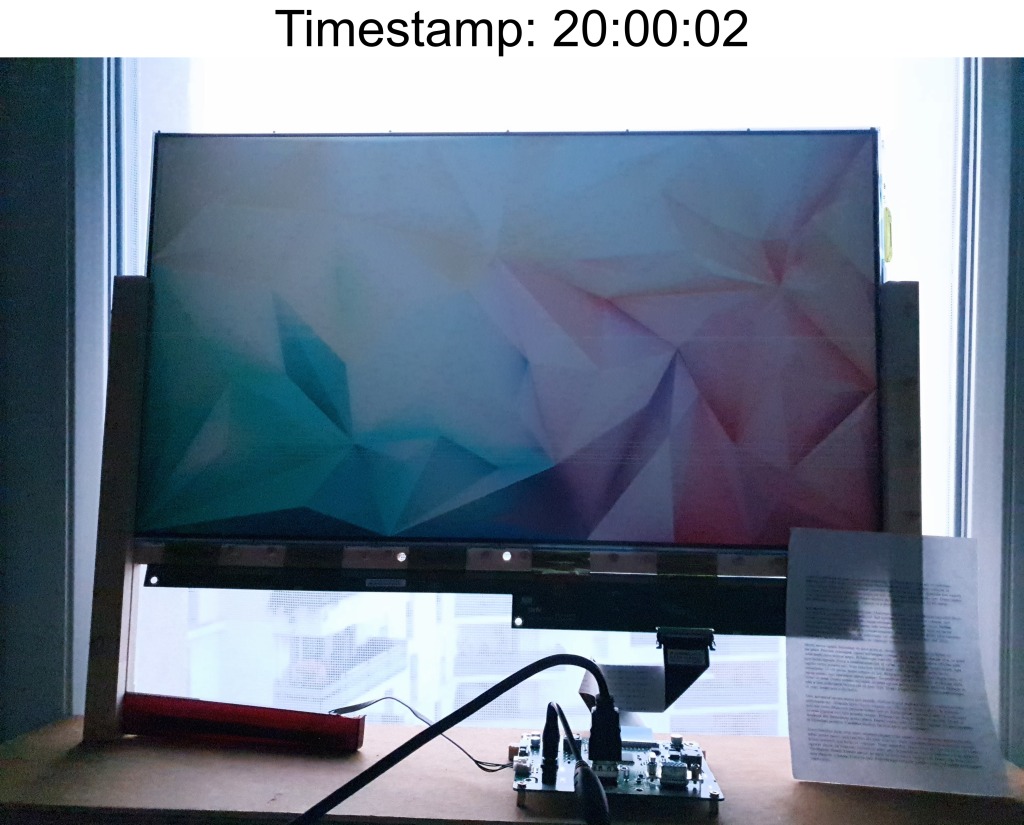
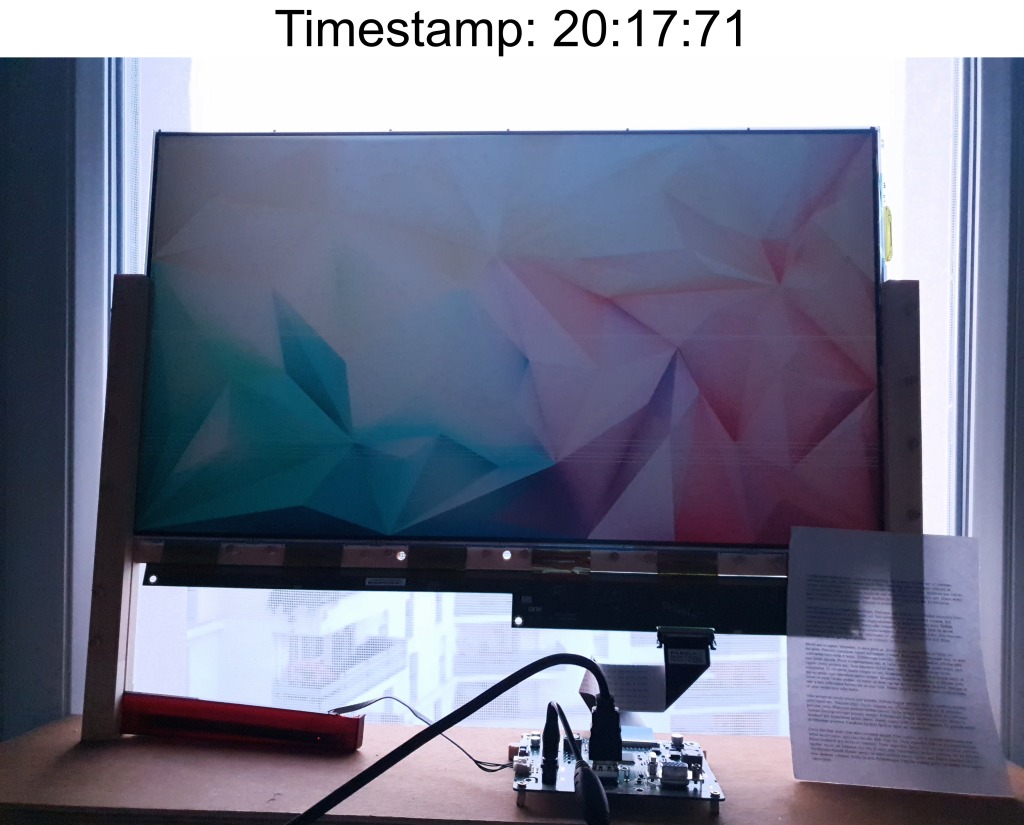
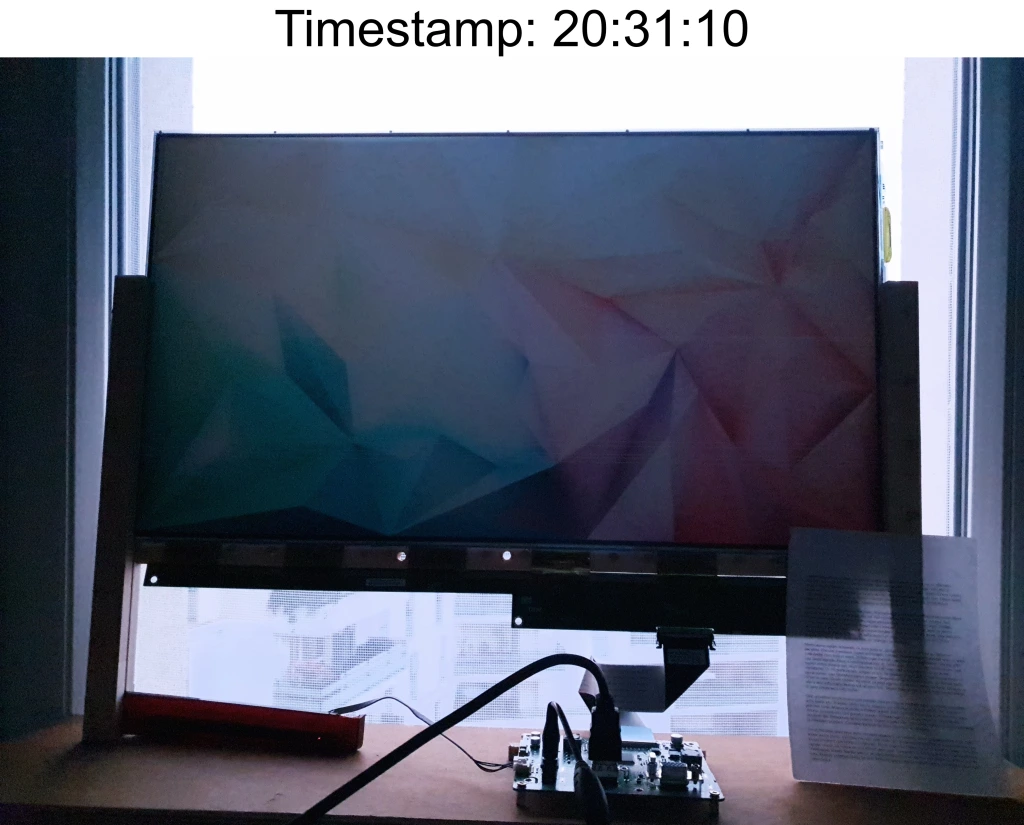
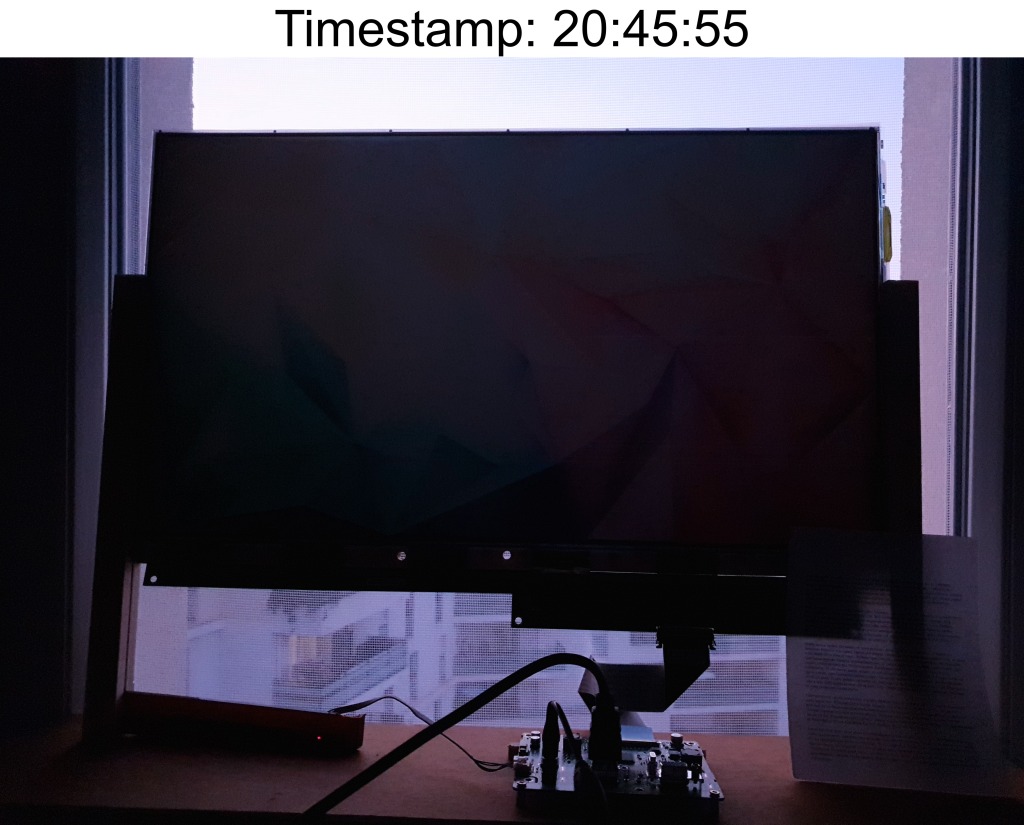
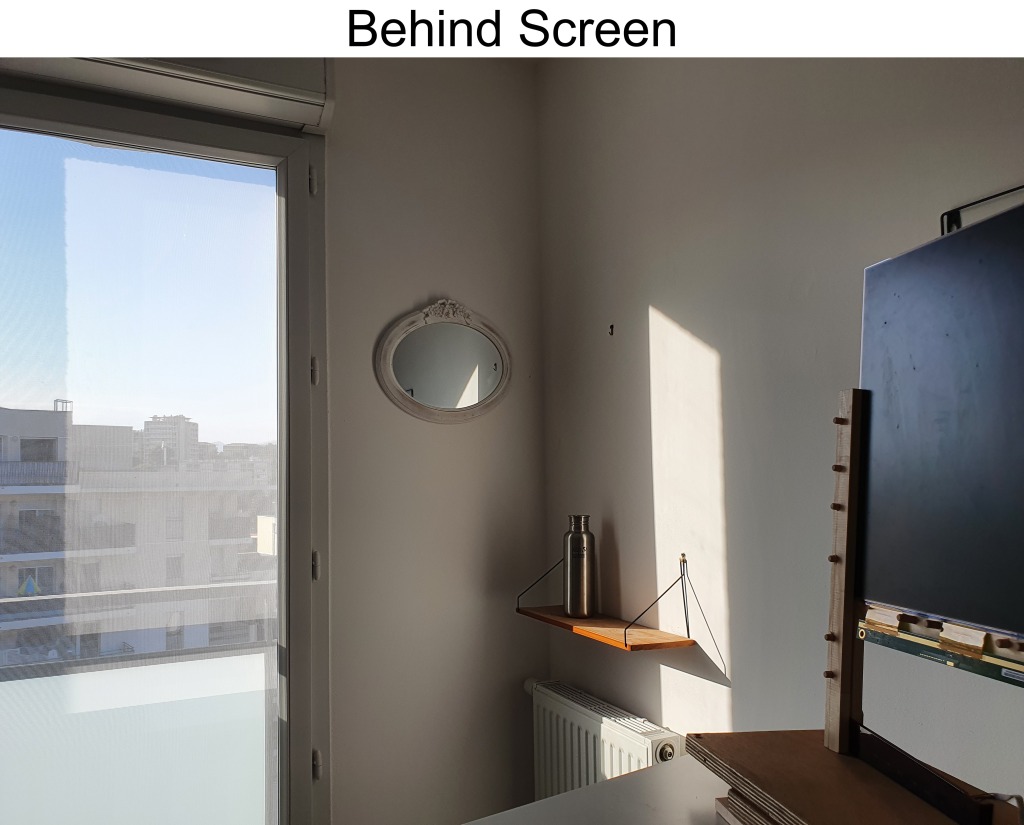
I’ve place my screen in front of the only window I have in my room. The windows is quite narrow and it is facing North-West. I leave at the last floor so I there is quite some ambient light finding its way into my room, even though there is no direct sunlight for most of the day. At this time of year, the sun can be seen from my window from around 16h30 to 20h00, before it fades behind some buildings.
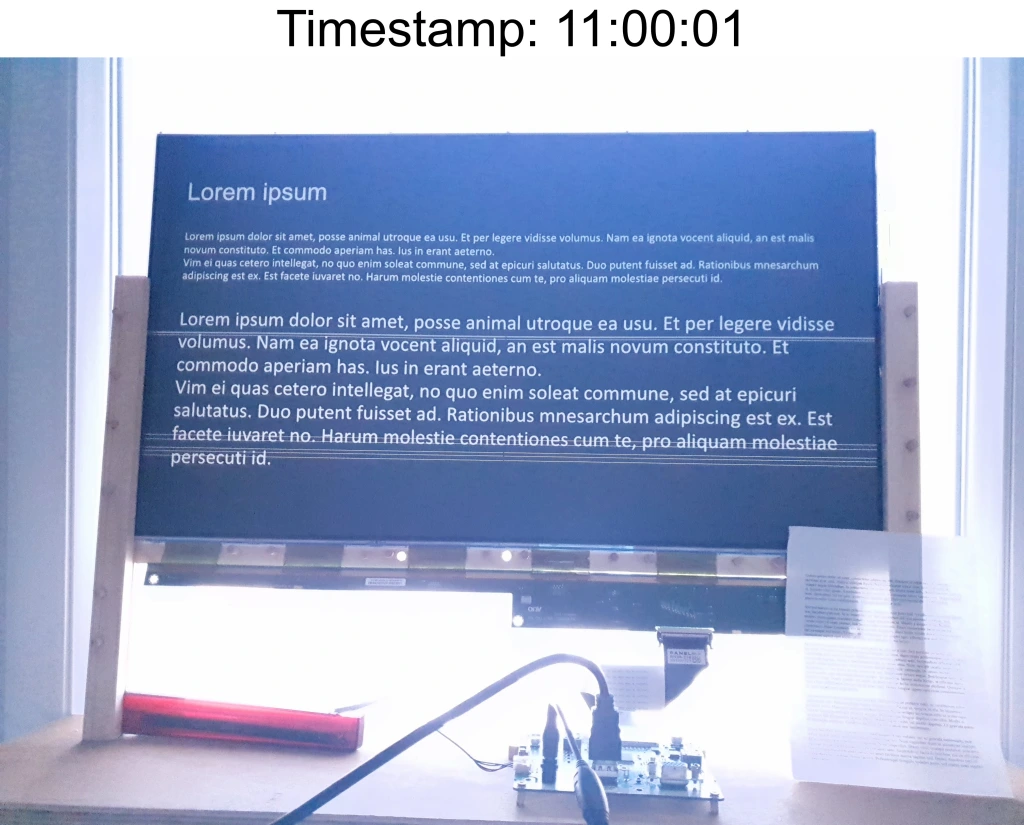
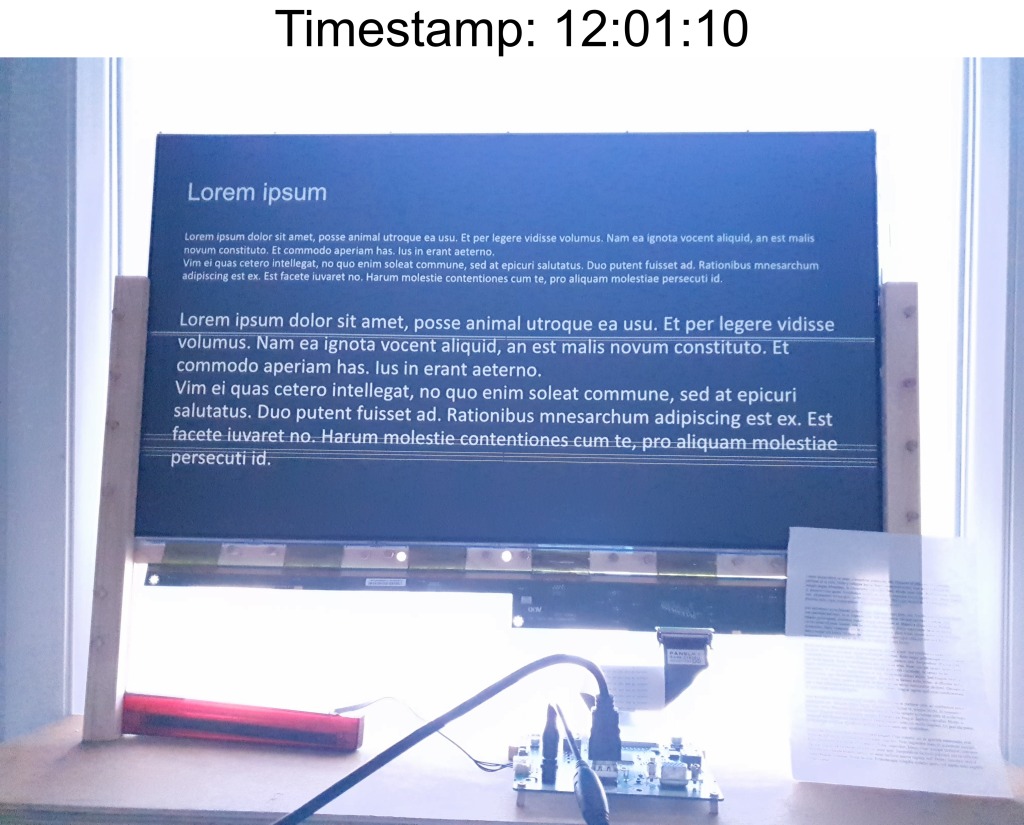
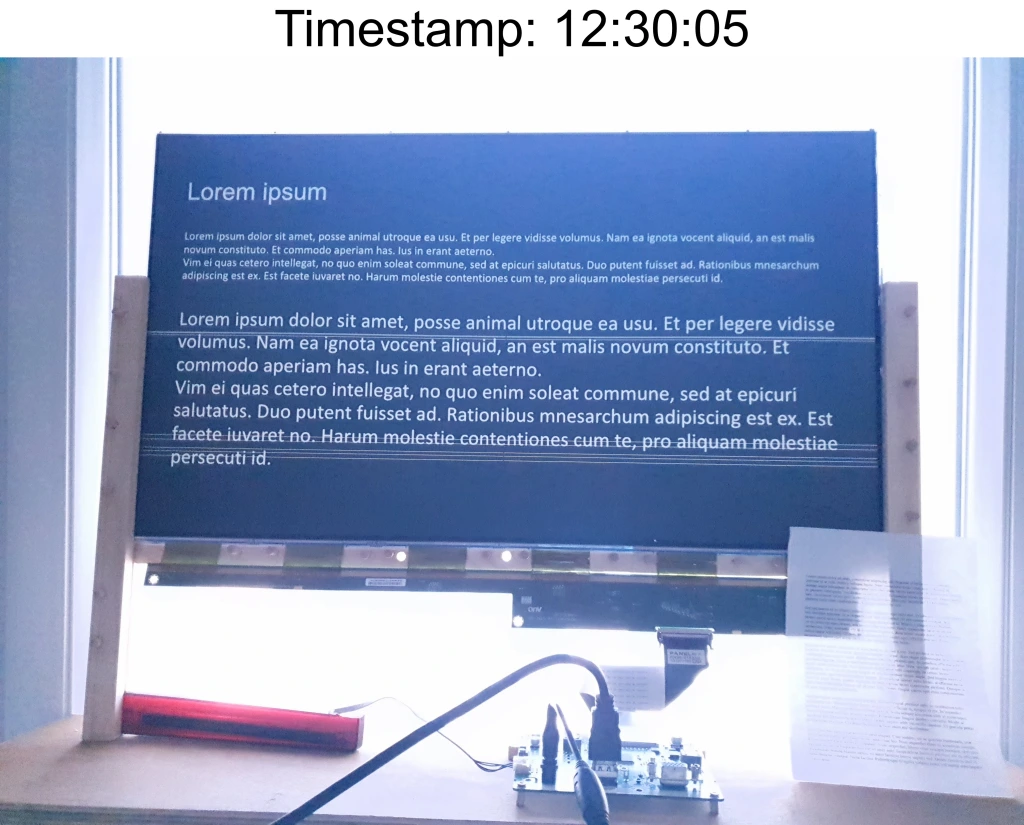
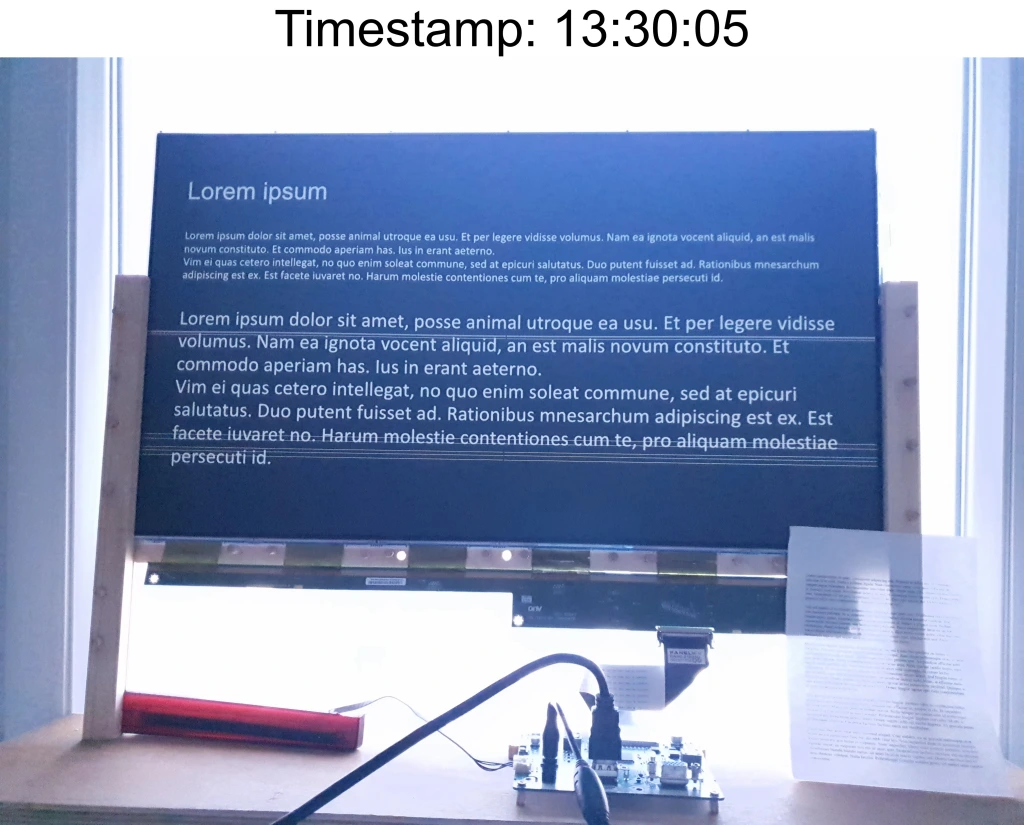
In the following photos, I’ve used all filters, and I’ve tried to shoot the photos so that they mimic the contrast and colors I actually perceive with my eyes. I’ve propped the camera on a stand and I took a photo every 30 minutes or so, with 3 different images displayed on screen:
- Black text on white background
- White text on black background
- A colorful background
Here they are:


Here a video depicting the awesome refreshrate of the screen:
Footage of screen while playing a video
The former video possesses some strange grid-like lines. They are due to the mosquito net that is installed behind the window 🙂
Distancing the Screen from the window seemed to work well, even better if the window is wide enough so that its projection on the screen to covers the width of the screen. In my case, the window is pretty narrow, so the extremities where the walls are visible through the screen are not as well illuminated, but thanks to the filters. the concerned areas receive some light. Even so, I am positively surprised. The following pictures have been taken at around 15cm increments, while still facing the window (1st picture against the window, last picture at ~1.5m away). If the window was much wider, the screen would have looked almost the same as against the window, even that far away.
2. Inside – with natural light
I’ve noticed that a well illuminated white wall can be as effective as a window:
The photos were taken at 18h33, when the sun can be seen from my window and it manages to light up the right wall:
In this experiment I’ve placed the screen in such a position, that both the window and the illuminated portion of wall are seen through the LCD panel. The results are surprising.
Note: The colors in the following 3 slides don’t reflect the reality precisely (thow it’s pretty close), but they are meant to showcase the difference/similarities between the window & wall and showcase the impact of the filters.


TODO: Timelapse of screen while in front of a diffuse-illuminated wall
3. Inside – dark with artificial light
The room is in complete darkness. The only source of light is an adjustable led lamp (intesity and temperature) set to it’s maximum intensity and warmest light.
The lamp positioned between the screen and the wall, and it is oriented in such a way that only the wall is illuminated, and the user cannot see the light directly. The monitor is at around 33cm away from the wall
You can find multiple photos with different layers of filters. To be honest, the walls are usually uniform and we don’t encounter the same issues when using a window with a landscape, so filters shouldn’t add much to the experience. My lamp is not at all adapted for this usecase, as it has a hard time illuminating the wall in a uniform manner.
I would have loved to have a very wide tube-like LED light, which would have given a very uniform lightning on the wall (something like in this video, but with an additional mask between itself and the screen, so that we don’t stare at it directly and allow it to illuminate the wall: https://youtu.be/VZVTmoDMJEM?t=92). This could easily be done using LED light strips.


I am pretty happy with the results. With better illumination, the screen could easily be used at night. The only prerequisite is that the wall should be white, or the surface that is behind the screen and lit should have a white paper quality to it, so that it reflects the light in a good way.
So, after using the screen during the day, either it should be moved against a wall, or a white panel could be placed between the window and screen and act as a “wall”.
4. Outside
TO DO
Conclusion
I have light sensitivity and I get eye fatigue and dry eyes from using Computer screens too much, even when using apps that filter out blue light or even when dimming the screen brightness.
When I use the screen against the window, I am very happy with the result. I usually drop the window blinds until the top of the screen, for more eye comfort.
I’ve only encountered sunny days and until now, it has been quite a nice experience. I was free from eye fatigue and no dry eyes. As you see in the pictures, the contrast was quite good, I could even enjoy watching a few videos/anime without realizing I was not using a normal screen. I did not use the screen after 19h00 though, so I didn’t fully experiment the screen after dark.
Regarding the indoor use, I’ve also used it for a few hours during daytime, facing a white wall that had no direct sunlight and at ~50cm away from it. I didn’t get any dry eyes from the screen, but there was some eyestrain coming from the fact that the screen had a very low contrast. For me it seems that unless you have a very well lit wall, this screen might cause eyestrain due to this issue. It was quite frustrating to use. I will develop a bit more and document this usecase in the near future.
Regarding the indoor use, during nighttime, I am unable to give a response now, since I don’t yet have an appropriate lamp. I am intending to buy/make one using Direct Current (no flickering due to AC) and LEDs. It is a bit of a complicated project but I will address it in the near future.
I am yet to use the screen outdoors, but I will cover this shortly. Stay tuned….
ResourCES
Images displayed on the screen during this experiment, in PDF and PowerPoint format:
